Installing and Setting Up Pangolin and Middleware Manager
This guide walks you through installing and configuring Pangolin and the Middleware Manager from scratch on a Linux VPS, setting up your reverse proxy and authentication system with confidence.
Why use the Middleware Manager?
The Middleware Manager monitors resources from your chosen data source (either a Pangolin API or a direct Traefik API connection) and provides a web UI to:
- Define and manage custom Traefik middlewares.
- Attach these middlewares to your resources with specific priorities.
- Configure advanced router settings for each resource, including entrypoints, TLS Subject Alternative Names (SANs), TCP SNI routing rules, custom request headers, and router priority.
- Create, update, and delete custom Traefik services (LoadBalancer, Weighted, Mirroring, Failover).
- Assign these custom services to your resources, overriding default service behavior.
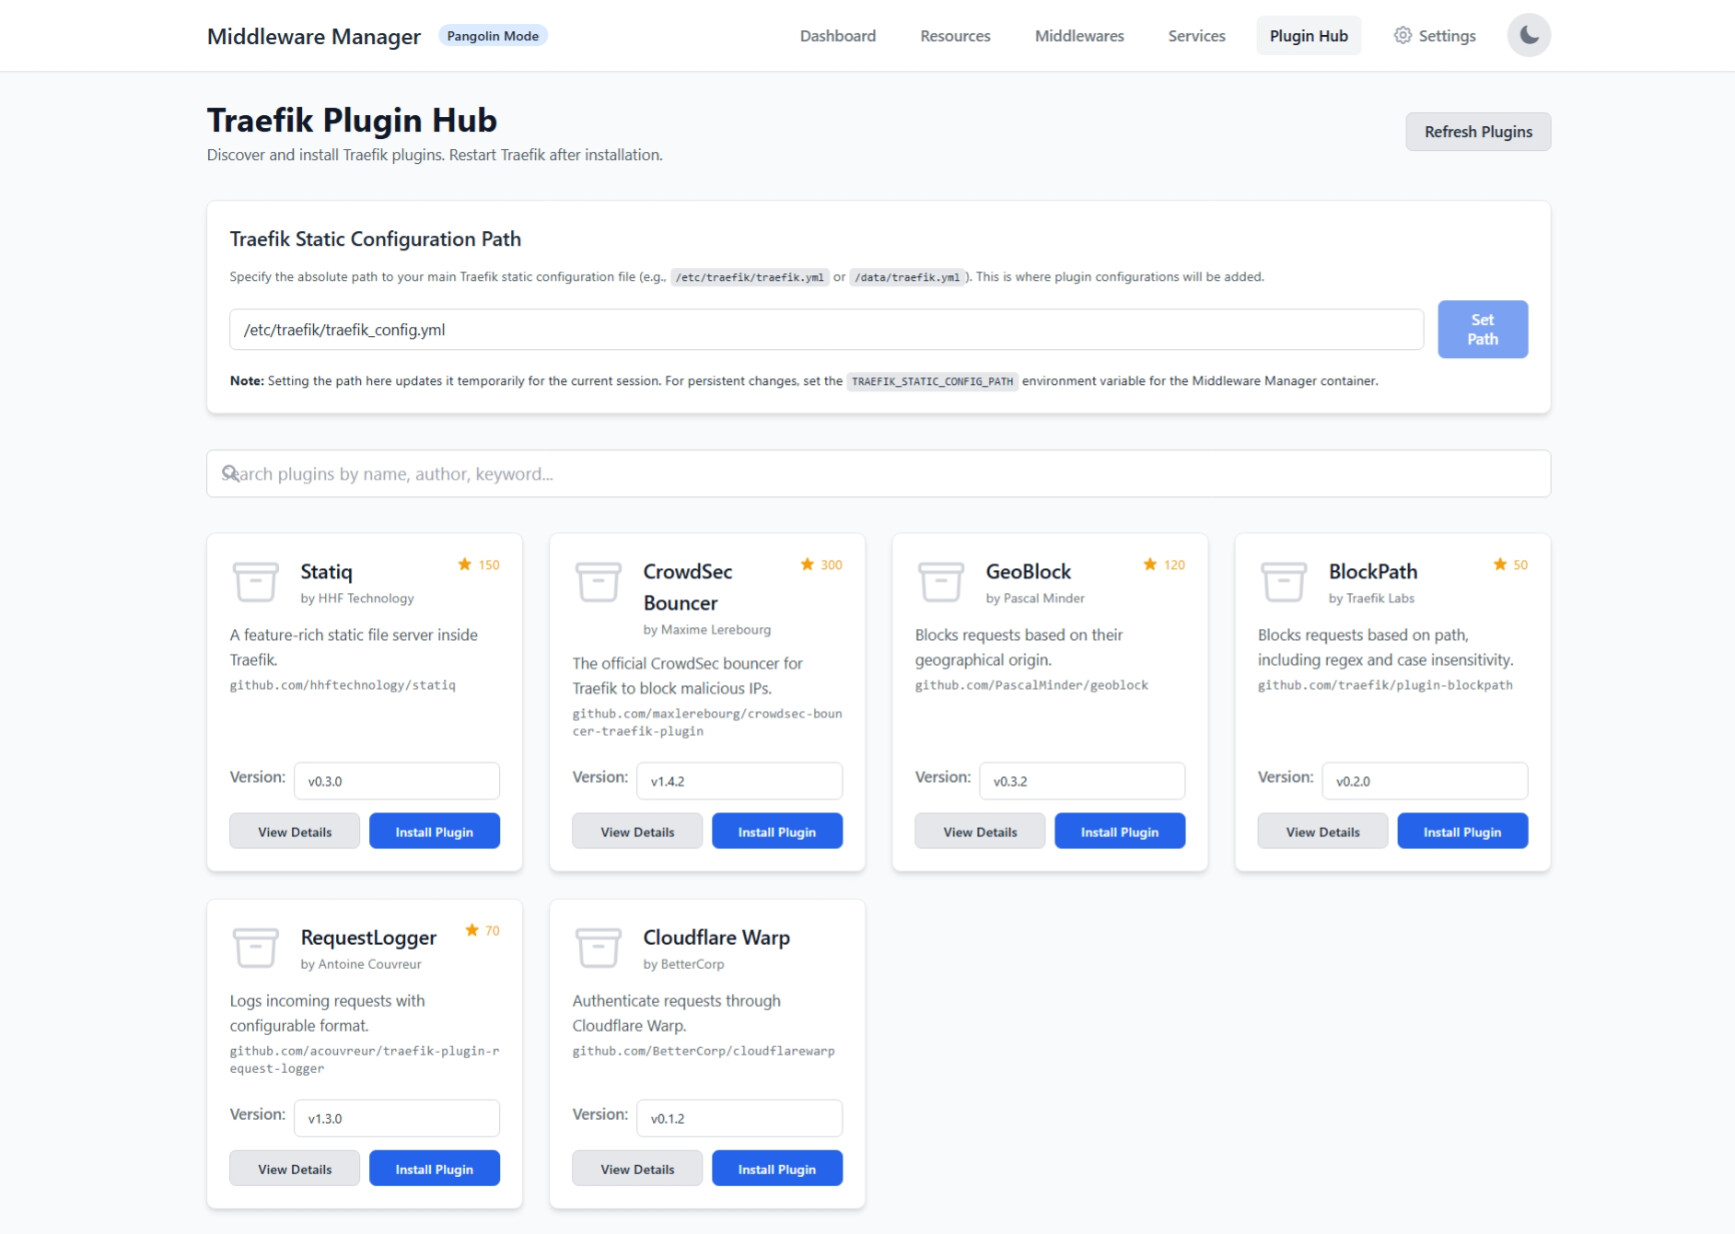
- Discover, install, and manage Traefik plugins directly from the UI.
See the Middleware Manager github repo for more details
 Prerequisites
- A Linux system with root access (Ubuntu or Debian recommended)
- A domain name pointing to your server’s public IP address
- Ports 80 (TCP), 443 (TCP), and 51820 (UDP) open to the world
- A working email for Let’s Encrypt certificates
Important: Docker publishes all defined ports on all interfaces. Misconfigurations can expose services unintentionally. Always check firewall rules.
 Step 1: VPS & Domain Setup
Choose any major cloud provider or VPS host, and ensure your domain’s DNS points to your VPS’s public IP.
 Step 2: Run the Pangolin Installer
Navigate to your desired install directory and run:
wget -O installer "https://github.com/fosrl/pangolin/releases/download/1.4.0/installer_linux_$(uname -m | sed 's/x86_64/amd64/;s/aarch64/arm64/')" && chmod +x ./installer
sudo ./installer
The installer will ask for:
=== Basic Configuration ===
Enter your base domain (e.g., example.com): yourdomain.com
Enter dashboard domain (e.g., dashboard.yourdomain.com): dashboard.yourdomain.com
Let's Encrypt Email: admin@yourdomain.com
Use Gerbil for tunnels? (yes/no): yes

=== Admin Setup ===
Admin Email: admin@yourdomain.com
Admin Password: ********

=== Security Settings ===
Disable signup without invite? (yes/no): yes
Disable org creation? (yes/no): no
Enable email functionality? (yes/no): no

=== Start Installation ===
Start containers now? (yes/no): yes

Screenshot Pangolin login page
 Step 3: Secure Your Server with
 ufw
sudo ufw allow 80/tcp
sudo ufw allow 443/tcp
sudo ufw allow 3456/tcp
sudo ufw allow 9000/tcp
sudo ufw allow 22/tcp
sudo ufw deny 8000/tcp
sudo ufw enable
Check status:
ufw status
 Step 4: Connect Your First Site
In Pangolin:
- Create a new Site
- Copy the command provided, which looks like:
./newt --id ABC123 --secret XYZ456 --endpoint https://dashboard.yourdomain.com
After a few seconds, the status of your site in Pangolin should turn Online.
 Step 5: Enable the Traefik Dashboard
Follow this guide in order to set up the Traefik dashboard as it will be essential in debugging any issues.
 Step 6: Prepare Traefik Folder for Middleware Manager
Its important to change the folder structure for Traefik configuration before the middleware-manager will work. Lets do that now.
Current Folder for Traefik Dynamic Config:
config/traefik/dynamic_config.yml
Rules is the Target Folder for Traefik Dynamic Config:
config/traefik/rules/dynamic_config.yml
Run:
mkdir -p ./config/traefik/rules
mv ./config/traefik/dynamic_config.yml ./config/traefik/rules/
Your config directory structure should now look like this:
config/
├── config.yml
│   ├── config.yaml
├── db
│   └── db.sqlite
├── key
├── letsencrypt
│   └── acme.json
├── logs
└── traefik
    ├── logs
    ├── rules
    │   └── dynamic_config.yml
    └── traefik_config.yml
Update traefik_config.yml:
providers:
  http:
    endpoint: "http://pangolin:3001/api/v1/traefik-config"
    pollInterval: "5s"
  file:
    directory: /rules
    watch: true
Update docker-compose.yml for the traefik container:
volumes:
  - ./config/traefik/rules:/rules
Restart stack:
docker compose down
docker compose up -d --force-recreate
Check logs:
docker logs traefik
 Step 7: Install Middleware Manager
Append to docker-compose.yml:
middleware-manager:
  image: hhftechnology/middleware-manager:v3.0.1
  container_name: middleware-manager
  restart: unless-stopped
  volumes:
    - ./data:/data
    - ./config/traefik/rules:/conf
    - ./config/middleware-manager:/app/config
    - ./config/traefik:/etc/traefik
  environment:
    - PANGOLIN_API_URL=http://pangolin:3001/api/v1
    - TRAEFIK_CONF_DIR=/conf
    - DB_PATH=/data/middleware.db
    - PORT=3456
    - ACTIVE_DATA_SOURCE=pangolin
    - TRAEFIK_STATIC_CONFIG_PATH=/etc/traefik/traefik_config.yml
    - PLUGINS_JSON_URL=https://raw.githubusercontent.com/hhftechnology/middleware-manager/traefik-int/plugin/plugins.json
  ports:
    - "3456:3456"
Restart:
docker compose down
docker compose up -d --force-recreate
Check:
docker logs middleware-manager
Navigate to: http://your_server_ip:3456/
 Step 8: Secure the Middleware Manager
-
In Pangolin, create a new Resource:
- Name:
middleware-manager - Domain:
middleware-manager.yourdomain.com - Site: your local site
- Target:
middleware-manageron port3456 - Protected with authentication
- Name:
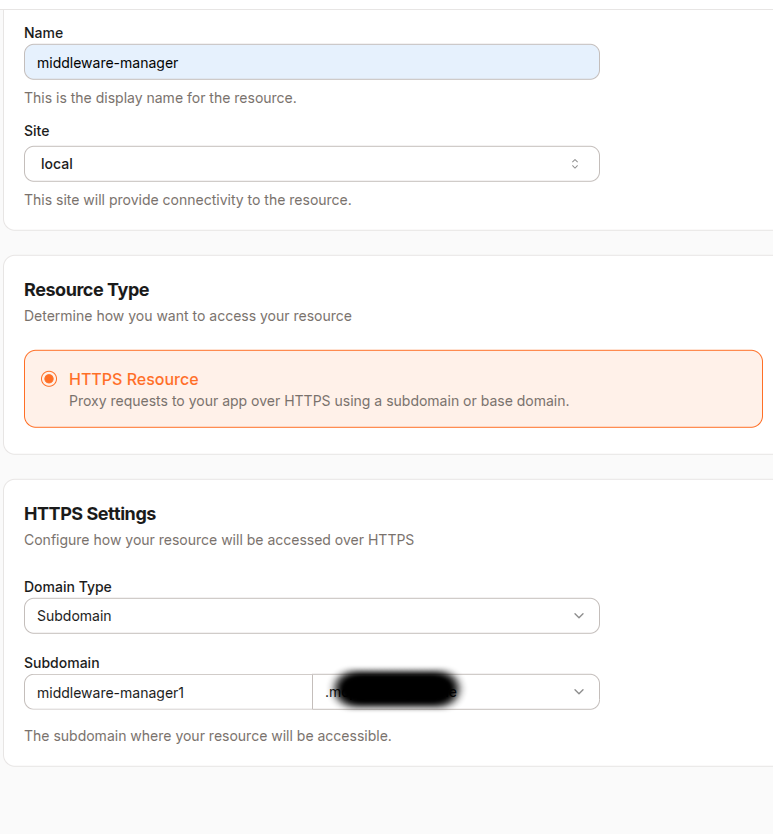

Restrict Direct Access to the IPAddress:port
sudo ufw deny 3456/tcp
Remove ports from the middleware service in docker-compose.yml:
# REMOVE:
# ports:
#   - "3456:3456"
Again restart for the port changes to take affect:
docker compose down
docker compose up -d --force-recreate
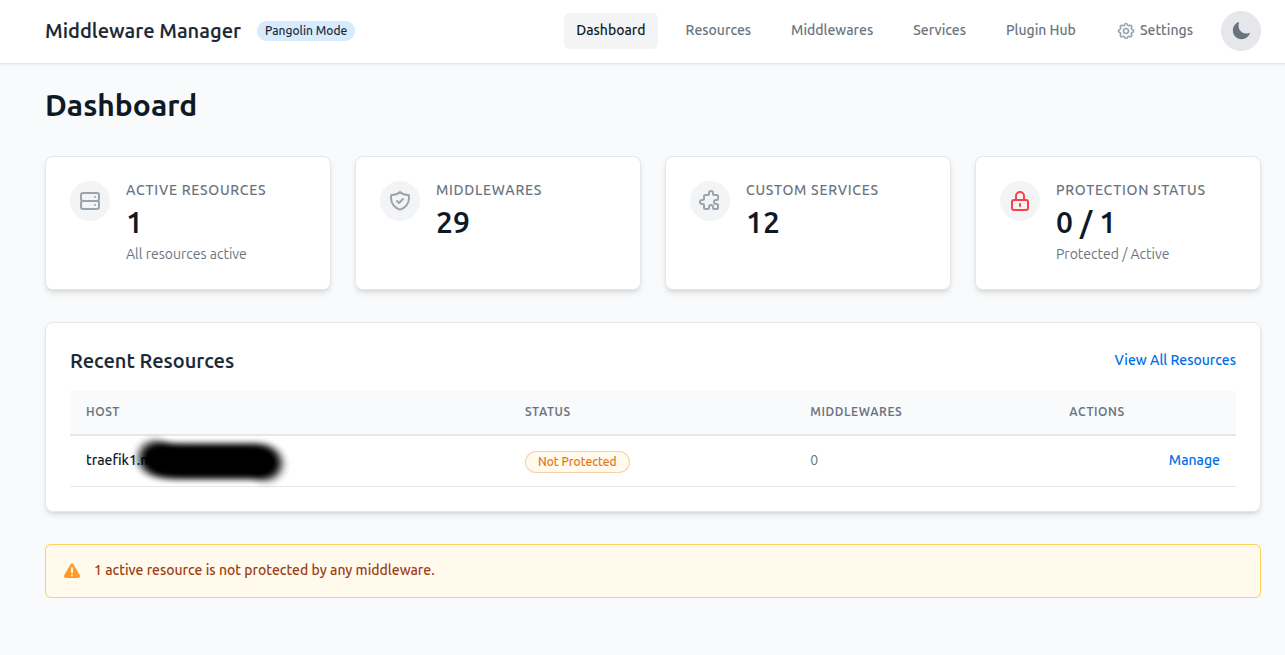
 Step 9: Test Middleware (IP Whitelist)
In Middleware Manager:
-
Select the Traefik Dashboard resource
-
Apply the
ipwhitelistmiddleware -
Try accessing:
https://traefik.yourdomain.com- You should see a 403 Forbidden
- This is because your IP address is not specifically allowed
-
Add your IP to the middleware config:
{
  "sourceRange": [
    "YOUR_IP_ADDRESS_HERE/32",
    "192.168.1.0/24",
    "10.0.0.0/8"
  ]
}
- Retry accessing Traefik dashboard
 You’re All Set!
You now have:
- Pangolin + Middleware Manager installed
- Traefik configured correctly
- The Traefik Dashboard available
- Middleware protection tested and live
Happy deploying! ![]()