Complete Guide: Running Two Pangolin Instances Together (VPS + Local)
This guide will help you set up two Pangolin instances that work together - one locally for internal use and one on a VPS for exposing services to the internet. I’ll cover two connectivity methods: Tailscale (easier) and Newt (more advanced).
What You’ll Achieve
- A local Pangolin instance for managing your home services
- A VPS-hosted Pangolin instance for secure internet access to selected services
- The ability to choose which services to expose externally
- No port forwarding required on your home network
Prerequisites
- A VPS (Virtual Private Server) with a public IP address
- A domain name pointing to your VPS
- Docker installed on both your local machine and VPS
- Basic familiarity with command-line operations
Option 1: Using Tailscale (Recommended for Beginners)
Tailscale creates a secure private network between your devices without opening ports.
Part 1: Setting Up Tailscale
-
Install Tailscale on both your local machine and VPS
- Go to tailscale.com and sign up for an account
- Follow the installation instructions for your operating systems
- For Ubuntu/Debian (VPS):
curl -fsSL https://tailscale.com/install.sh | sh - For other systems, follow the instructions on Tailscale’s website
-
Log in to Tailscale on both machines
sudo tailscale upFollow the authentication link that appears.
-
Verify connectivity
- On each machine, run:
tailscale ip -4 - Note down both IP addresses (they will start with 100.x.x.x)
- Test connectivity with ping:
ping [other-machine-tailscale-ip]
- On each machine, run:
Part 2: Local Pangolin Setup
- Install and configure Pangolin locally (skip if already installed)
# Create a directory
mkdir -p ~/local-pangolin
cd ~/local-pangolin

# Download the installer
wget -O installer "https://github.com/fosrl/pangolin/releases/download/v1.1.0/installer_linux_amd64"
chmod +x ./installer

# Run the installer
sudo ./installer
- Follow this for indepth guide
Deploying Pangolin Locally without Domain names with Traefik.me: A Step by Step Guide - Guides & Tutorials / Tutorials
-
Follow the installation prompts
- Base Domain Name: Use whatever you prefer locally (e.g.,
homelab.10.24.7.119.traefik.me) - Dashboard Domain Name: Set to match your local network (e.g.,
pangolin.homelab.10.24.7.119.traefik.me) - For local use only, you can skip email configuration
- Set your admin credentials securely
- Base Domain Name: Use whatever you prefer locally (e.g.,
-
Configure resources on your local Pangolin
- Access your local Pangolin dashboard (e.g.,
https://pangolin.homelab.10.24.7.119.traefik.me) - Create a local organization
- Add sites and resources as needed for your local services
- Access your local Pangolin dashboard (e.g.,
Part 3: VPS Pangolin Setup
-
Install and configure Pangolin on your VPS
# Create a directory mkdir -p ~/vps-pangolin cd ~/vps-pangolin # Download the installer wget -O installer "https://github.com/fosrl/pangolin/releases/download/v1.1.0/installer_linux_amd64" chmod +x ./installer # Run the installer sudo ./installer -
Follow the installation prompts
- Base Domain Name: Use your actual domain (e.g.,
example.com) - Dashboard Domain Name: Your public dashboard domain (e.g.,
pangolin.example.com) - Let’s Encrypt Email: Your email for SSL certificates
- Configure admin credentials securely
- Base Domain Name: Use your actual domain (e.g.,
Part 4: Setting Up Cross-Instance Access
-
Create a “Local” site on your VPS Pangolin
- Log in to your VPS Pangolin dashboard
- Go to “Sites” tab
- Click “Add Site”
- Name: “Local Pangolin” or similar
- Connection Method: Choose “Local” (not Newt)
- Click “Create Site”
-
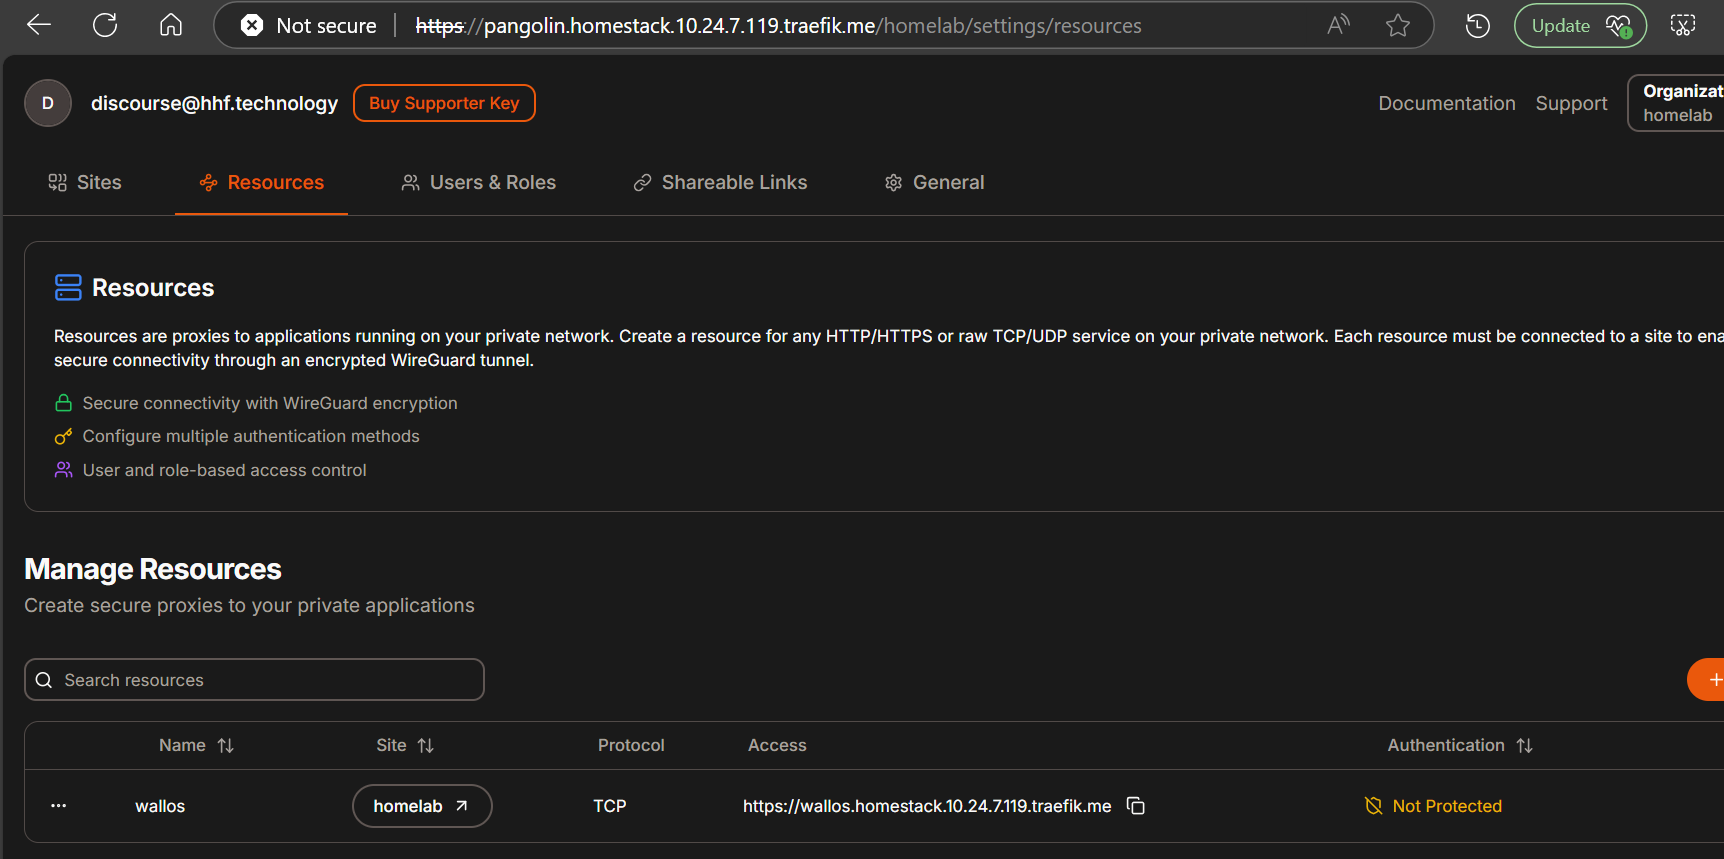
Create resources on VPS Pangolin that point to your local services
- Go to “Resources” tab
- Click “Add Resource”
- Fill in the details:
- Name: “Wallos” (or your service name)
- Subdomain: “wallos” (or preferred subdomain)
- Site: Select the “Local Pangolin” site you created
- Click “Create Resource”
-
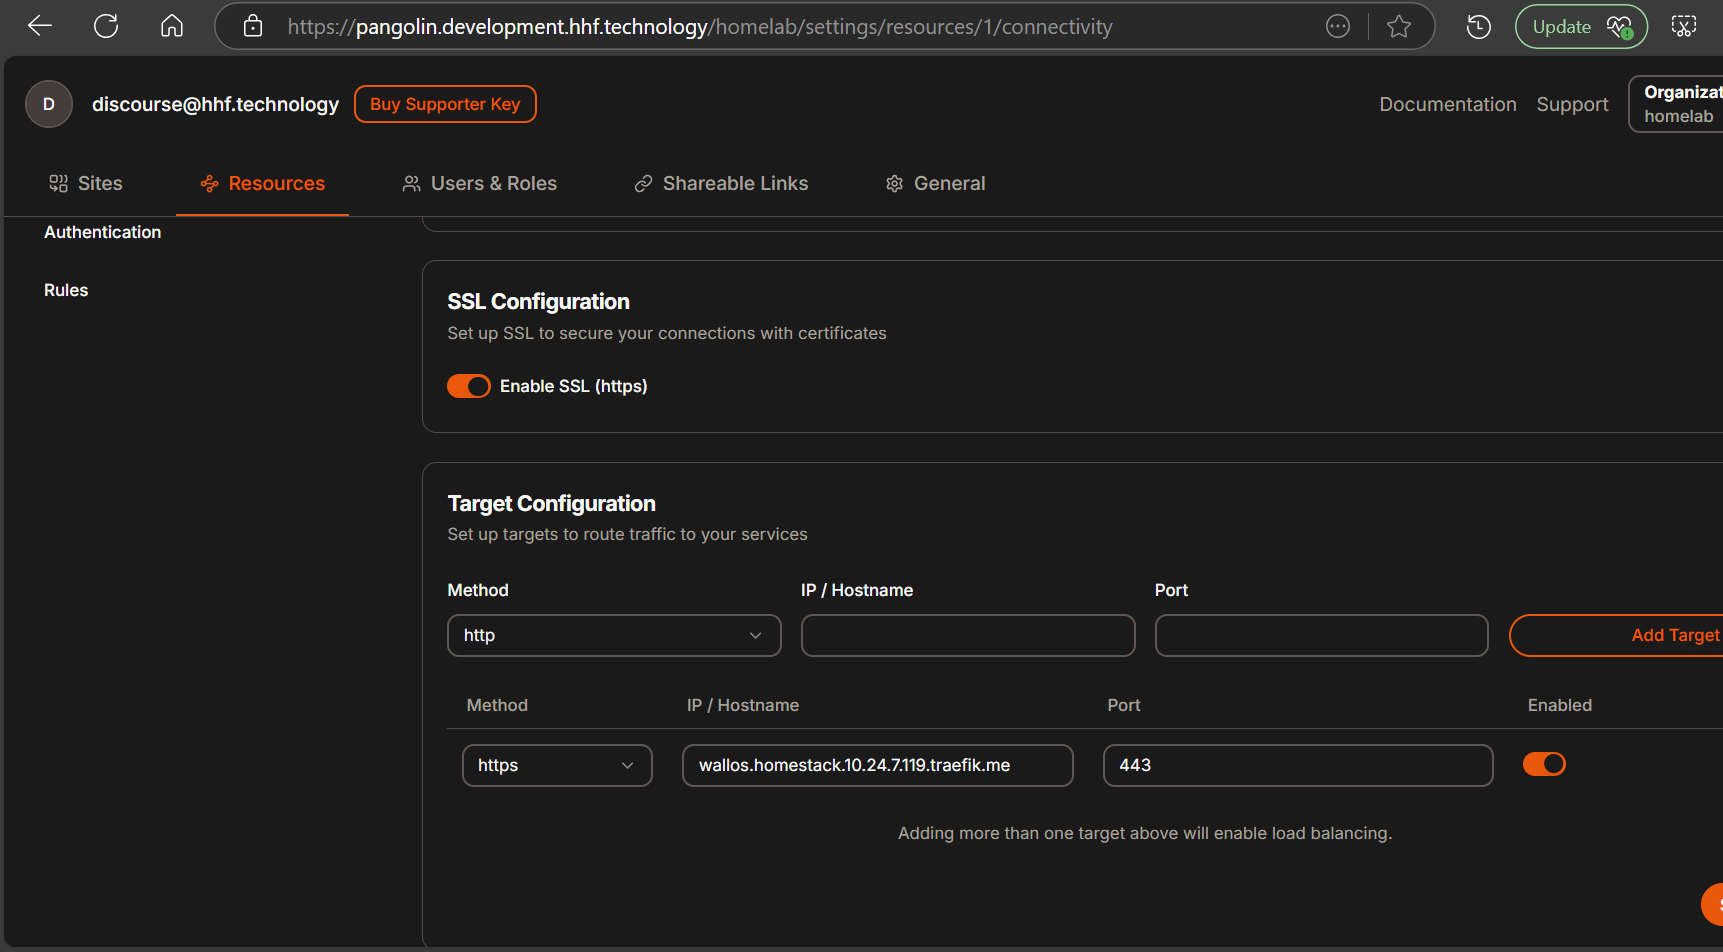
Configure the resource target
- On the resource’s “Connectivity” page:
- Enable SSL if you want HTTPS
- Add a target:
- Method: HTTPS
- Hostname: Your local Pangolin Domain name (wallos.homestack.10.24.7.119.traefik.me)
- Port: 443 (the standard HTTPS port)
- Click “Add Target”
- Click “Save Changes”
-
Access your local service
- You can now access your local service via your VPS domain
- For example:
https://wallos.example.com

Option 2: Using Newt (Pangolin’s Native Tunneling)
Newt is Pangolin’s native tunneling client that creates secure WireGuard tunnels.
Part 1: VPS Pangolin Setup
-
Install and configure Pangolin on your VPS with Gerbil
# Create a directory mkdir -p ~/vps-pangolin cd ~/vps-pangolin # Download the installer wget -O installer "https://github.com/fosrl/pangolin/releases/download/v1.1.0/installer_linux_amd64" chmod +x ./installer # Run the installer sudo ./installer -
Follow the installation prompts
- Base Domain Name: Your actual domain (e.g.,
example.com) - Dashboard Domain Name: Your public dashboard domain (e.g.,
pangolin.example.com) - Let’s Encrypt Email: Your email for SSL certificates
- Important: When asked about tunneling, select “Yes” to install Gerbil
- Configure admin credentials securely
- Base Domain Name: Your actual domain (e.g.,
-
Create an organization and site on VPS Pangolin
- Access your VPS Pangolin dashboard (e.g.,
https://pangolin.example.com) - Create a new organization when prompted
- Go to “Sites” tab
- Click “Add Site”
- Name: “Home Network” or similar
- Connection Method: Choose “Newt”
- Important: Copy the Newt command or configuration shown - you’ll need this later
- Click “Create Site”
- Access your VPS Pangolin dashboard (e.g.,
Part 2: Local Machine Setup with Newt
-
Install Newt on your local machine
# Download Newt (use appropriate version for your system) wget -O newt "https://github.com/fosrl/newt/releases/download/v1.0.0-beta.5/newt_linux_amd64" chmod +x ./newt # Move to a permanent location (optional) sudo mv ./newt /usr/local/bin -
Run Newt with your site configuration
- Use the command copied from the VPS Pangolin site creation:
./newt \ --id YOUR_ID_HERE \ --secret YOUR_SECRET_HERE \ --endpoint https://your-domain.com- Keep this terminal window open or set up Newt as a service to run in the background
-
Verify connection
- Check the Newt output for connection confirmation
- In your VPS Pangolin dashboard, the site status should change to “Online”
Part 3: Setting Up Local Services for Exposure
-
Install and configure services on your local machine
- Set up your services (e.g., Wallos, Home Assistant, Plex)
- Note down their local IP addresses and ports
-
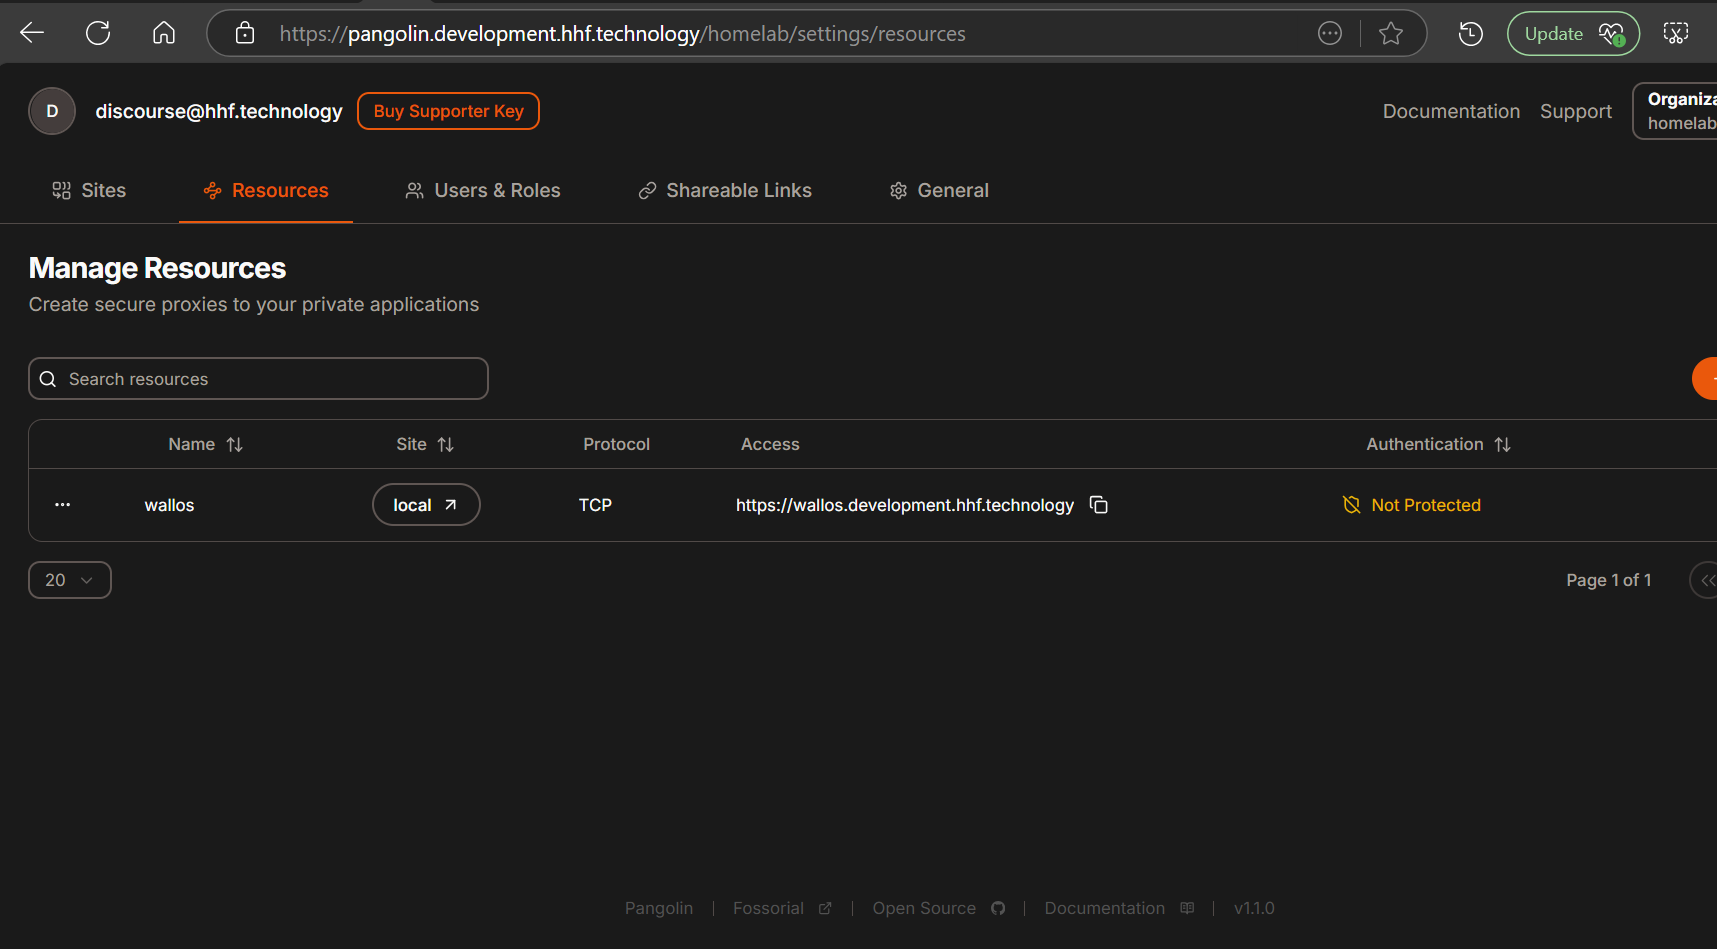
Create resources on VPS Pangolin for each service
- Go to “Resources” tab
- Click “Add Resource”
- Fill in the details:
- Name: “Wallos” (or your service name)
- Subdomain: “wallos” (or preferred subdomain)
- Site: Select the “Home Network” site you created earlier
- Click “Create Resource”
-
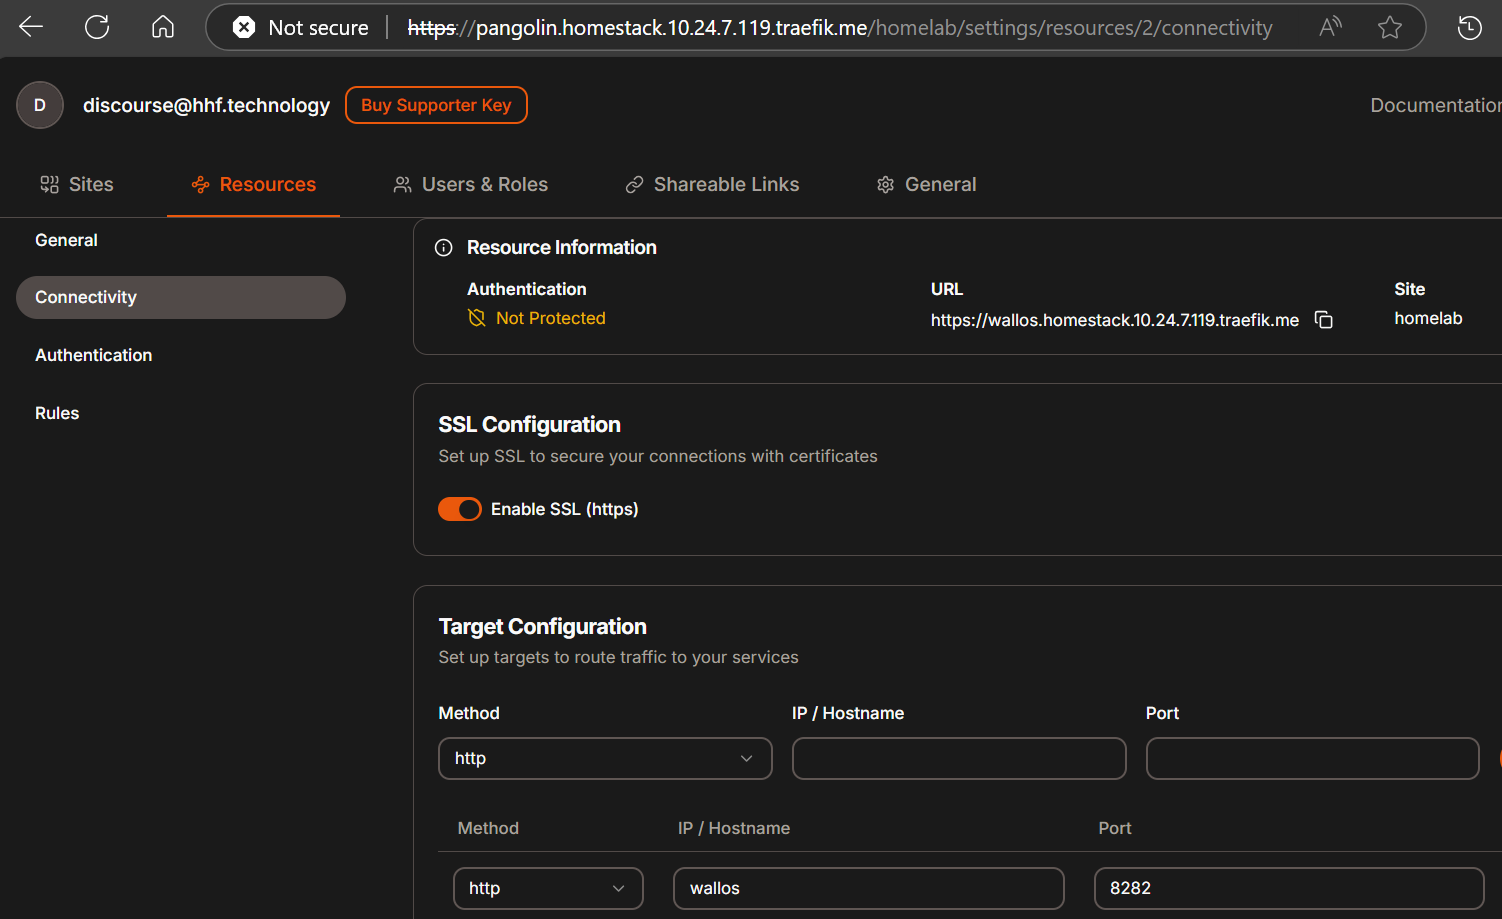
Configure the resource target
- On the resource’s “Connectivity” page:
- Enable SSL if you want HTTPS
- Add a target:
- Method: HTTPS
- Hostname: Your local service domain (wallos.homestack.10.24.7.119.traefik.me)
- Port: Your service’s port (e.g., 8282)
- Click “Add Target”
- Click “Save Changes”
-
Access your local service
- You can now access your local service via your VPS domain
- For example:
https://wallos.example.com
Comparison of Approaches
Tailscale Approach
- Pros:
- Easier to set up for beginners
- Works across any network
- No need for Gerbil on VPS side
- Can be used for many other things beyond Pangolin
- Cons:
- Requires installing Tailscale on both machines
- Limited free tier (if you need many devices)
Newt Approach
- Pros:
- Native to Pangolin
- Doesn’t require third-party service
- Purpose-built for this exact use case
- Cons:
- Slightly more complex setup
- Requires Gerbil component on VPS
Troubleshooting
Can’t connect to local Pangolin from VPS
- Check Tailscale/Newt connectivity
- For Tailscale:
ping [tailscale-ip] - For Newt: Check logs with
sudo docker logs newt
- For Tailscale:
- Verify correct IP addresses are used in the resource target
- Check that the port is correct
Resources not loading
- Check if the local service is running
- Verify the target IP and port are correct
- For SSL issues, wait a few minutes for certificates to be issued
- Check Pangolin logs:
sudo docker logs pangolin
“Could not connect to host” errors
- Verify Tailscale/Newt connection is active
- Check if local service is accessible locally
- Try using HTTP instead of HTTPS for the target connection
- Verify firewall settings allow traffic
Extra Tips
-
Make Newt run automatically (for the Newt approach)
# Create a systemd service file
sudo nano /etc/systemd/system/newt.service
Add this content:
[Unit]
Description=Newt VPN Client
After=network.target

[Service]
ExecStart=/usr/local/bin/newt --id YOUR_ID_HERE --secret YOUR_SECRET_HERE --endpoint https://your-domain.com
Restart=always
User=root

[Install]
WantedBy=multi-user.target
Enable and start the service:
sudo systemctl enable newt.service sudo systemctl start newt.service -
Set up wildcard certificates on your VPS Pangolin for instant SSL on new services
-
Secure your exposed services with Pangolin’s authentication features
By following this guide, you now have two Pangolin instances working together - one for local network management and one for securely exposing selected services to the internet. You can easily add more services to expose as needed without reconfiguring your home router or opening ports.