To integrate Immich with Authentik, follow these step-by-step instructions:
Step 1: Set Up Authentik
-
Create a New Client Application:
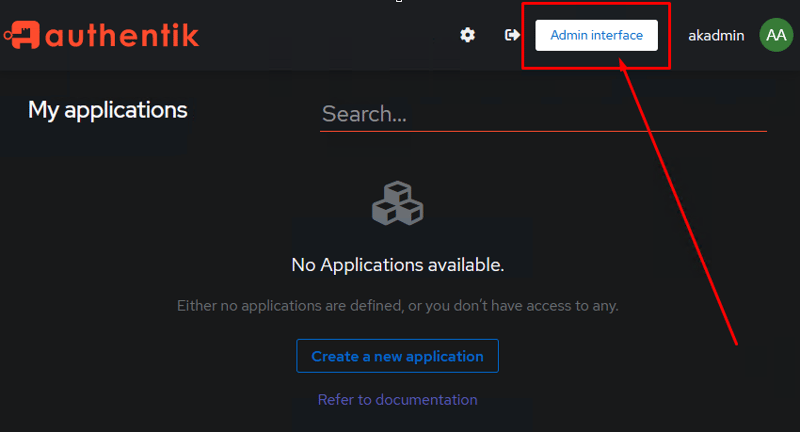
- Log in to your Authentik instance and navigate to the Admin Interface.
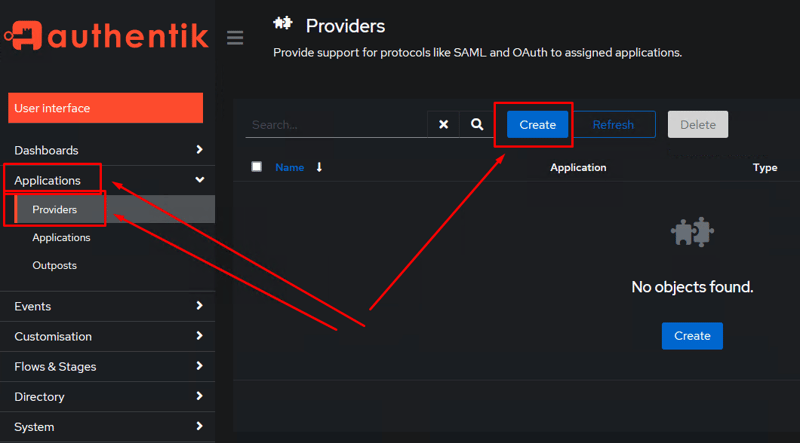
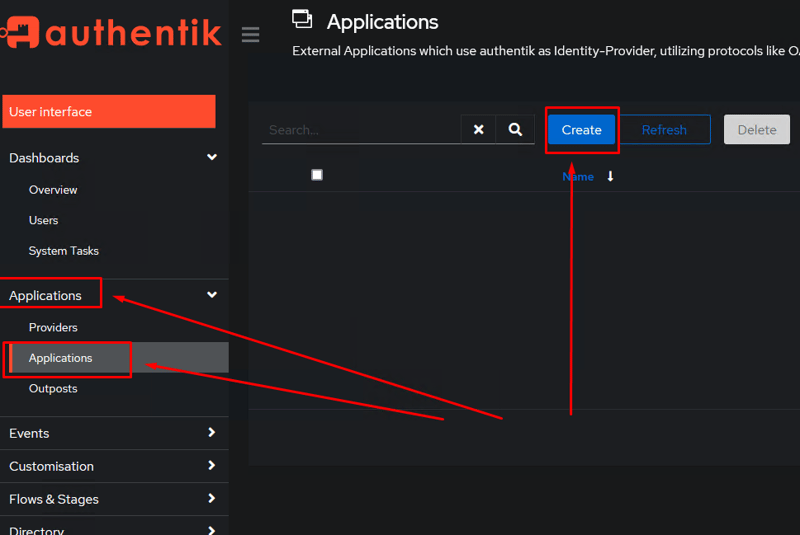
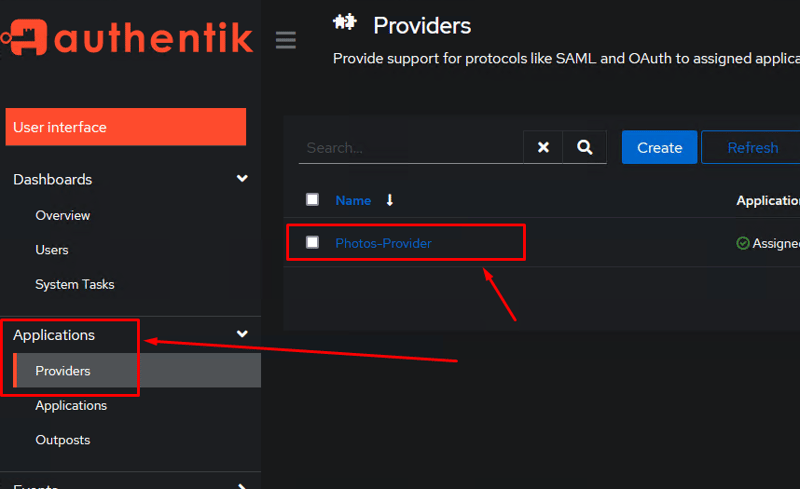
- Go to Applications > Providers and click on Create.
- Choose OpenID Connect as the provider type.
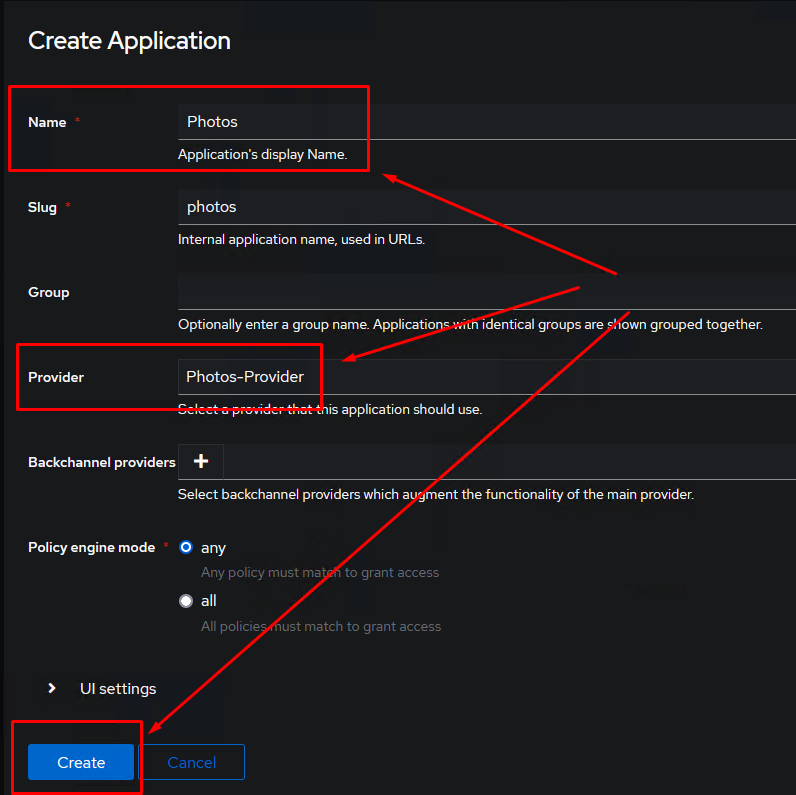
- Fill in the required details:
- Name: e.g., “Immich Provider”.
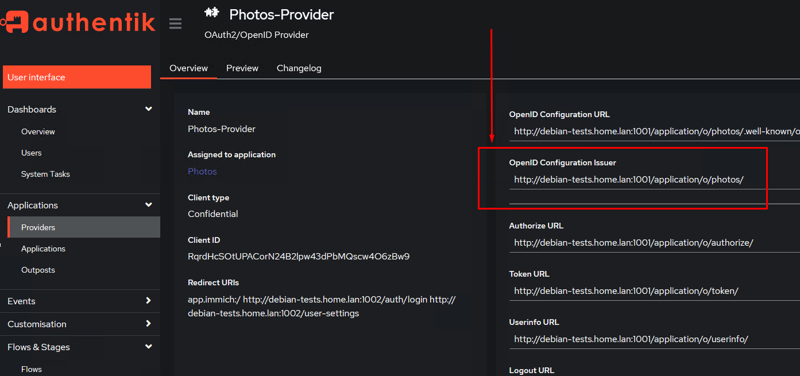
- Client ID: Note this down for later use.
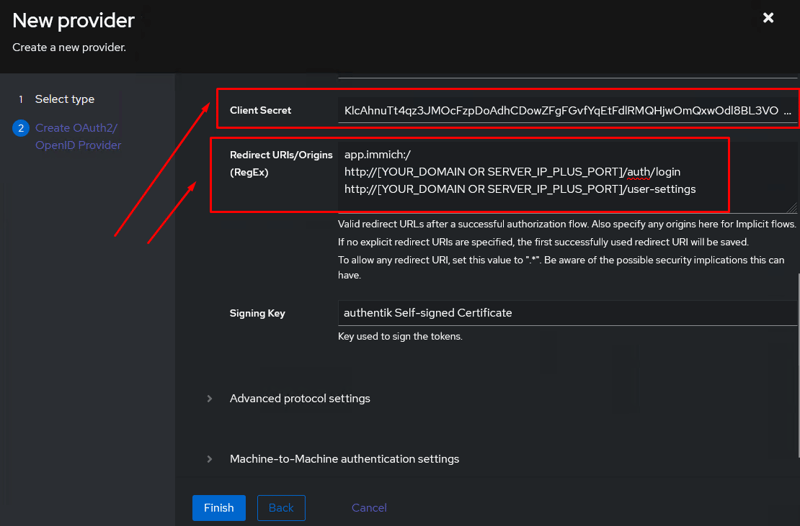
- Client Secret: Note this down as well.
- Set the Authorization Flow to “Implicit” if you want users to log in without consent.
- Log in to your Authentik instance and navigate to the Admin Interface.
-
Configure Redirect URIs:
- Under redirect URIs, add the following:
app.immich:/ http://[YOUR_DOMAIN_OR_SERVER_IP]:[PORT]/auth/login http://[YOUR_DOMAIN_OR_SERVER_IP]:[PORT]/user-settings - Save your changes.
- Under redirect URIs, add the following:


Step 2: Configure Immich
-
Access Immich Settings:
-
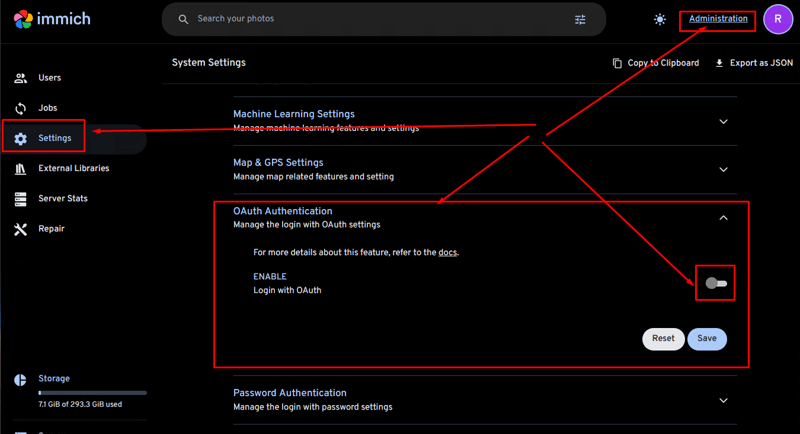
Navigate to your Immich instance and go to the System Settings.
-
Find the OAuth Authentication section.
-
-
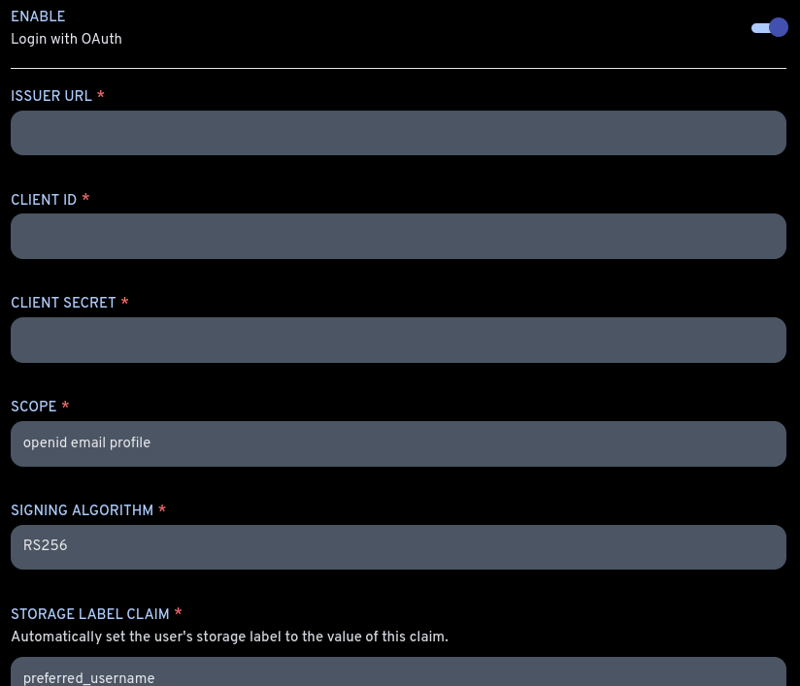
Input OAuth Details:
-
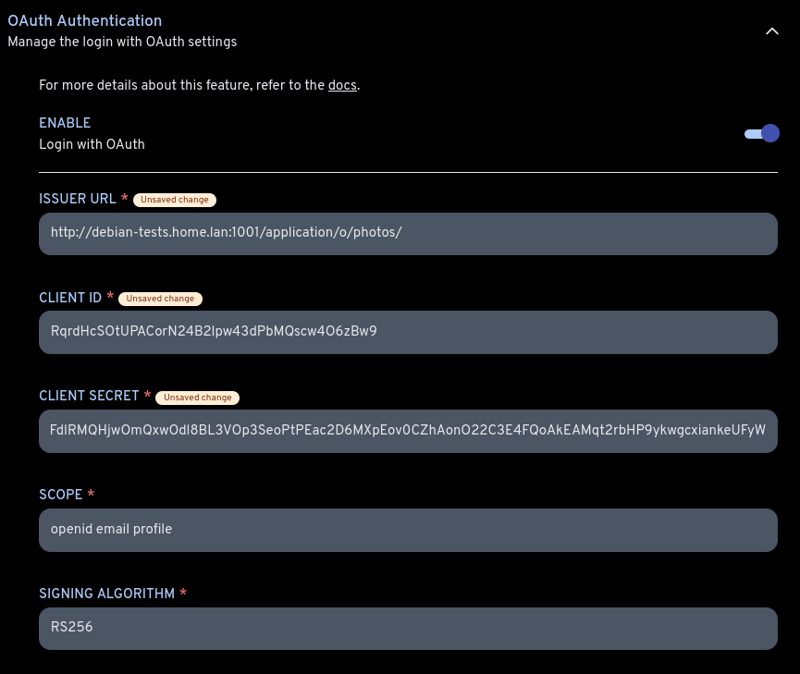
Enter the following details:
- Authorization URL: This is typically your Authentik instance URL.
- Access Token URL: Same as above.
- Client ID: Use the one you noted from Authentik.
- Client Secret: Use the one you noted from Authentik.
- Scopes: Include
openidand any other necessary scopes.
-
-
Set Up Redirect URIs in Immich:
- Ensure that the redirect URIs match those configured in Authentik.
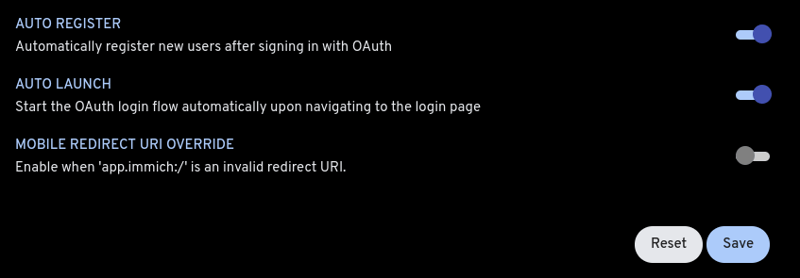
#IMPORTANT:
#Since auto lunch is enabled, immich won't ever ask you to login back again, it
#will #redirect you to authentik so you can enter your credentials there.
#So if you want to log back in with your immich Administrator account then you
#have to use the following URL:
http://debian-tests.home.lan:1002/auth/login?autoLaunch=0
Step 3: Create Users and Test
-
Create Users in Authentik:
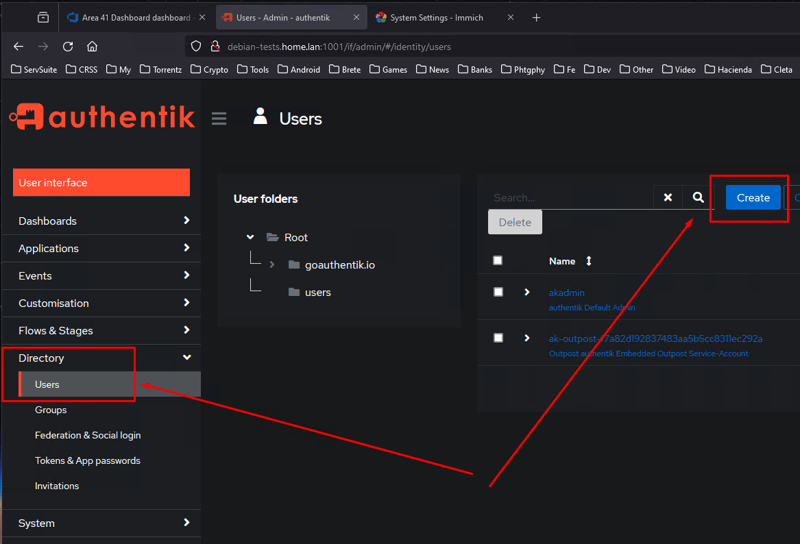
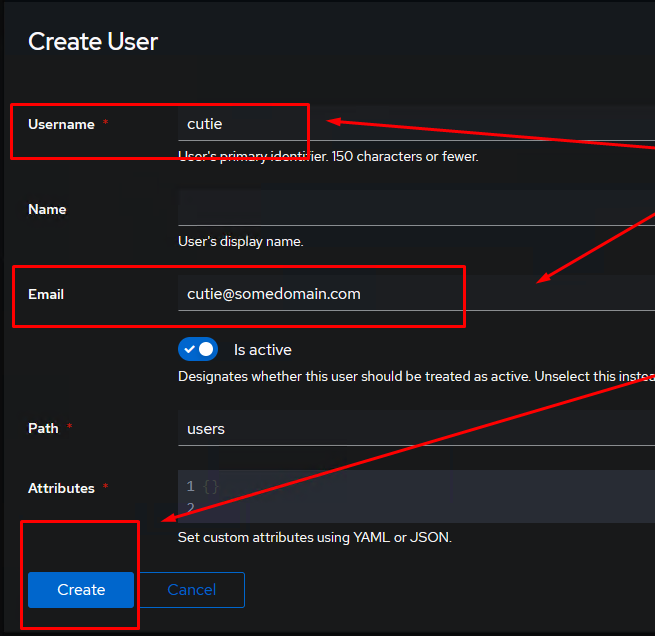
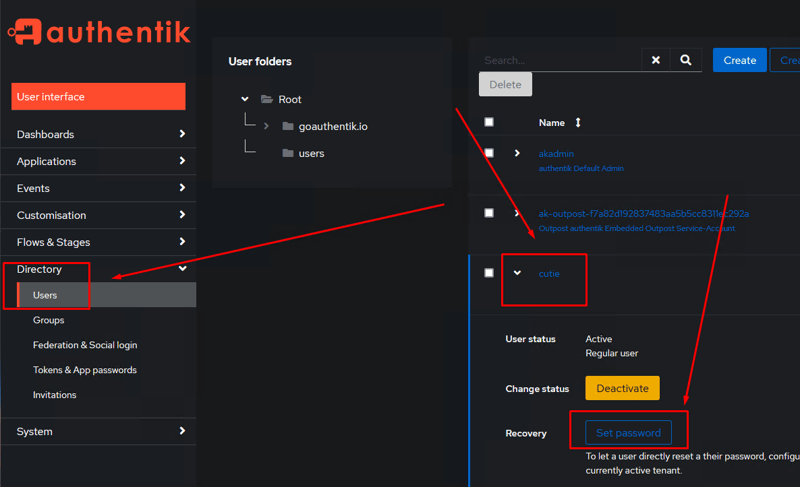
- Go to Directory > Users > Create in Authentik and add users as needed.
- Go to Directory > Users > Create in Authentik and add users as needed.
-
Testing the Integration:
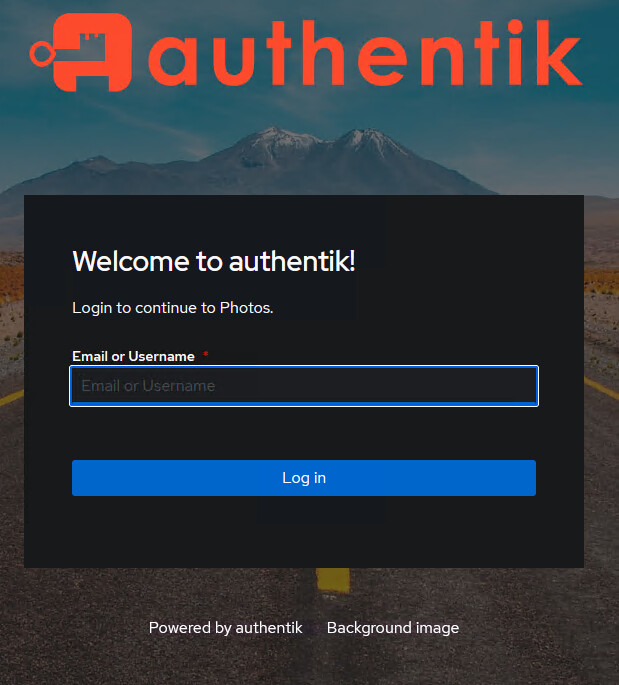
- Open your browser and navigate to your Immich instance.
http://[YOUR_DOMAIN OR SERVER_IP_PLUS_PORT]/ # sample: http://127.0.0.1:1002/ -or- http://localhost:1002/ -or- https://photos.my-amazing-domain.com/-
You should be redirected to Authentik for authentication.
-
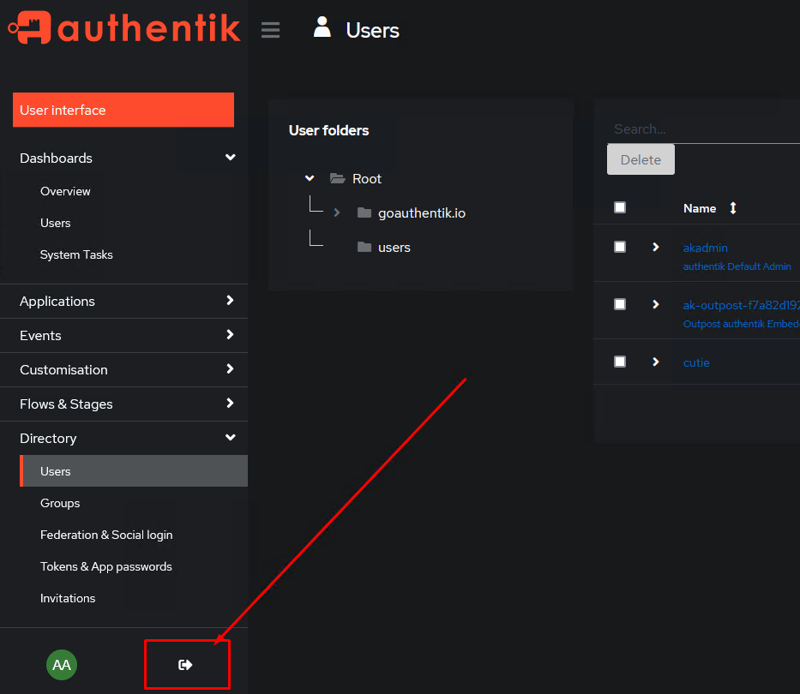
Log in using one of the user accounts created in Authentik.
By following these steps, you should be able to successfully integrate Immich with Authentik for a seamless authentication experience.
I obviously didn’t include a bunch of stuff like how I configure groups in authentik so that certain users can access the photos app and some others don’t. Or how do I configure authentik to talk to google, because I don’t wan’t to create accounts for all my family if they can just use their google accounts.
Will post everything one by one dont worry.