Prerequisites
To follow along in this tutorial, ensure you have the following requirements in place:
-
An instance of [Ubuntu 22.04/24.04] with SSH access;
-
A sudo user configured on the server with CloudPanel Preinstalled.
Install Portainer on Ubuntu 22.04/24.04: Step-by-step process
To install Portainer on Ubuntu, we need to install Docker first to support the installation of Portainer (because Portainer runs as a Docker container). Once Docker is installed, we can install Portainer by pulling its image and running its container. You can then use Portainer to manage the Docker environment.
Step 1: Update package lists
As the first step, log into your server instance and update the local package index.
sudo apt update
Once the local cache is updated, proceed to the next step.
Step 2: Install Docker
Before we can install Portainer, we need to install Docker. To install Docker from the default Ubuntu repositories, run the APT command as follows.
sudo apt install docker.io -y
The command installs Docker alongside a host of other additional packages and dependencies.

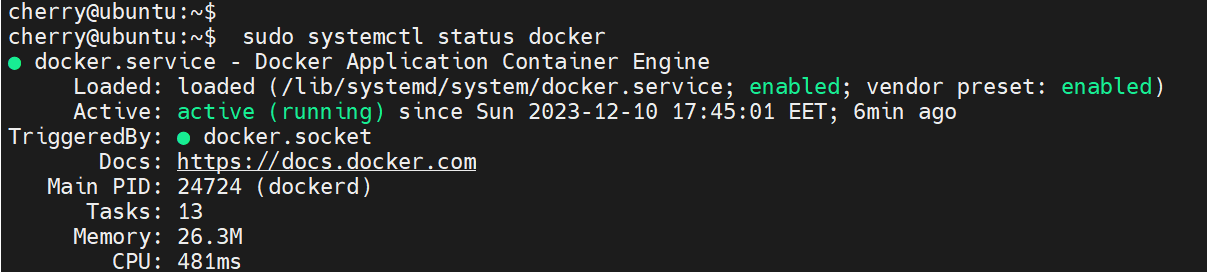
Docker starts automatically upon installation on Ubuntu and other Debian-based distros. To confirm this, check its status as follows.
sudo systemctl status docker
The following output confirms that Docker is up and running as expected.
If, for some reason, the service is in an inactive state, start it as shown.
sudo systemctl start docker
Add the currently logged-in user to the docker group to run Docker commands without switching to a sudo user.
sudo usermod -aG docker $USER
For this to come into effect, start a new shell or close and open a new terminal session.
Step 3: Install Portainer on Ubuntu
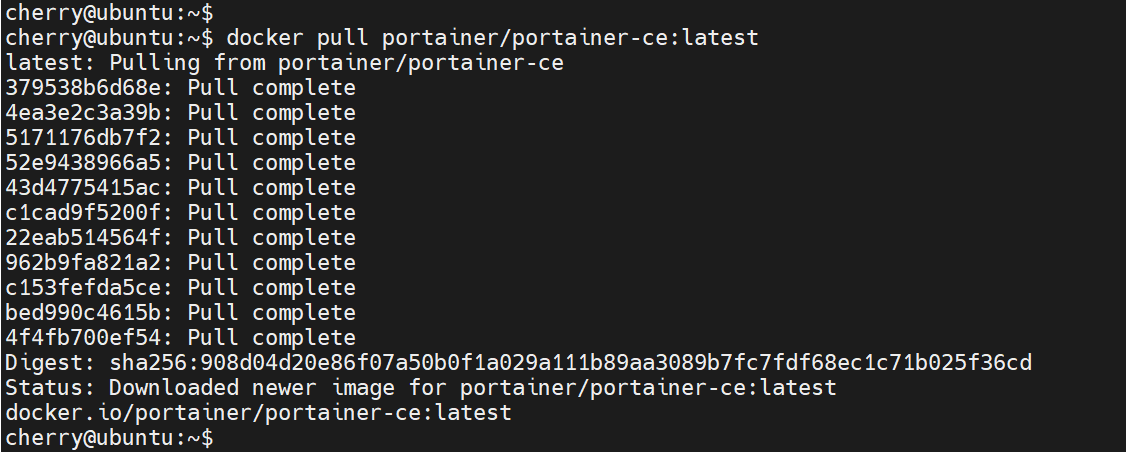
With Docker already in place, let’s now install Portainer. Pull the latest Portainer image from the Docker hub using the docker pull command.
docker pull portainer/portainer-ce:latest
You should see the following output on your screen.
To confirm the existence of the image, run the docker images command.
docker images
The output provides details about the newly pulled Portainer image, including the repository, tag, image ID, date of creation, and container size.

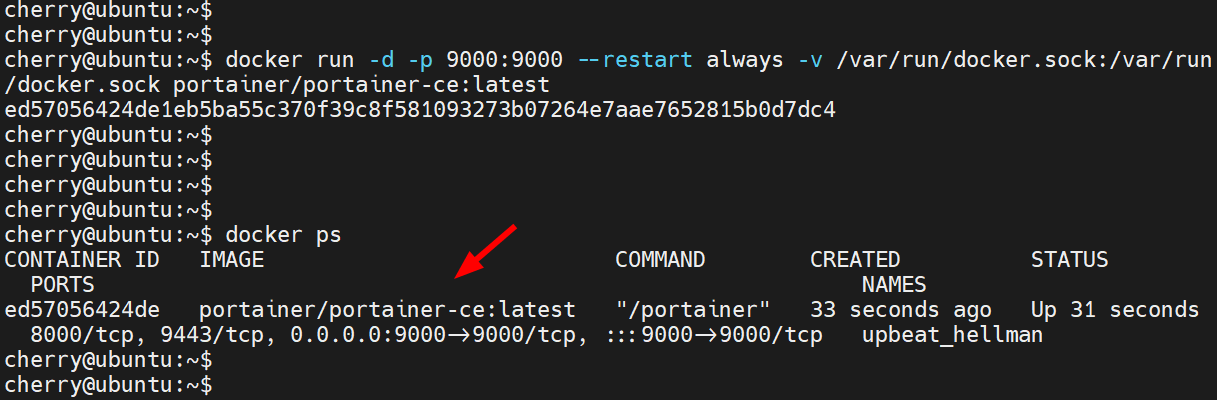
Next, invoke the docker run command to start the Portainer container as shown.
docker run -d -p 9000:9000 --restart always -v /var/run/docker.sock:/var/run/docker.sock portainer/portainer-ce:latest
The command runs a container in the background using the -d flag and binds the TCP port 9000 on the container to TCP port 9000 on the server using the -p option.
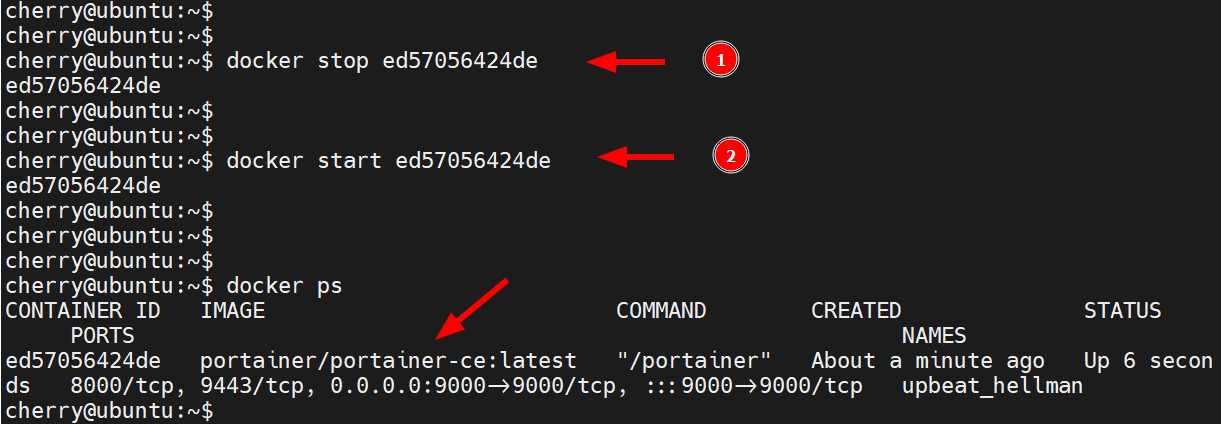
Run the docker ps command to verify that the container is active and running.
docker ps
The output contains the container ID, image name, ports, port mapping, the duration that the container has been running, and the container name.
Step 4: How to access Portainer web interface
To access Portainer’s web interface, launch your web browser and browse this URL
http://server-ip:9000
NOTE: Sometimes, you can run into the error showing that the container has timed out for security purposes, as shown below.
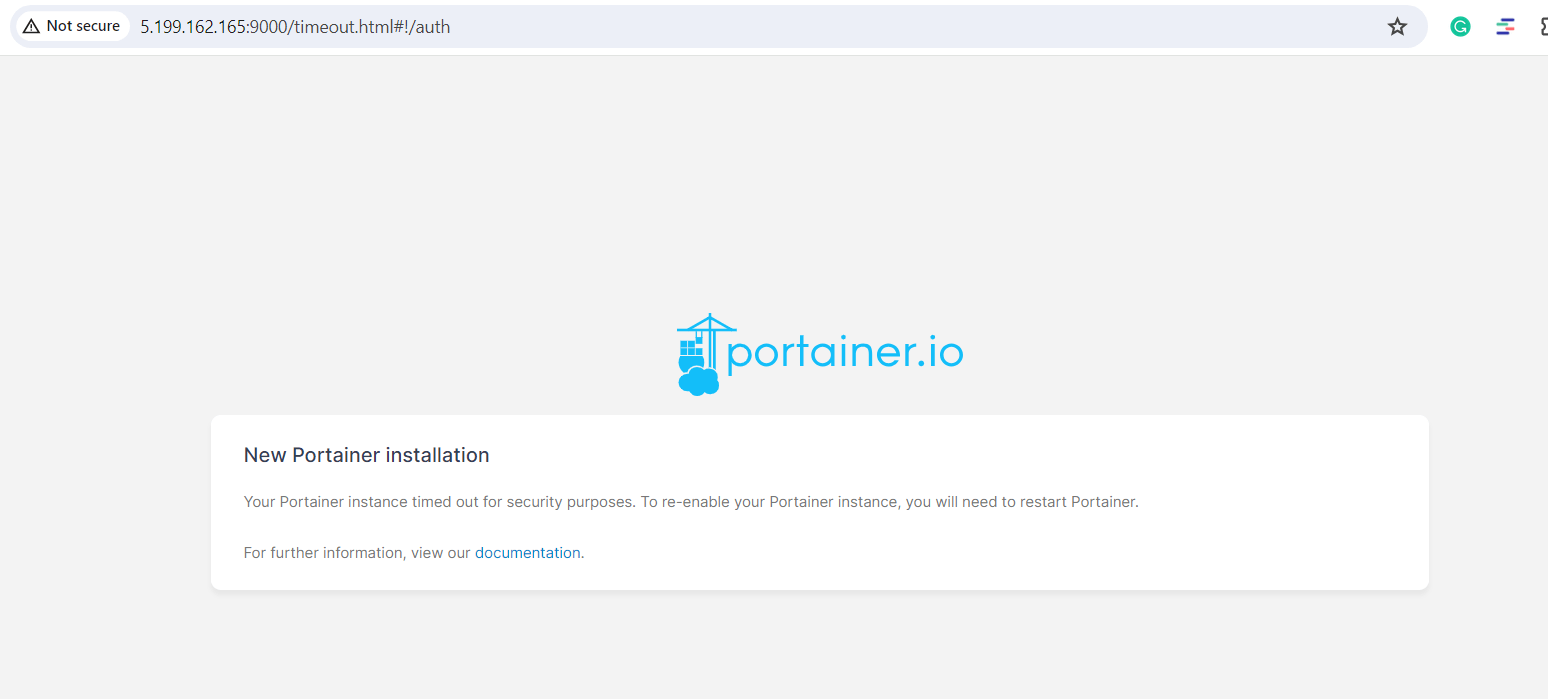
As a workaround, restart the container using the docker stop and docker start commands as shown below.
docker stop contaner_ID
docker start contaner_ID
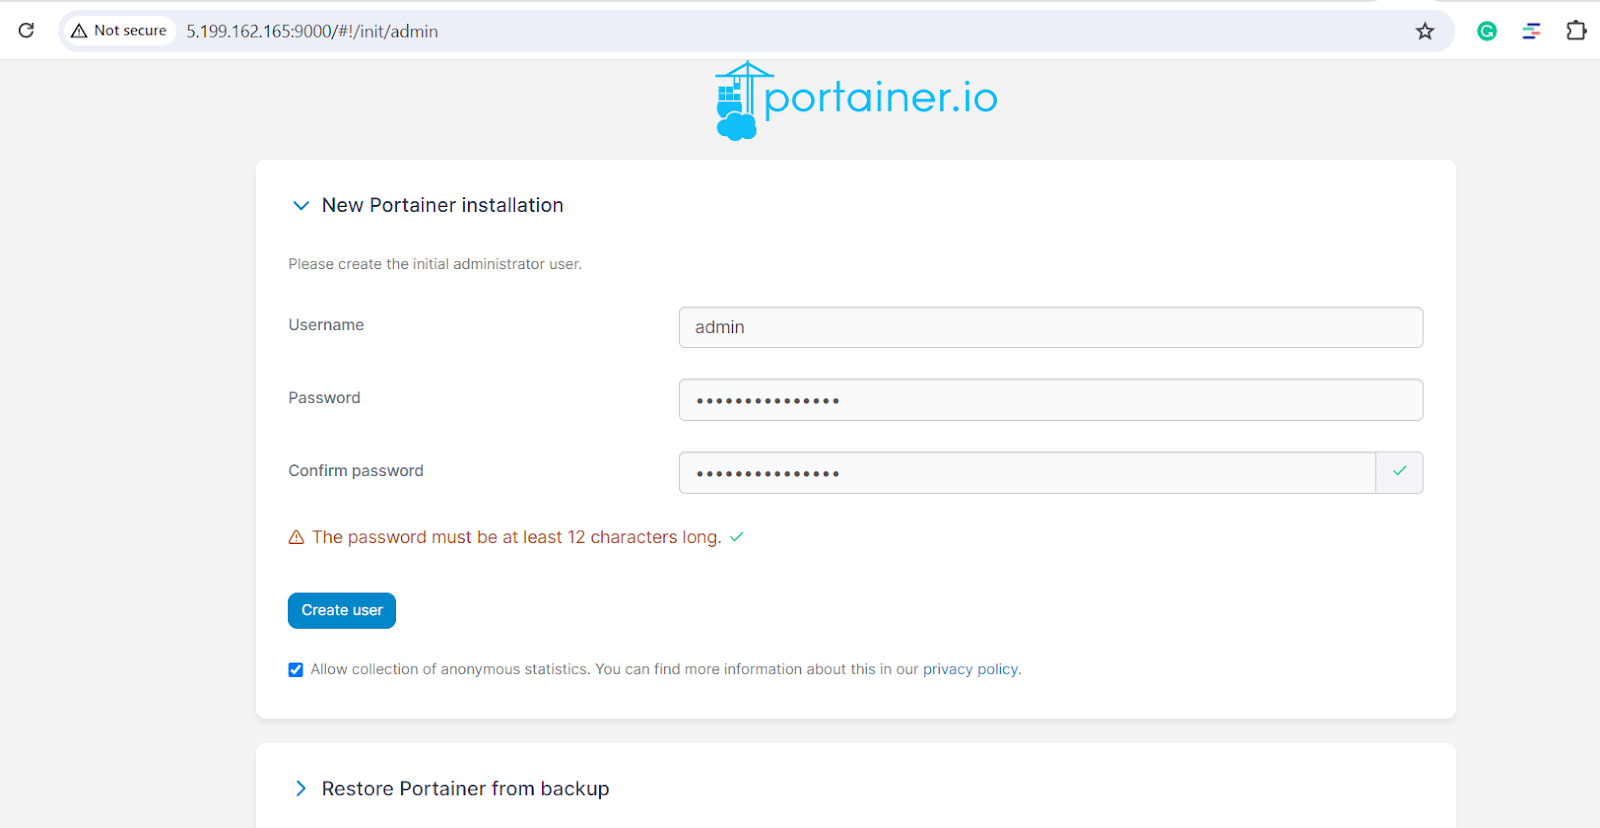
When you browse the URL, you will be required to create an administrative user. Therefore, provide a username and a strong password and click Create User.
Step 5: Get started: Deploy a Docker container
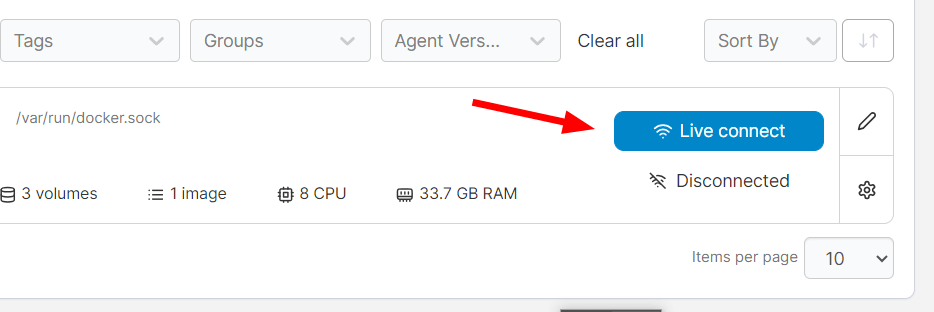
Once you’ve created an admin user, you will be guided to the Quick Setup page. Since only one Portainer environment is currently sitting on your local environment, select the Get Started option.

Next, click the Live connect button.
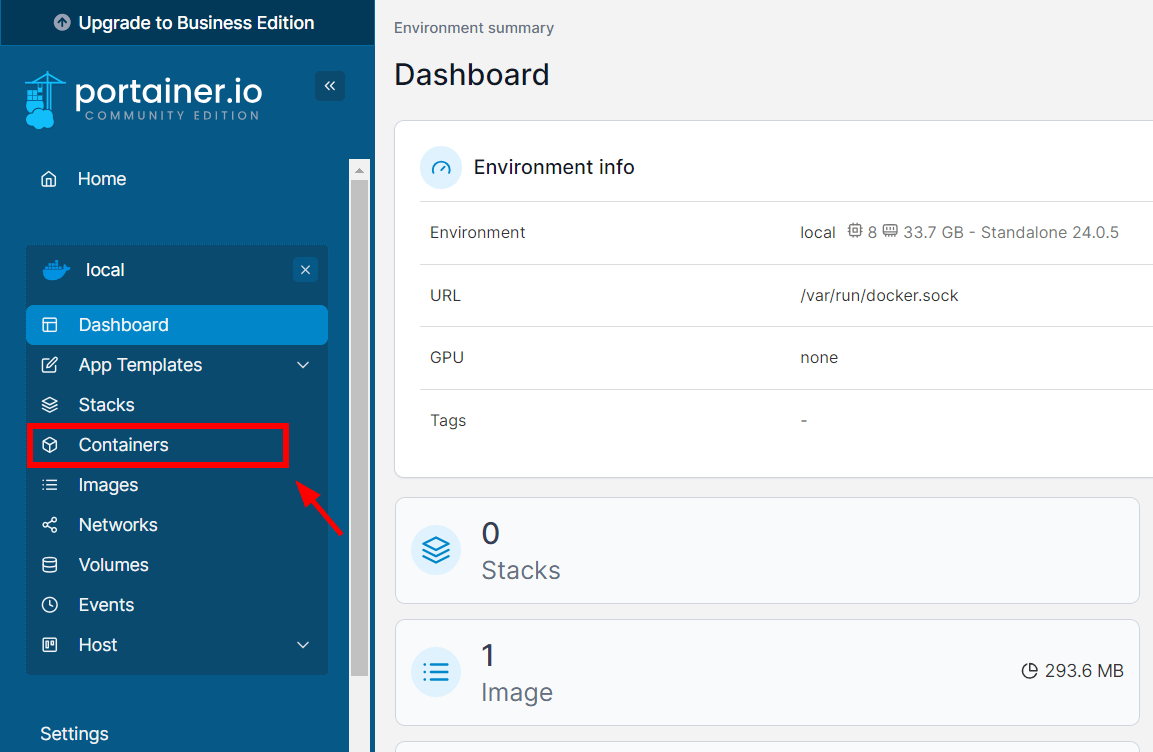
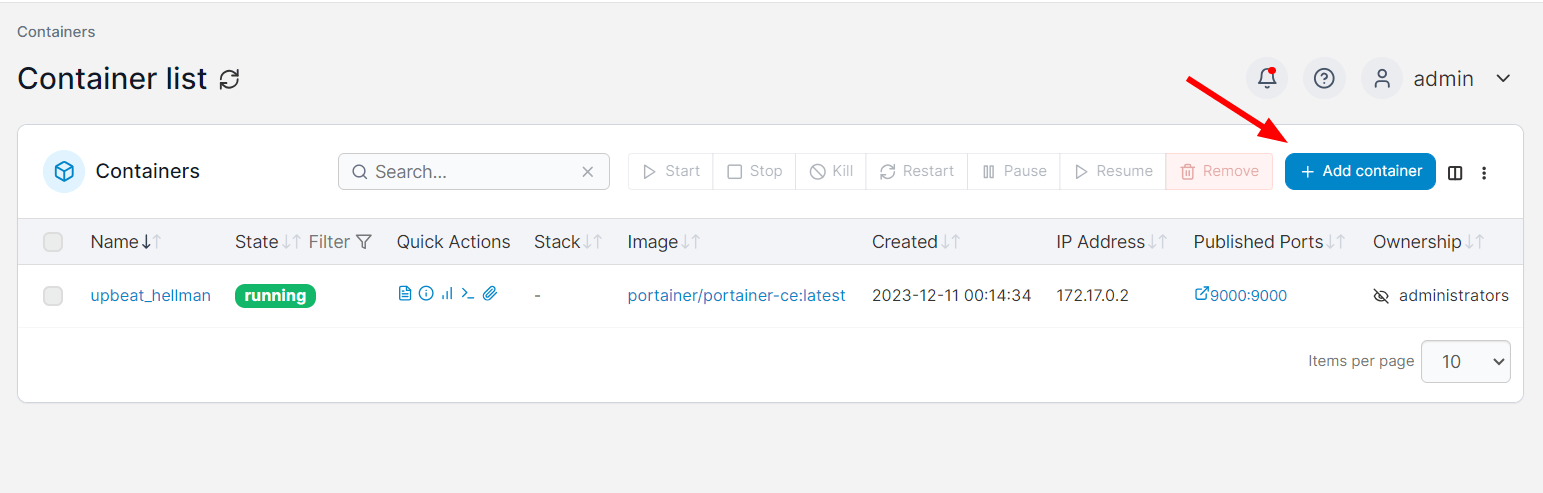
You will be directed to your environment’s dashboard. On the left navigation bar, click Containers to start creating a container.
Next, click the add container button to the far left to create containers. You can already see that the Portainer image is listed as running on the container list.
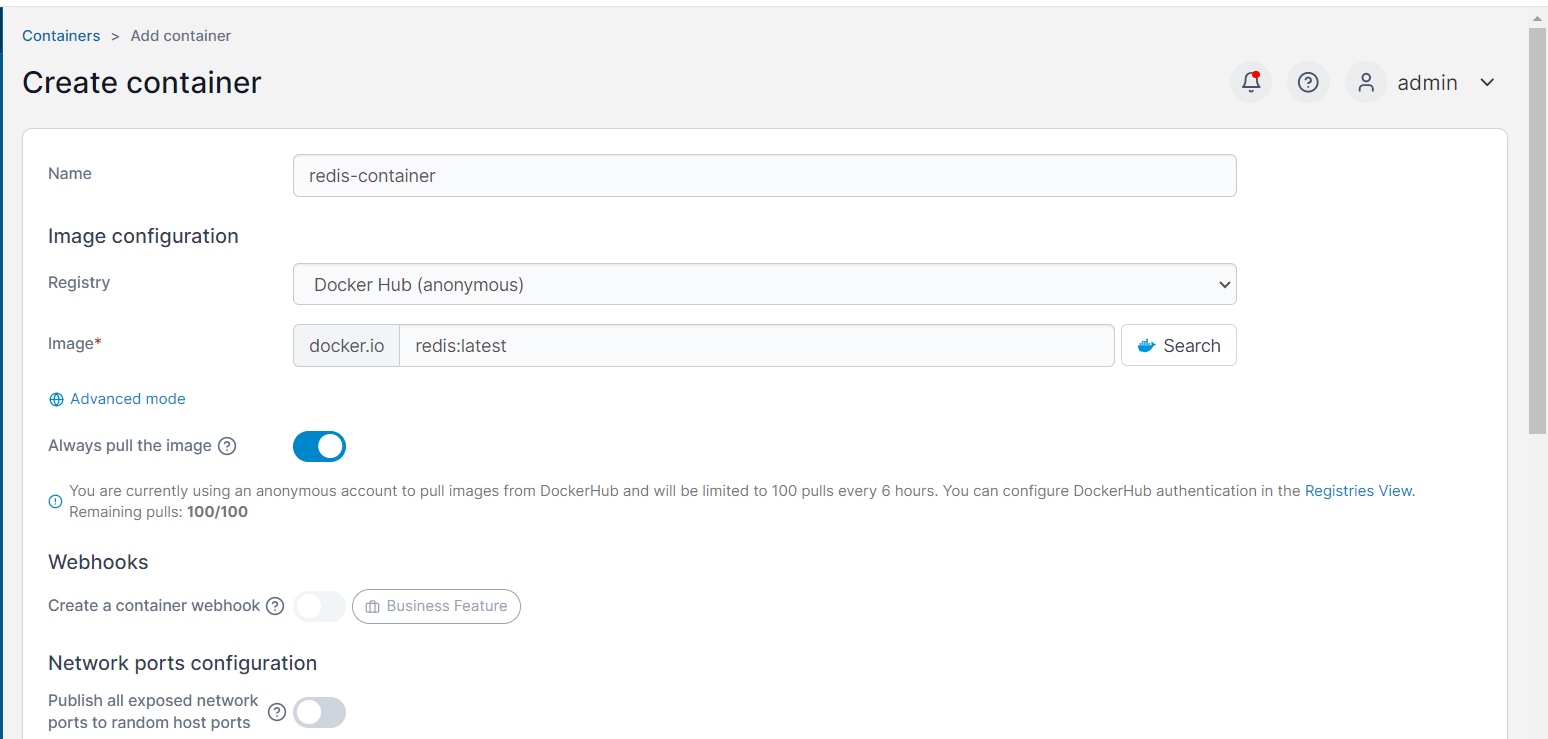
On the Create Container page, specify the container details such as the container name, registry (by default, this is set to Docker Hub), and image. If you are unsure about the image name, click the Search button, which will take you to Docker Hub, where you can verify the correct image name.
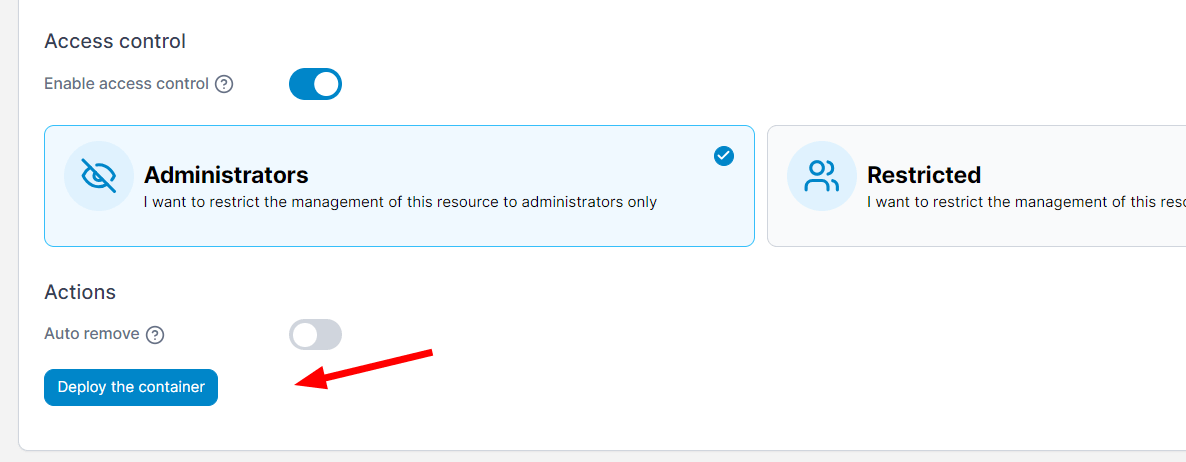
Finally, click the Deploy the Container button.
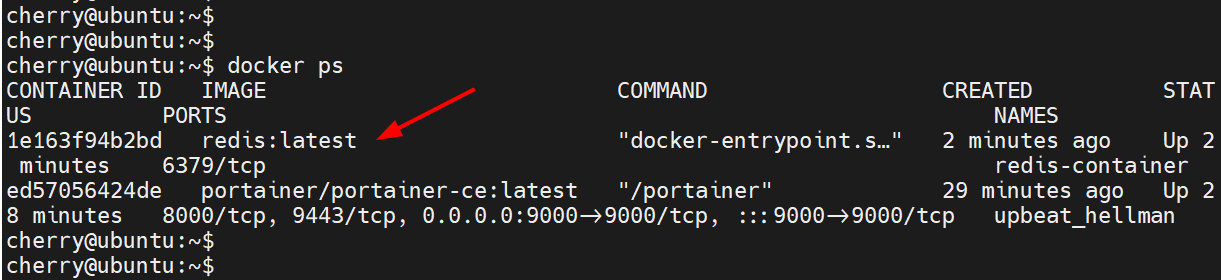
A few moments later, the running container will appear on the container list, as shown below. In this example, we have deployed a Redis container.
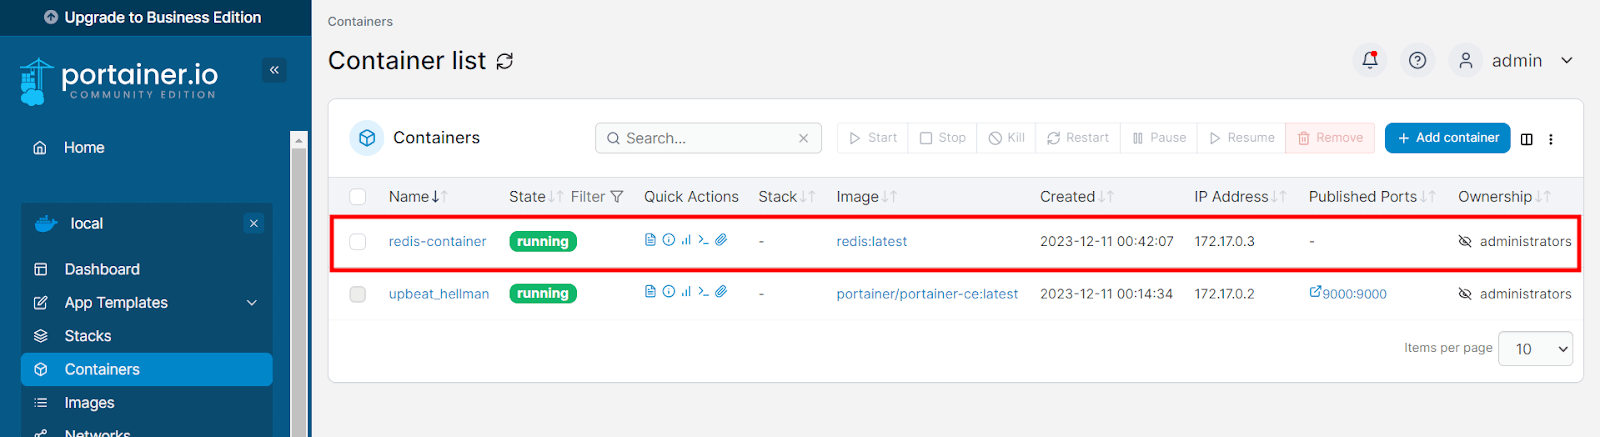
You can confirm the running container on the command line by running docker ps once more. The output below shows an additional container running with the tag redis:latest. This confirms that our Redis container is running as expected.
From the Portainer dashboard, you can perform a host of other operations, such as starting, stopping, restarting, and pausing containers.
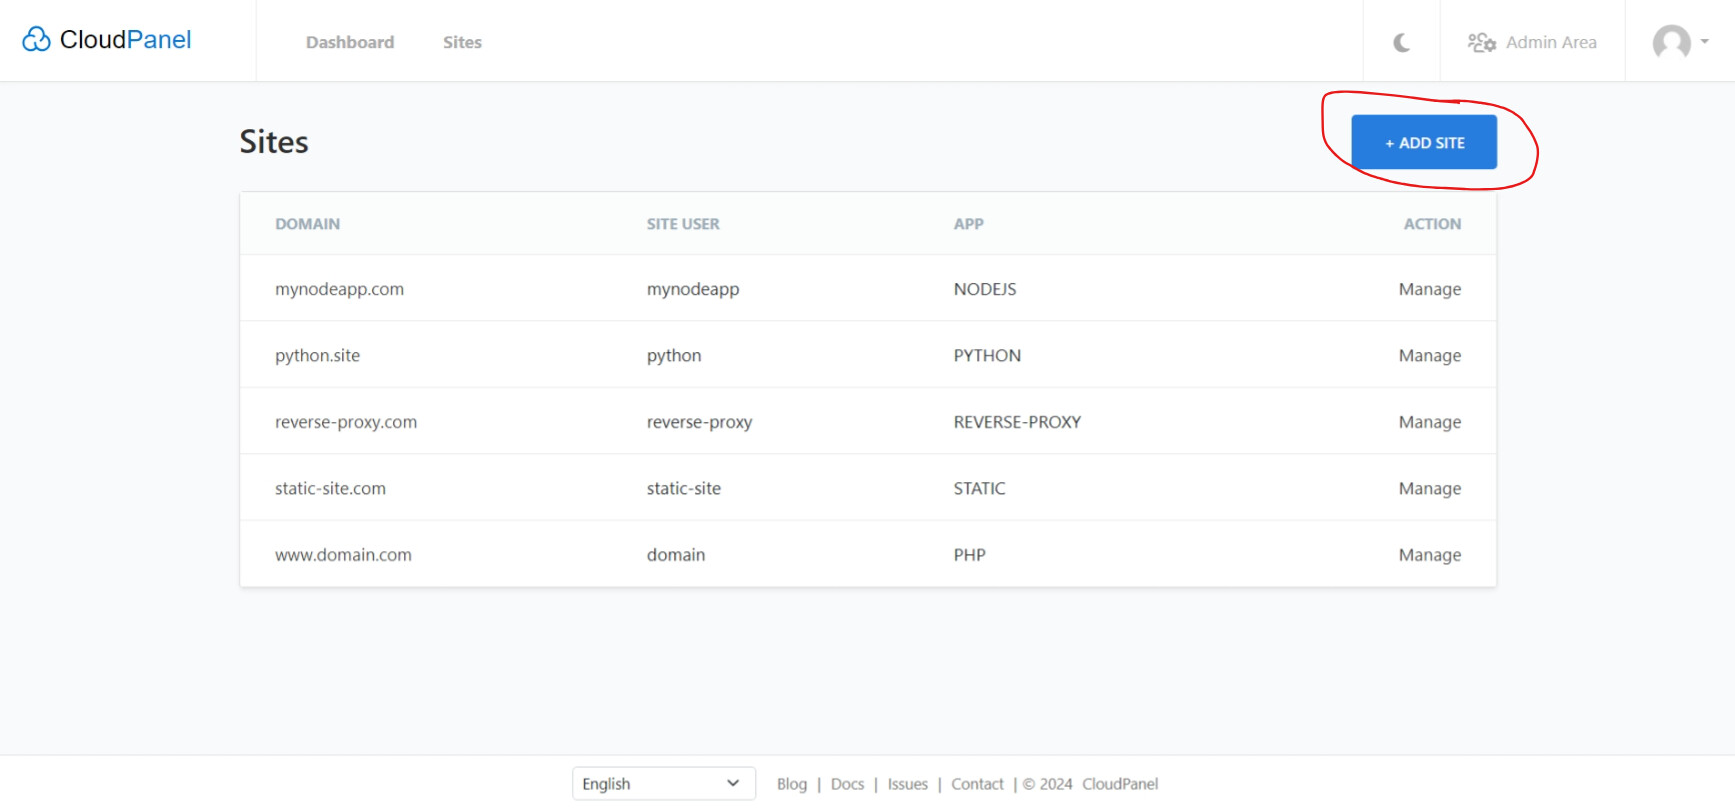
Create a Reverse Proxy Site in CloudPanel
→ We click the + Add Site button…
![]()
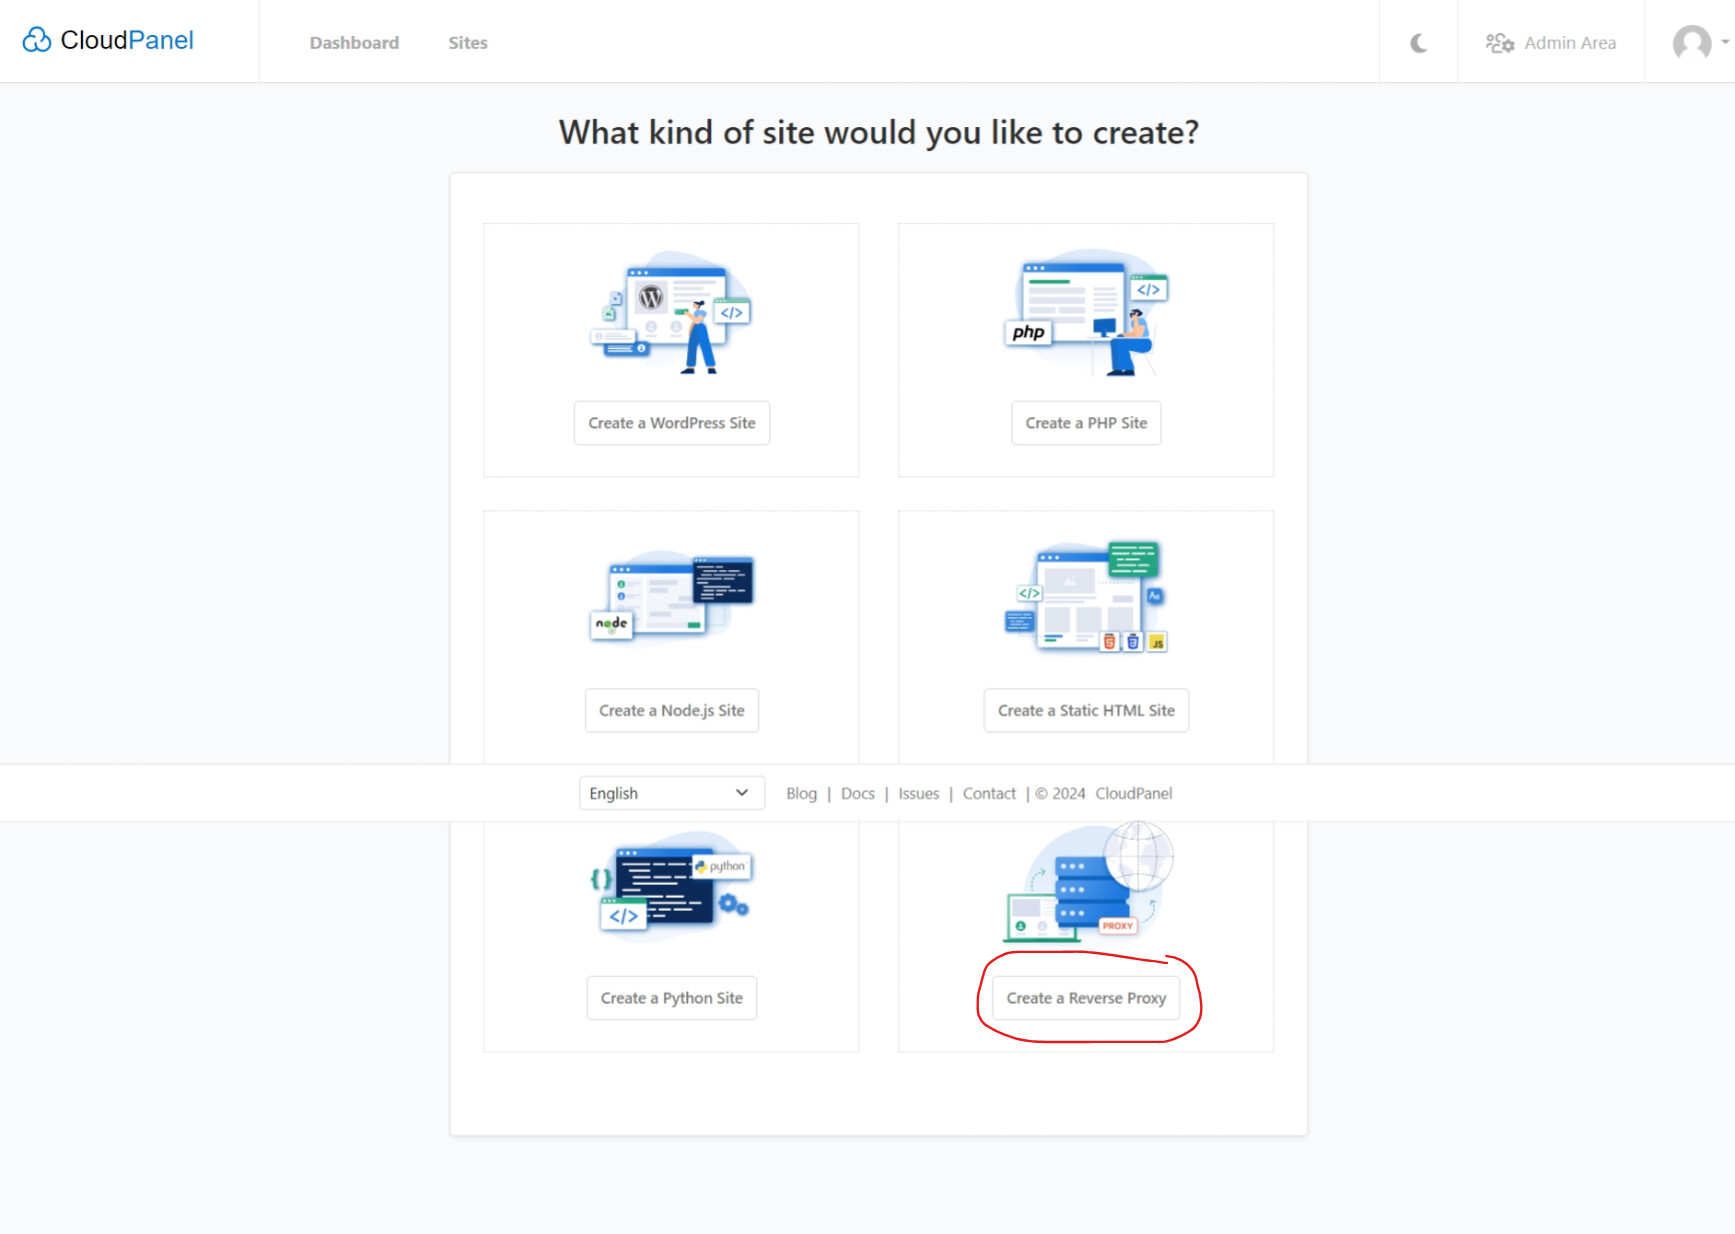
We create a new “Reverse Proxy Site” in the CloudPanel for the domain where we want to host our Portainer (of course the DNS A record of the domain needs to be pointing to the same IP address as our CloudPanel.) I will not go into this now
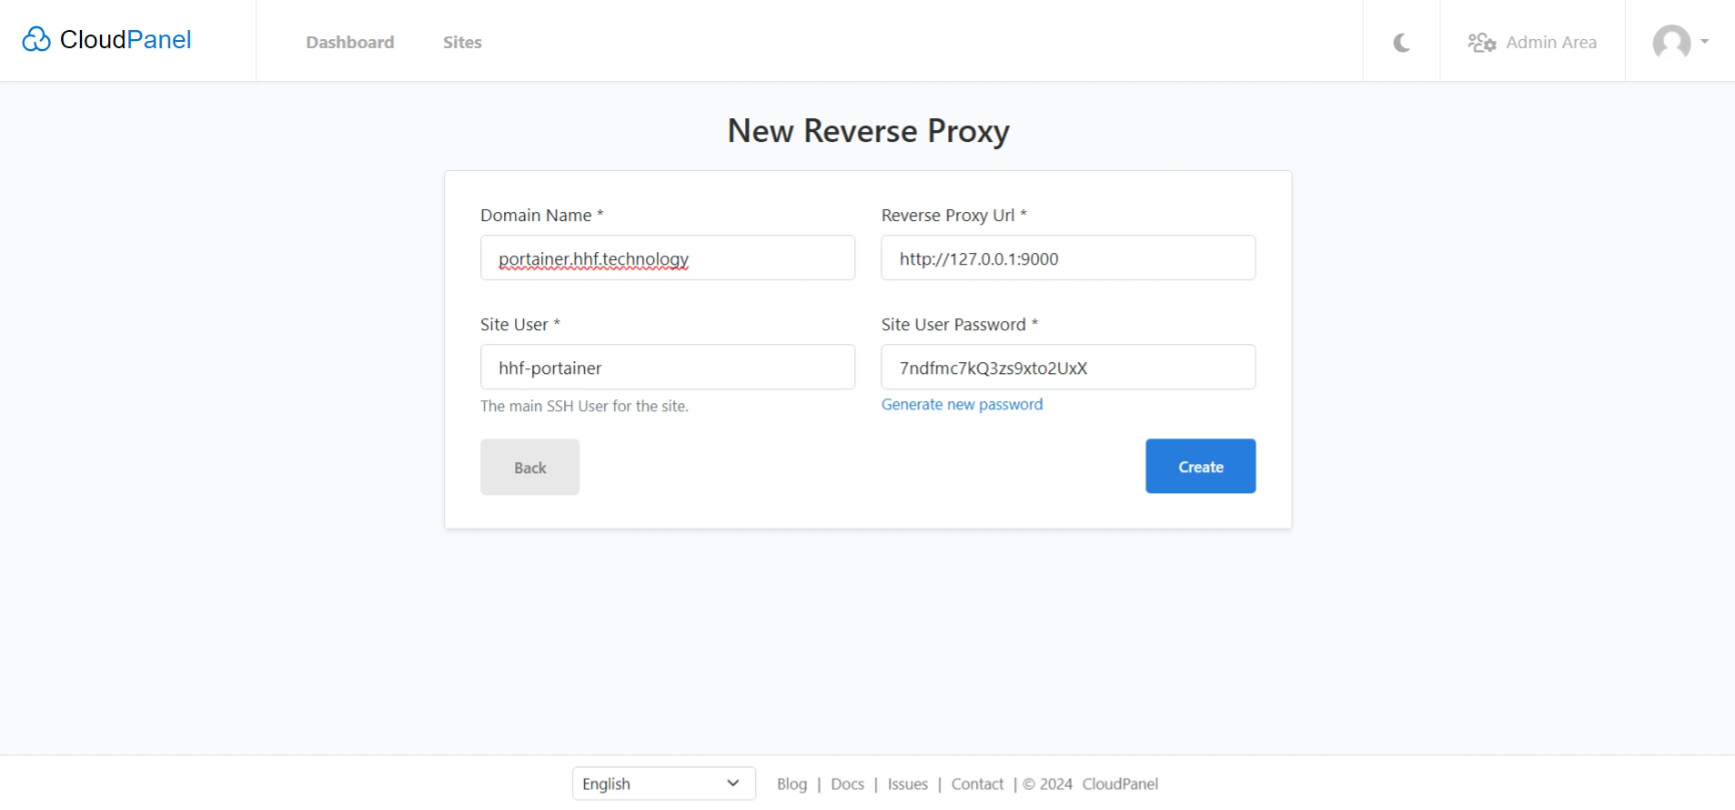
→ We click the + Create button…
![]()
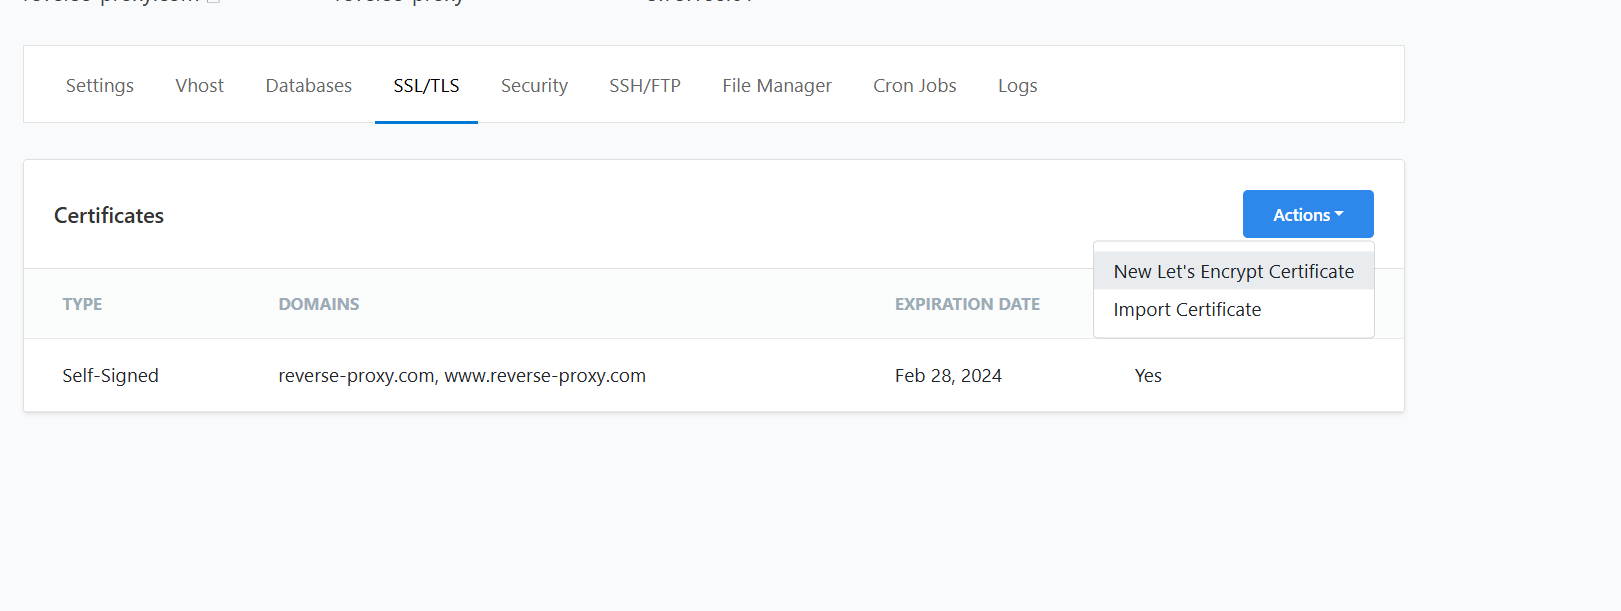
→ Head over to SSL/TLS click the + Create New Lets Crt button…
![]()
If everything done correctly you will be live with your portainer domain.
Post any question in the thread below.