CloudPanel and CrowdSec Integration

Experience the advanced capabilities of CloudPanel for web server management, enhanced by the real-time security features of CrowdSec. By integrating CrowdSec with CloudPanel, users can streamline their web server administration while significantly bolstering security measures. This synergistic combination not only simplifies management tasks but also fortifies defenses against cyber threats, ensuring a robust hosting environment.

Key Features

  • Seamless Integration: The integration of CrowdSec into CloudPanel allows for automated threat detection and mitigation, enhancing the overall security posture of the web server.
  • User-Friendly Interface: CloudPanel offers an intuitive interface that facilitates efficient management of multiple applications, domains, and databases.
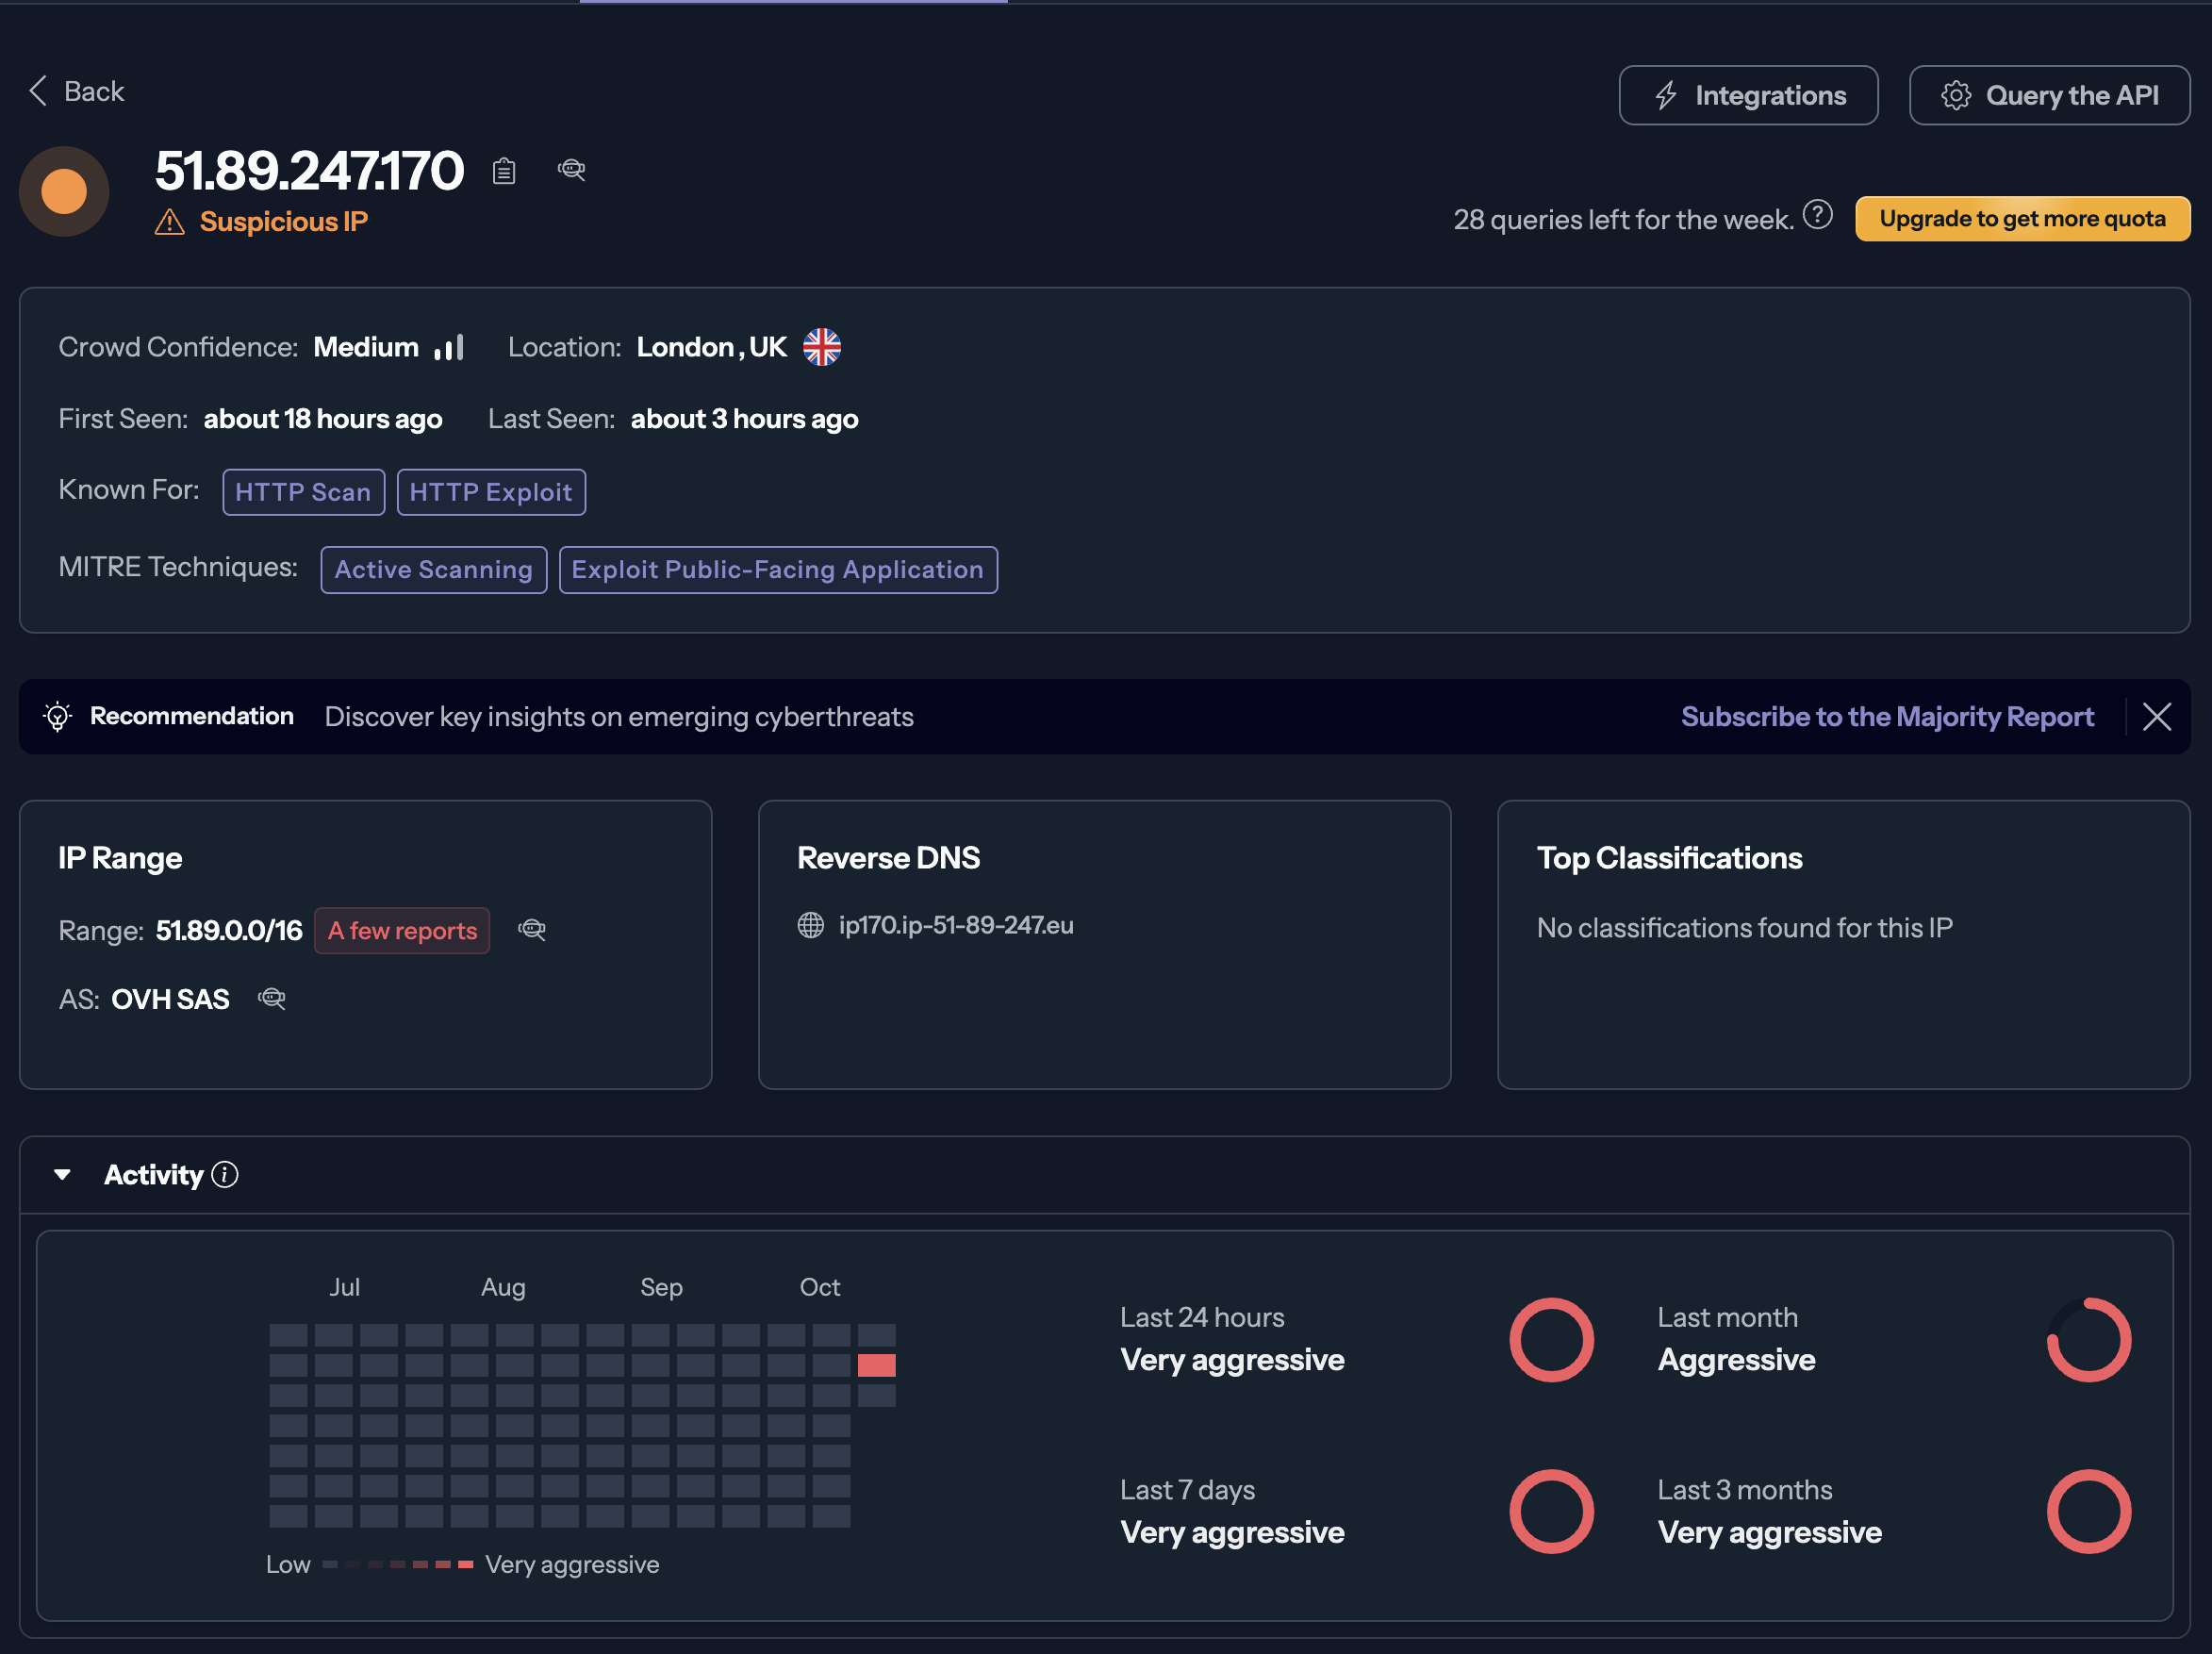
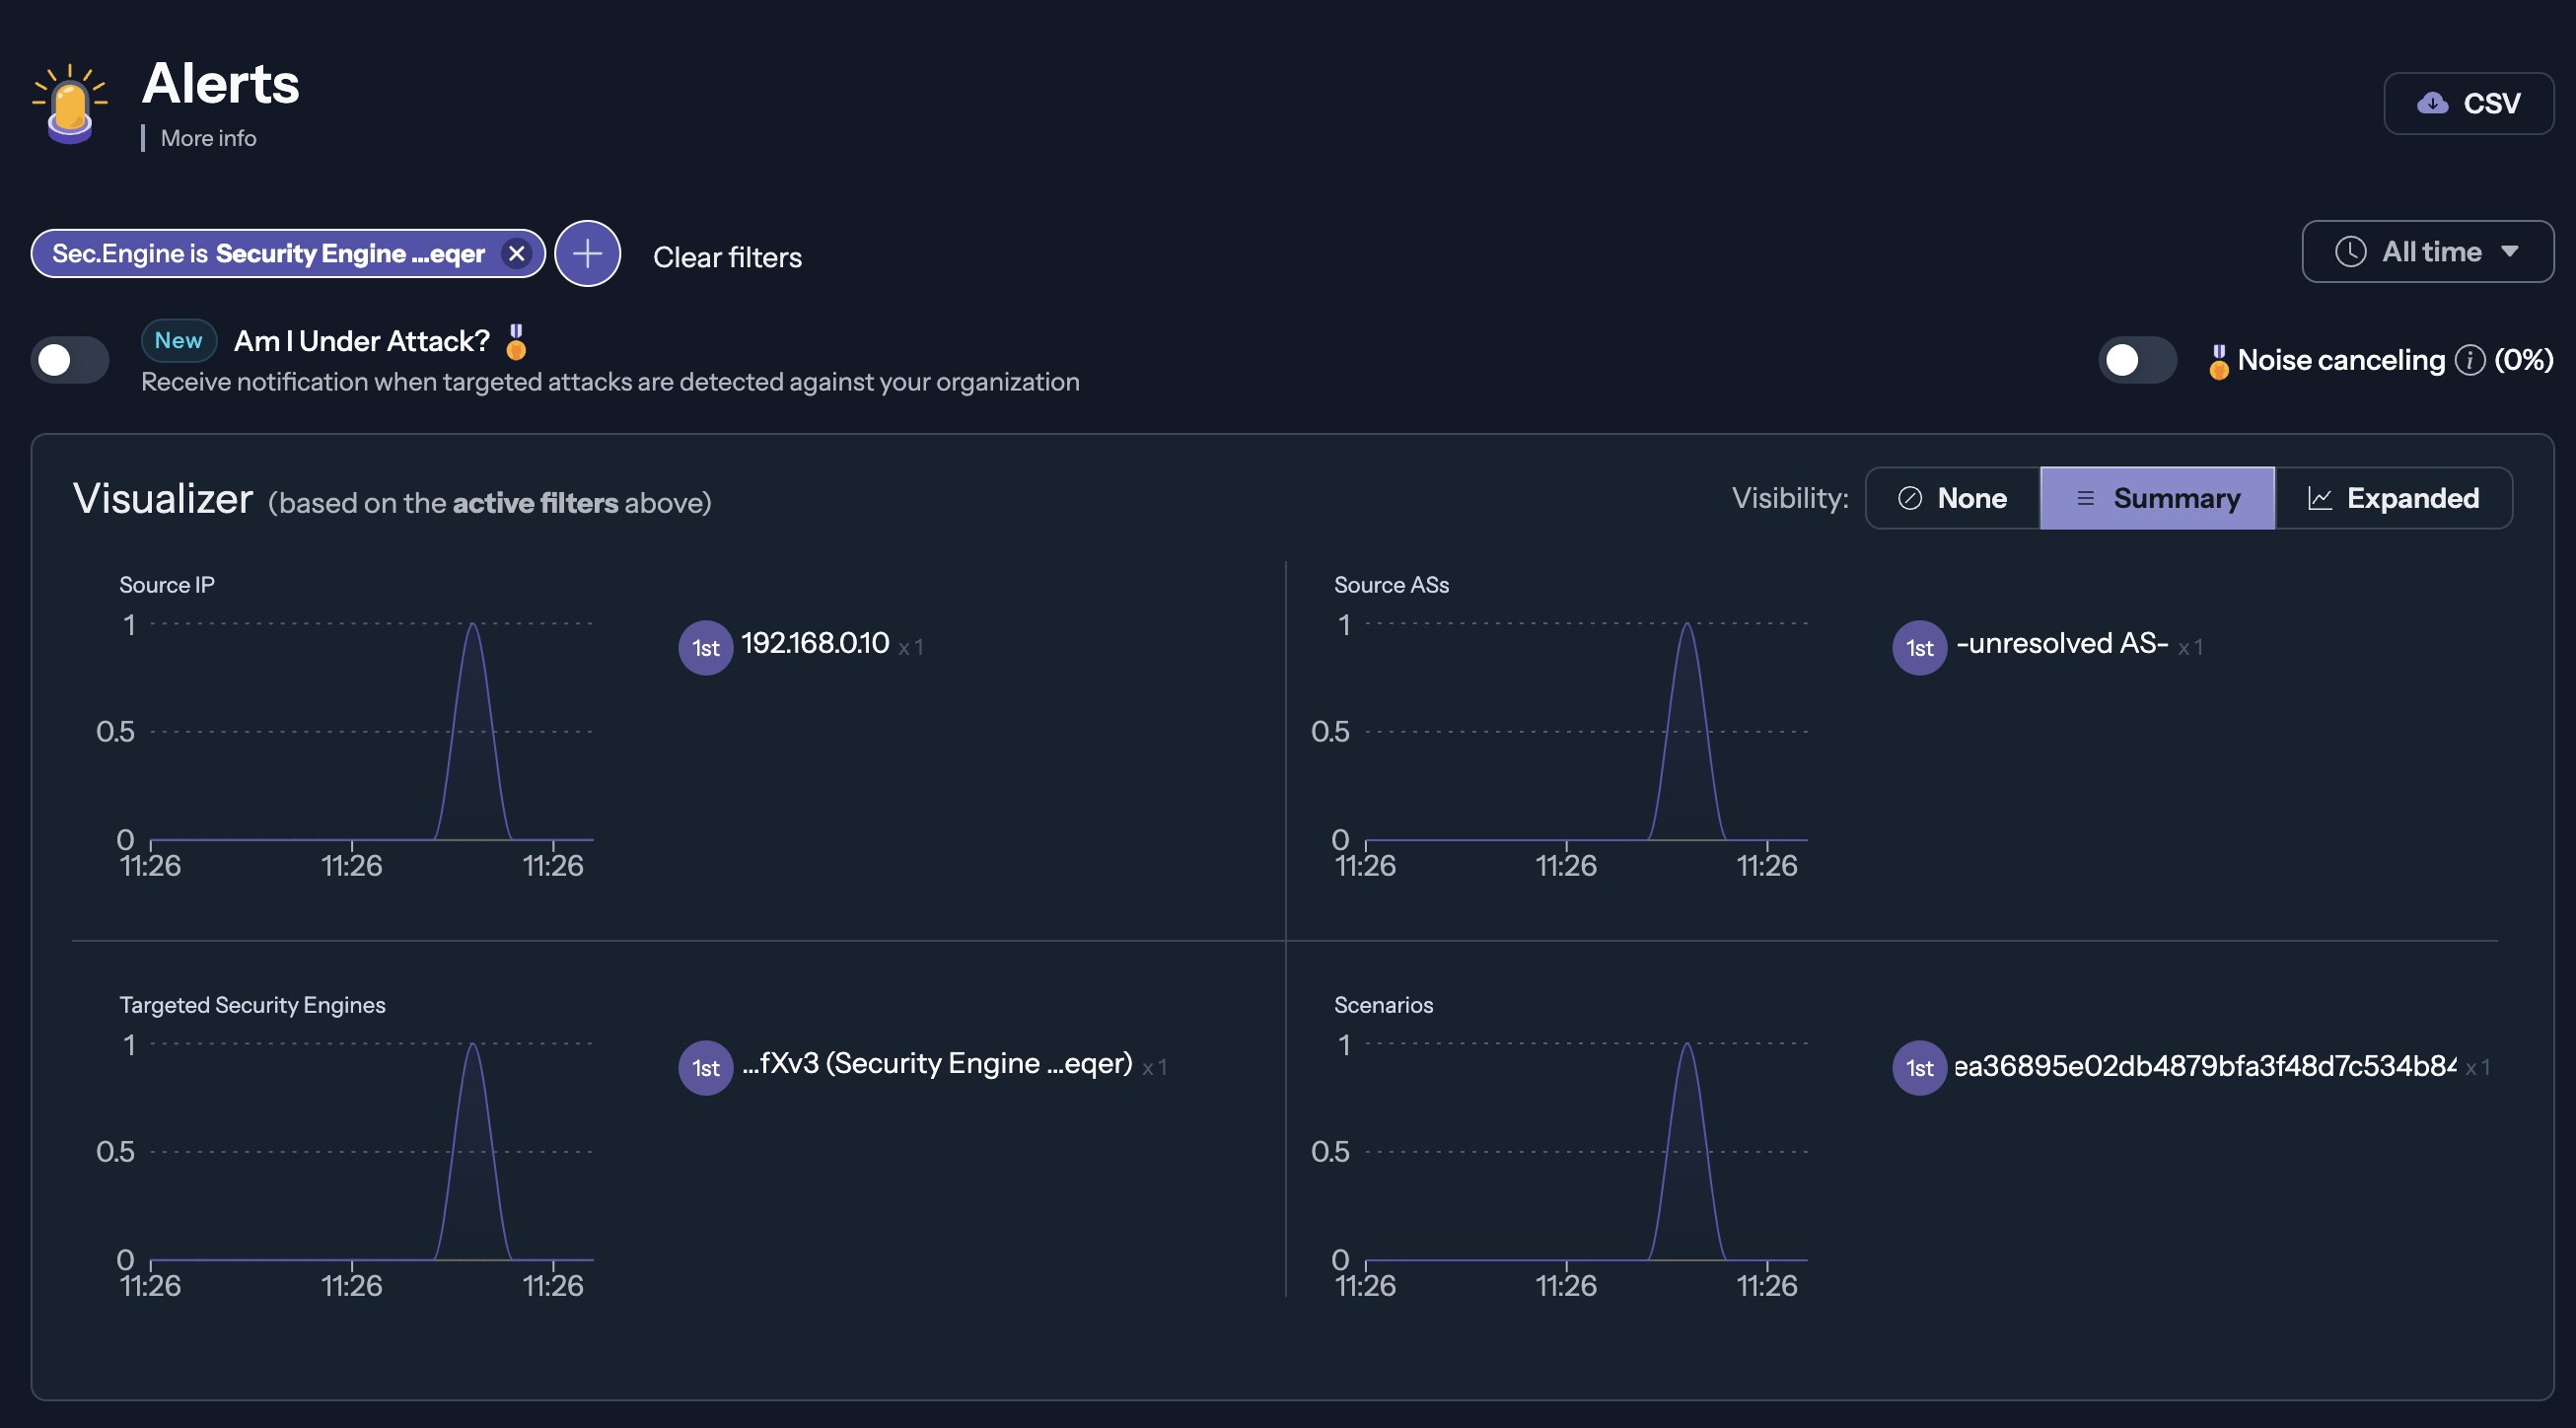
  • Robust Security Framework: With CrowdSecโ€™s real-time monitoring capabilities, users benefit from proactive defense mechanisms against various attack vectors.

Advantages

  • Streamlined Management: The combined functionalities of CloudPanel and CrowdSec enable users to focus on application development rather than server maintenance.
  • Enhanced Security Protocols: Utilizing CrowdSecโ€™s community-driven threat intelligence provides an additional layer of security, adapting to emerging threats dynamically.
  • Optimized Performance: The lightweight architecture of CloudPanel ensures that server resources are utilized effectively, resulting in improved application performance.

In summary, the collaboration between CloudPanel and CrowdSec empowers users to maintain high-performance web servers while ensuring comprehensive security, thus allowing developers to concentrate on delivering exceptional applications without security concerns.

Integration of CloudPanel and CrowdSec for Enhanced Web Server Management

This document outlines the integration of CloudPanel with CrowdSec, a powerful combination designed to streamline web server management while simultaneously enhancing security.

Installation Procedure

Prerequisites for CloudPanel Installation

Begin the installation process on a freshly provisioned Ubuntu 24.04 LTS server.

Steps for Installing CrowdSec

The installation of CrowdSec is a straightforward process that can be completed in three primary steps:

  1. Adding the CrowdSec Repository

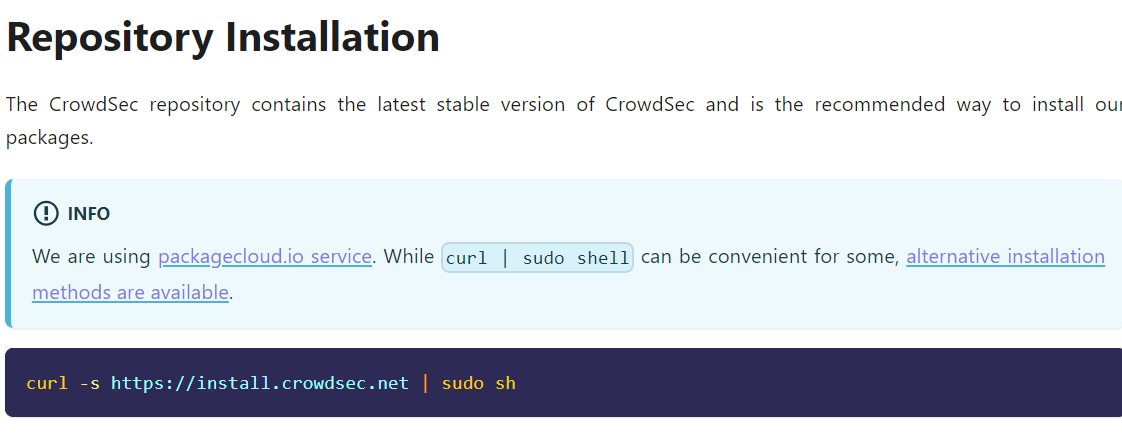
    To initiate the installation, add the CrowdSec repository by executing the following command with elevated privileges:

    curl -s curl -s https://install.crowdsec.net | sudo sh
    

  1. Installing CrowdSec

    After successfully adding the repository, install CrowdSec by running:

    apt install crowdsec
    
  2. Installing a Firewall Bouncer

    To enhance security further, install the firewall bouncer component using:

    sudo apt install crowdsec-firewall-bouncer-iptables
    

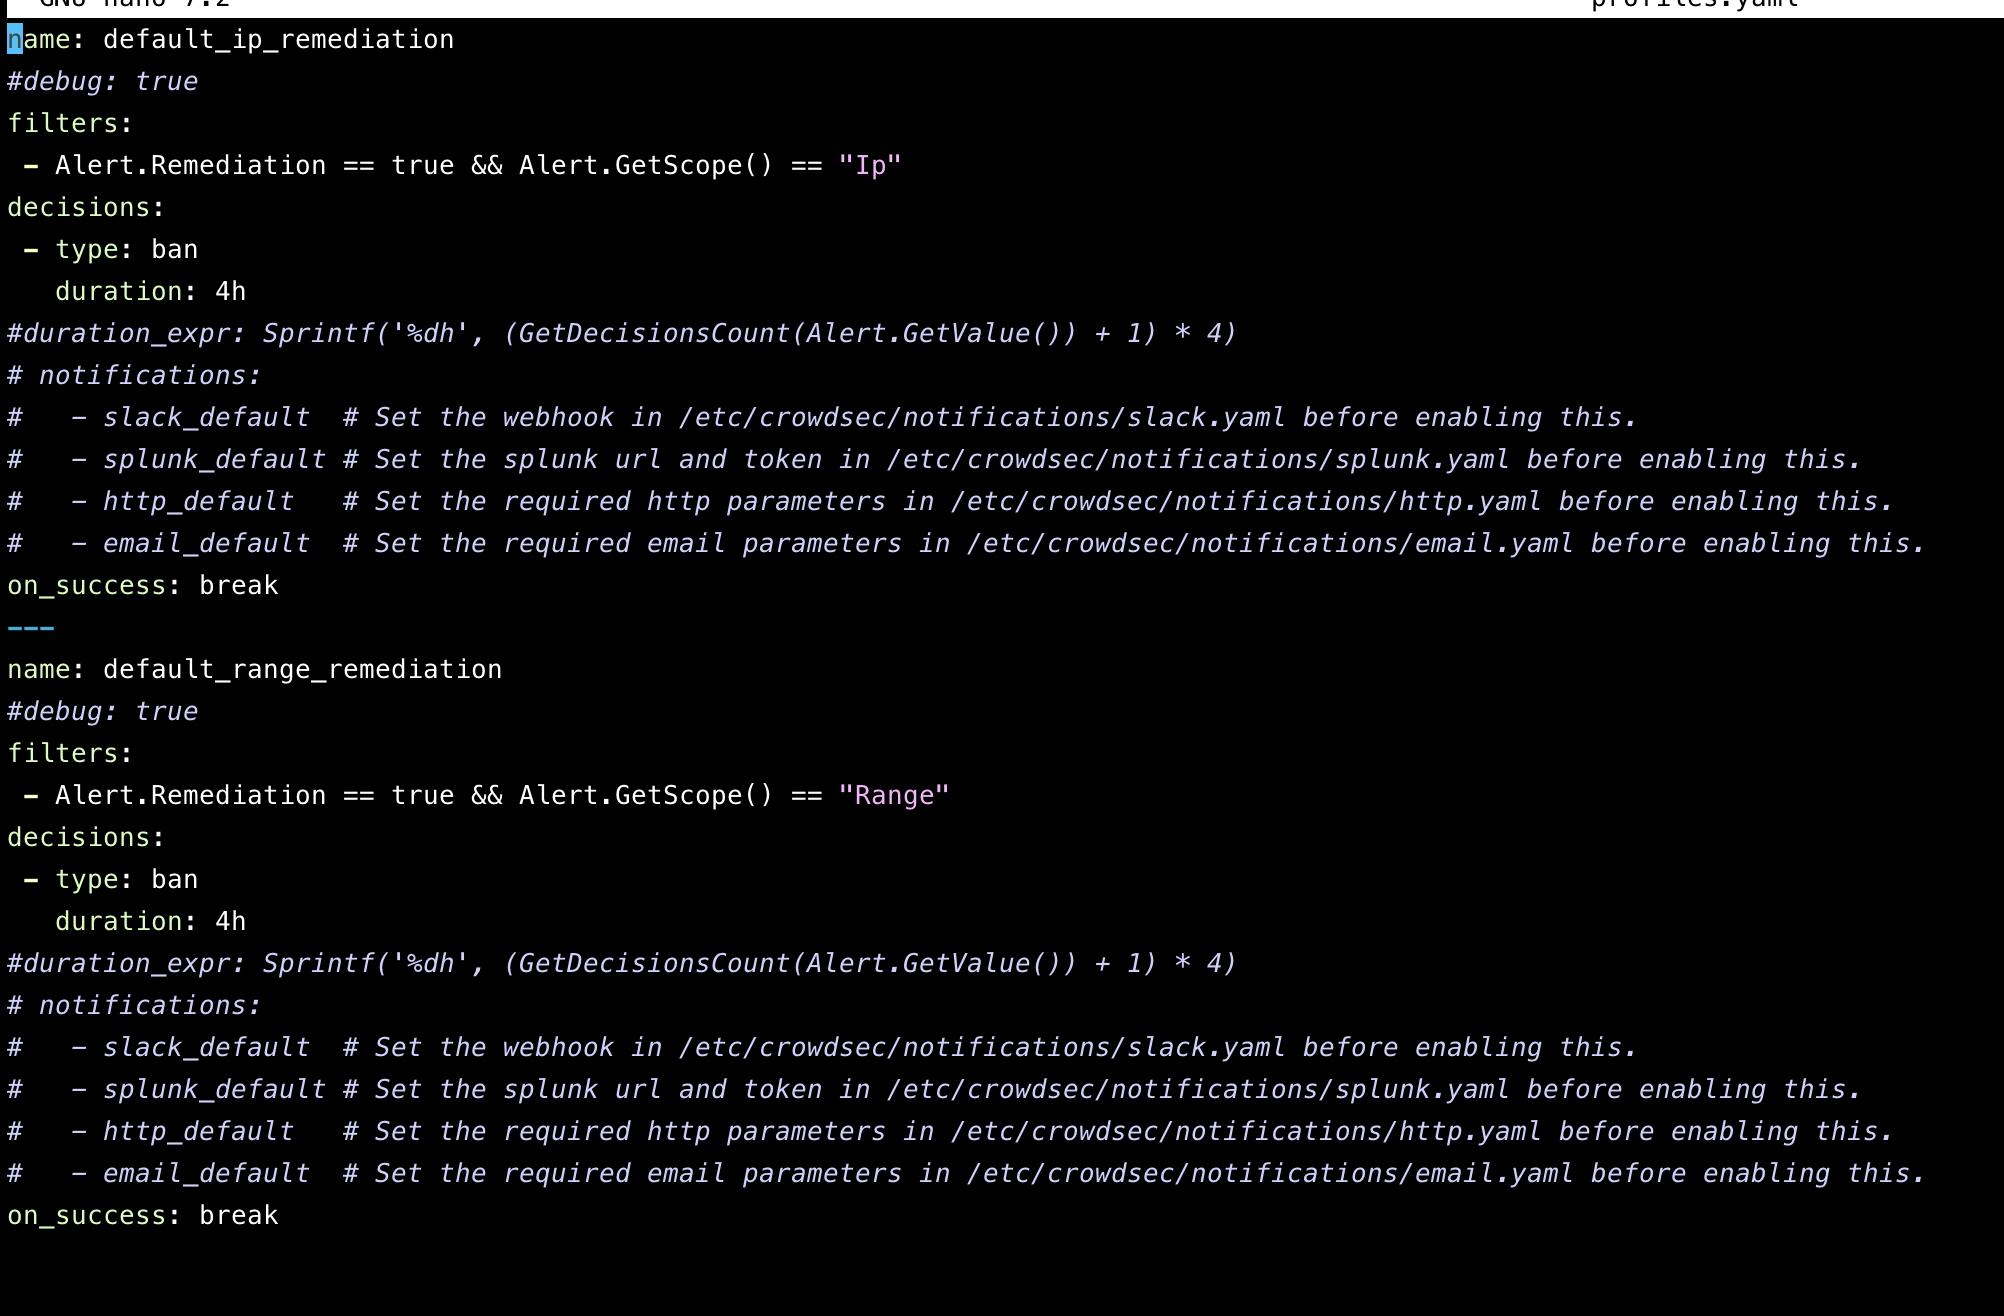
Configuration and Conflict Resolution

During the installation, users may encounter port conflict errors that could hinder the proper startup of CrowdSec. This section provides guidance on resolving such issues through configuration adjustments.

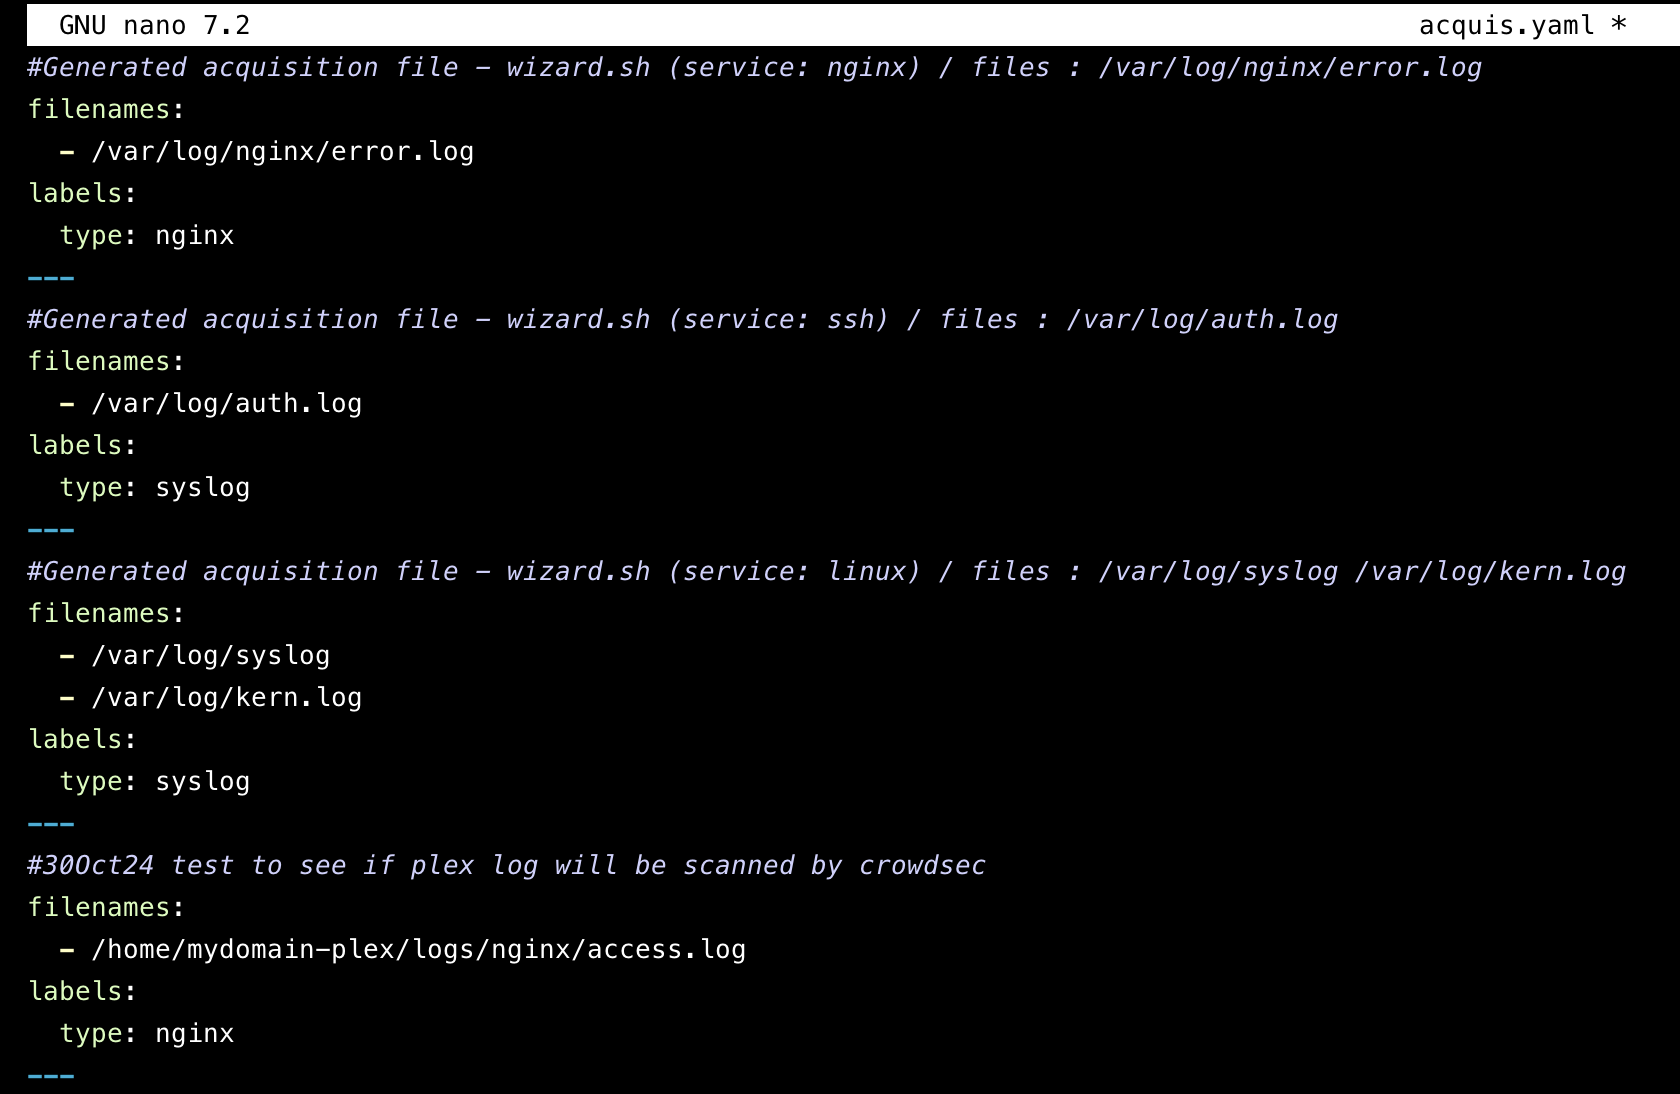
Modifying Configuration Files

To ensure optimal functionality, several configuration files require modification:

  • /etc/crowdsec/config.yaml
  • /etc/crowdsec/bouncers/crowdsec-firewall-bouncer.yaml
  • /etc/crowdsec/local_api_credentials.yaml

Steps to Modify config.yaml:

  1. Open your preferred text editor and access the file located at /etc/crowdsec/config.yaml.
  2. Locate the line specifying listen_uri: 127.0.0.1:8080.
  3. Change this line to listen_uri: 127.0.0.1:8089 to avoid port conflicts.
  4. Save your changes.

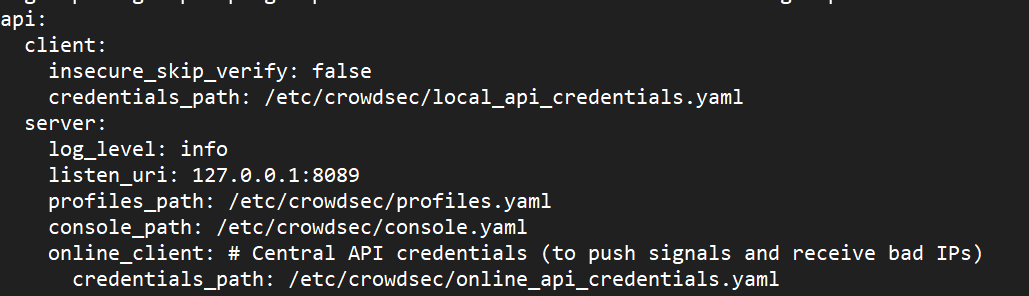
Your updated config.yaml should reflect this modification.

Steps to Modify crowdsec-firewall-bouncer.yaml:

  1. Open /etc/crowdsec/bouncers/crowdsec-firewall-bouncer.yaml in your text editor.
  2. Find the line api_url: http://127.0.0.1:8080/.
  3. Update it to api_url: http://127.0.0.1:8089/.
  4. Save your changes.

Your modified crowdsec-firewall-bouncer.yaml file will now be configured correctly.

Steps to Modify local_api_credentials.yaml:

  1. Access /etc/crowdsec/local_api_credentials.yaml in your text editor.
  2. Locate url: http://127.0.0.1:8080.
  3. Change it to url: http://127.0.0.1:8089.
  4. Save your changes.

The updated local_api_credentials.yaml will now be properly configured.

Restarting Services

Once all configuration files have been modified, restart the necessary services to apply changes:

systemctl restart crowdsec-firewall-bouncer
systemctl restart crowdsec

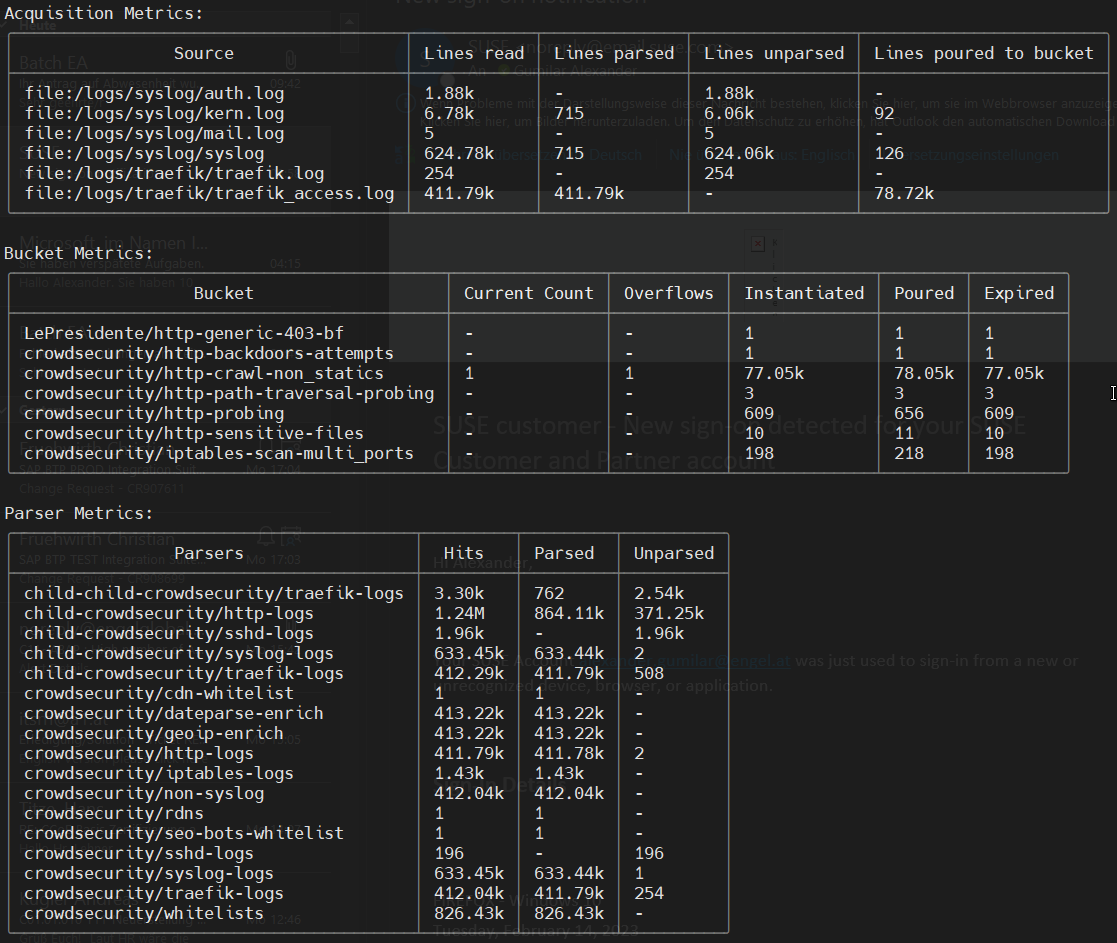
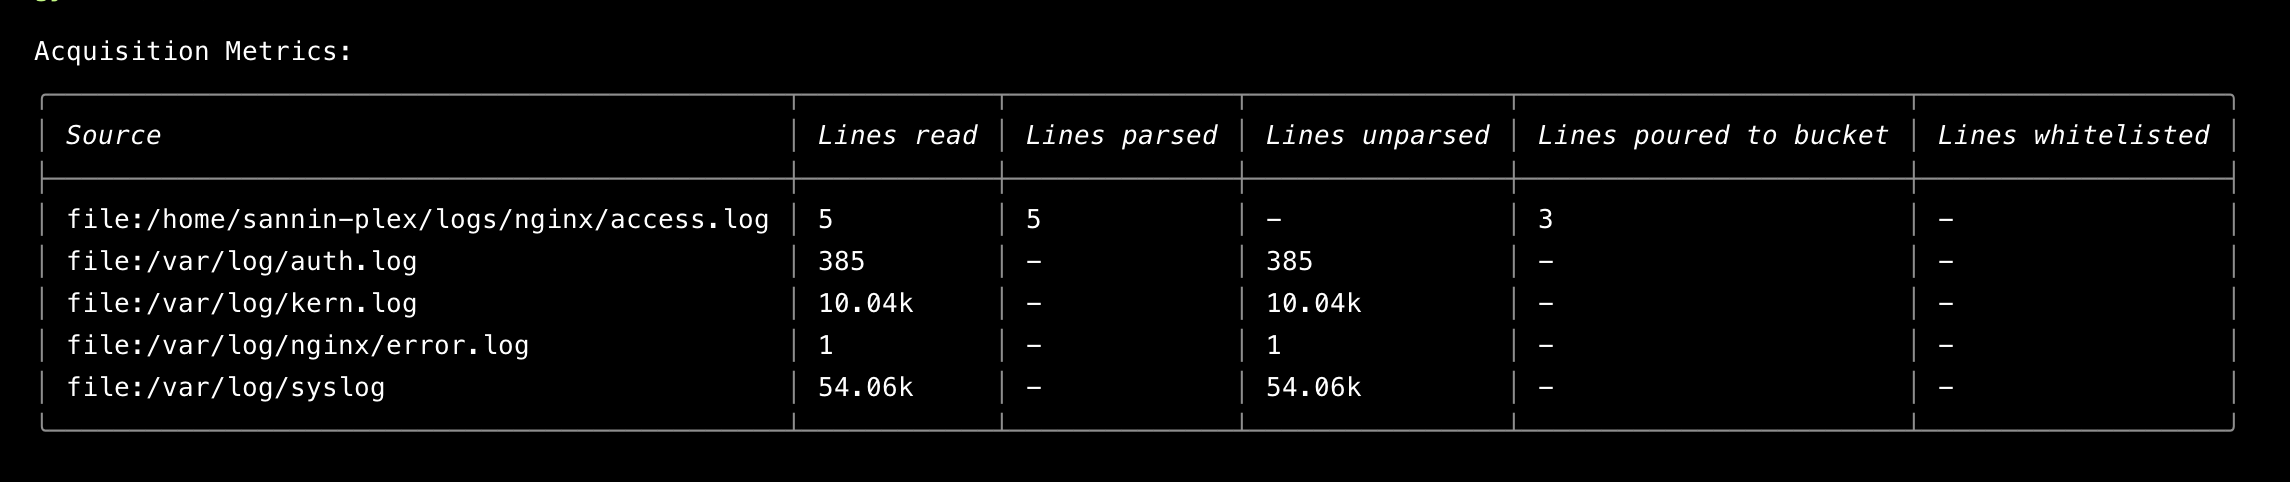
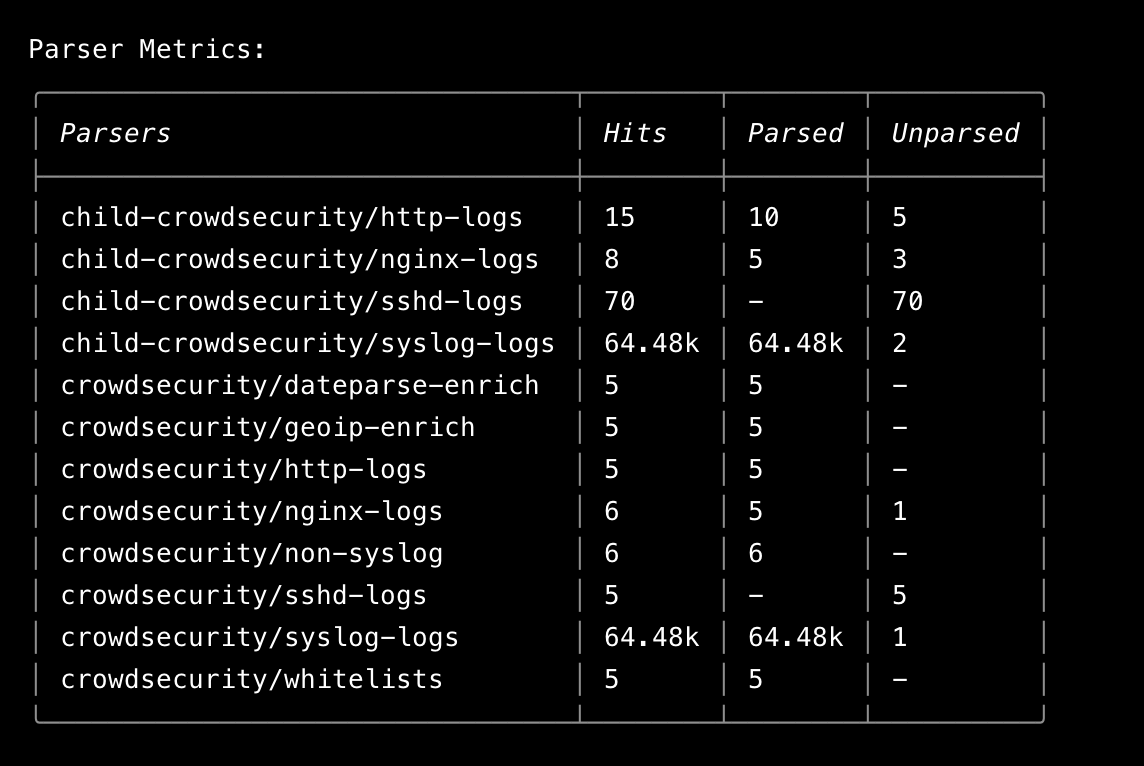
To verify that the CrowdSec service is running correctly, execute:

service crowdsec status

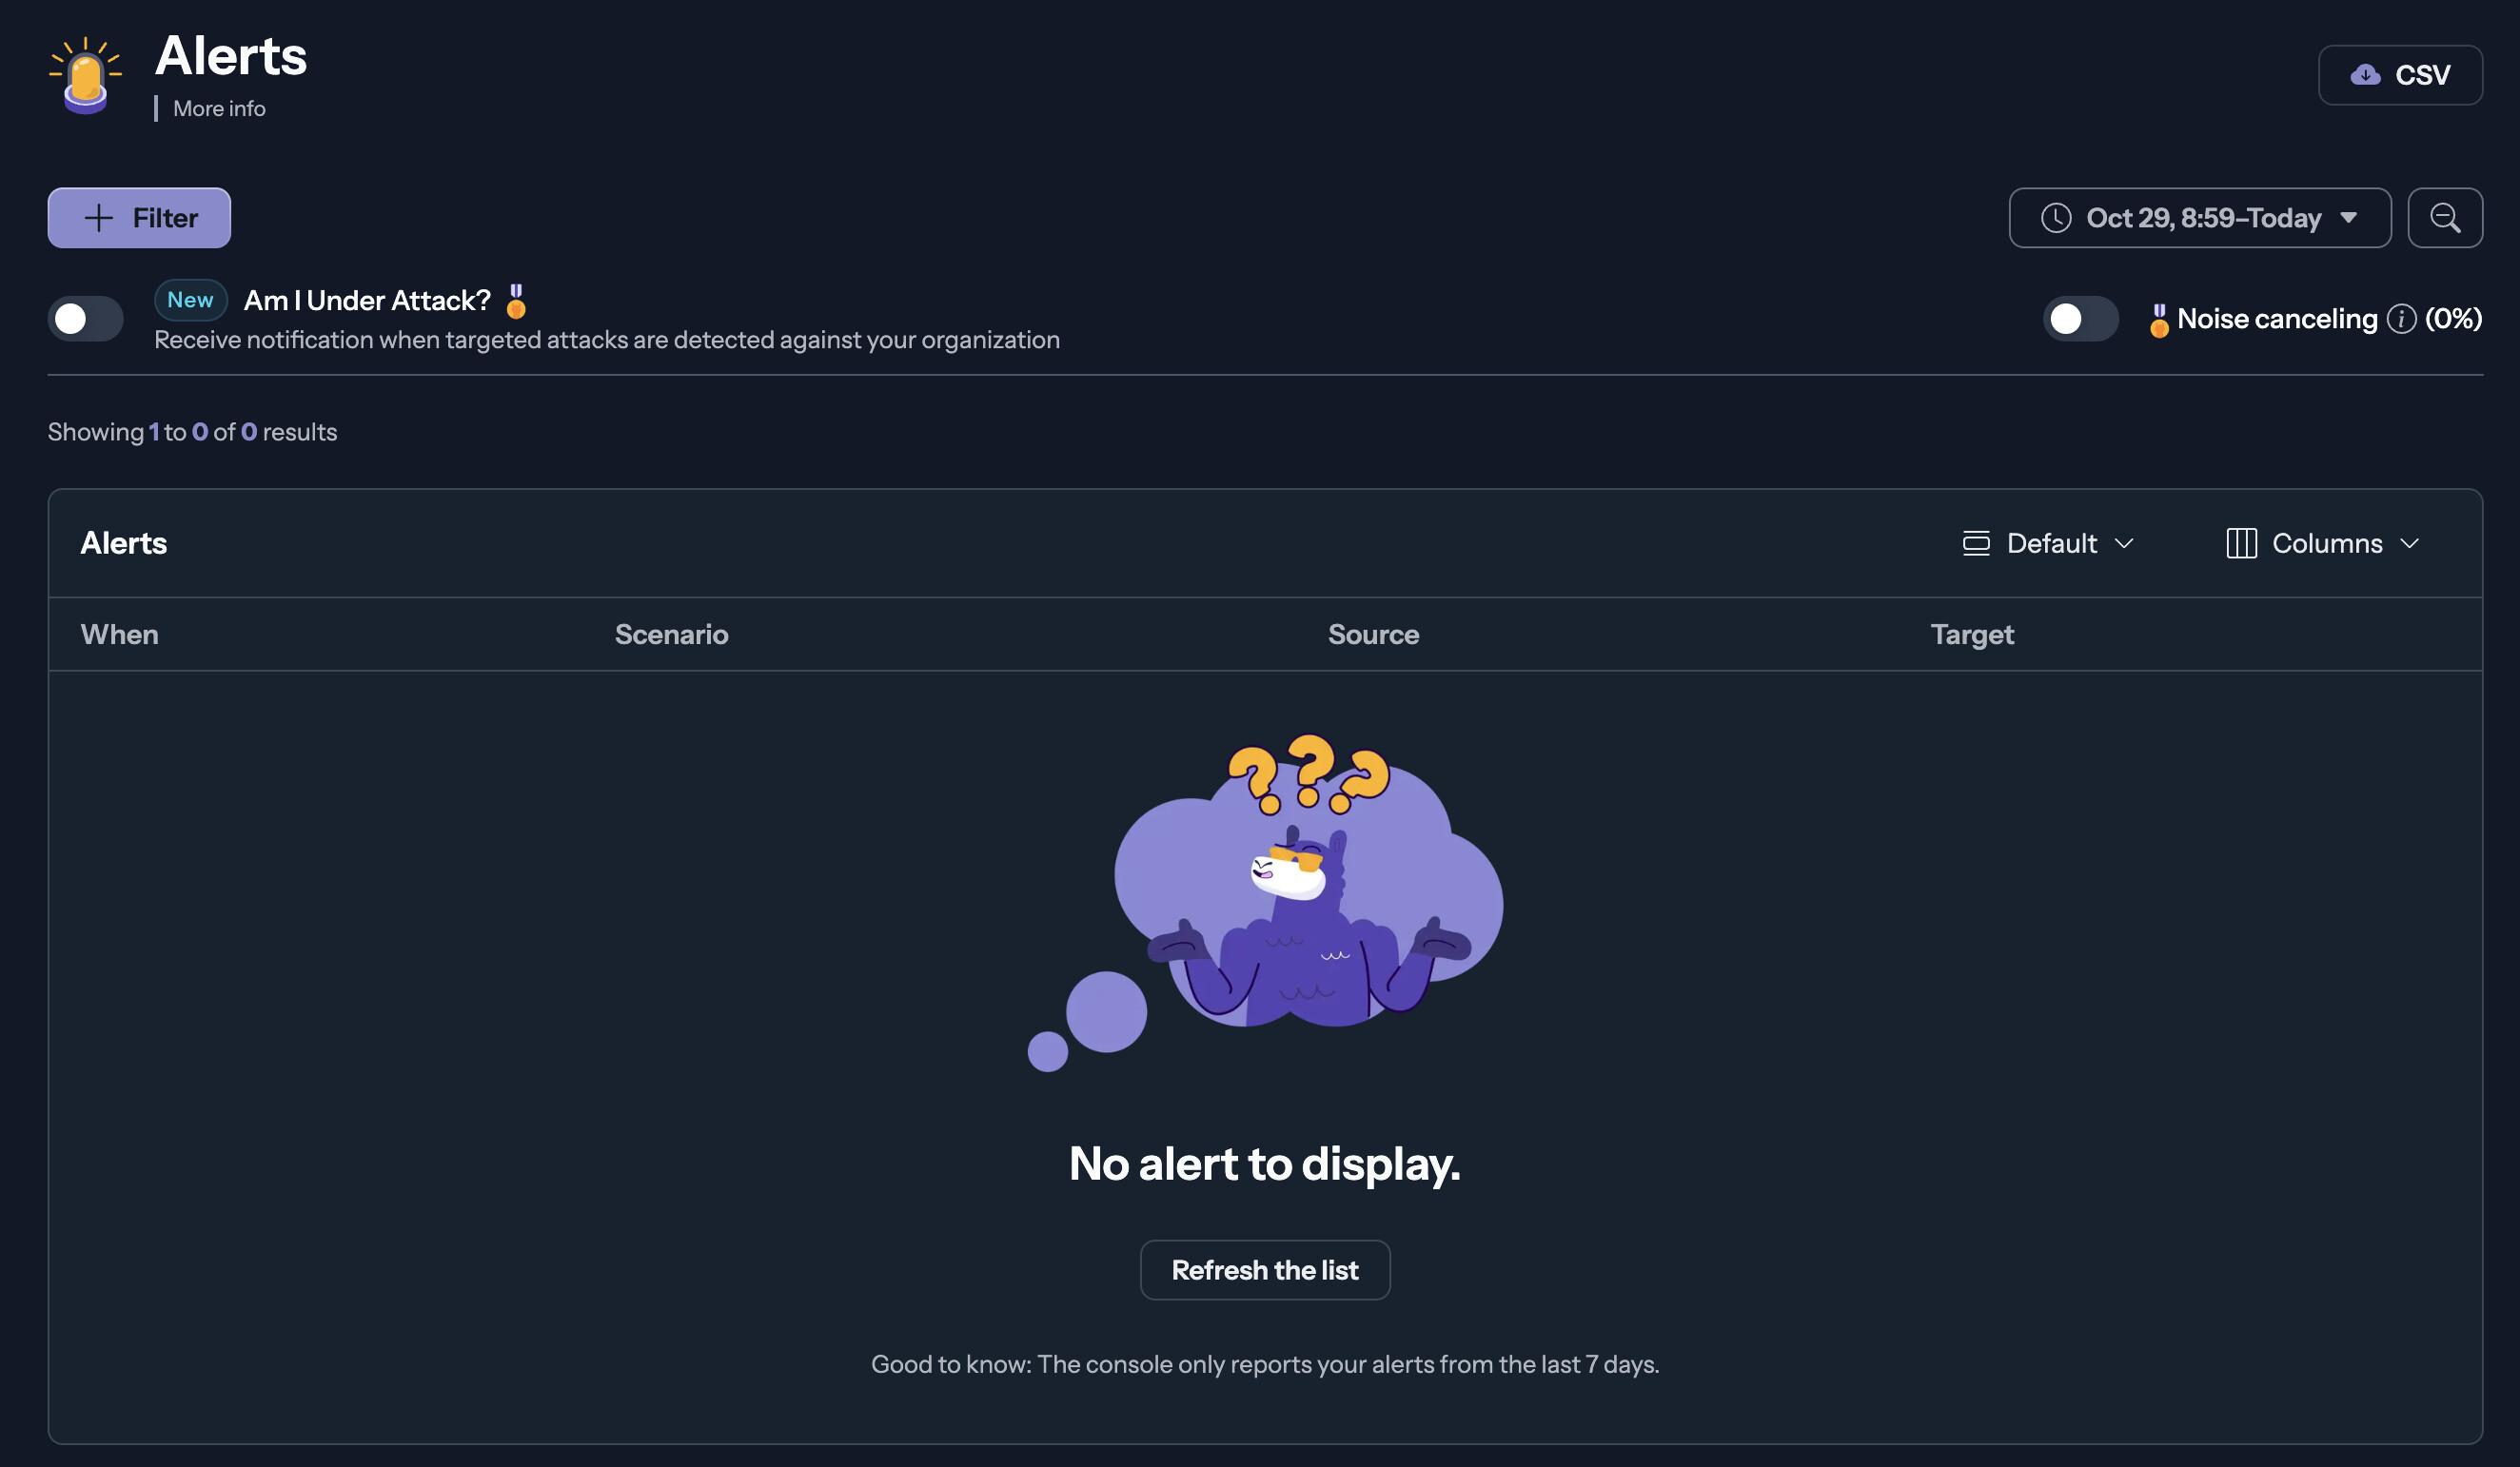
Once Installed, connect to your crowdsec dashboard, execute:

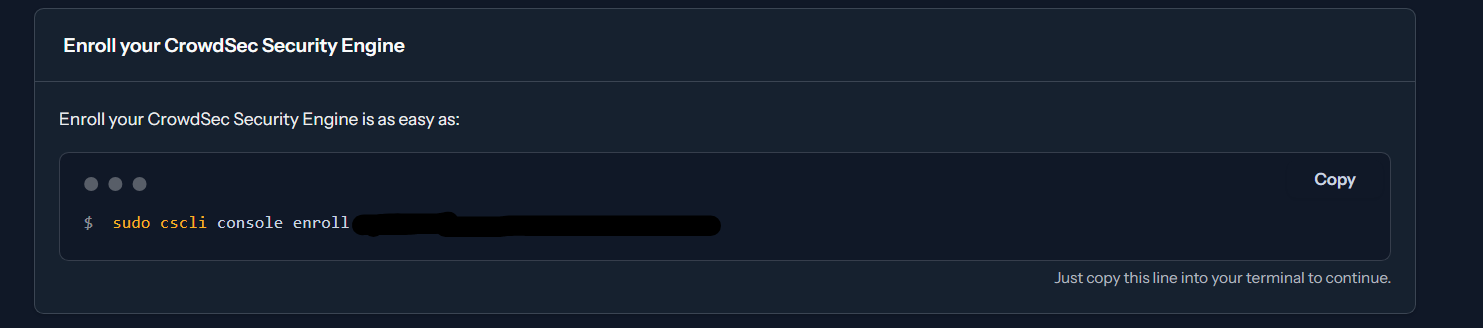
sudo cscli console enroll yourkey

remove -e context other wise it will throw up an error

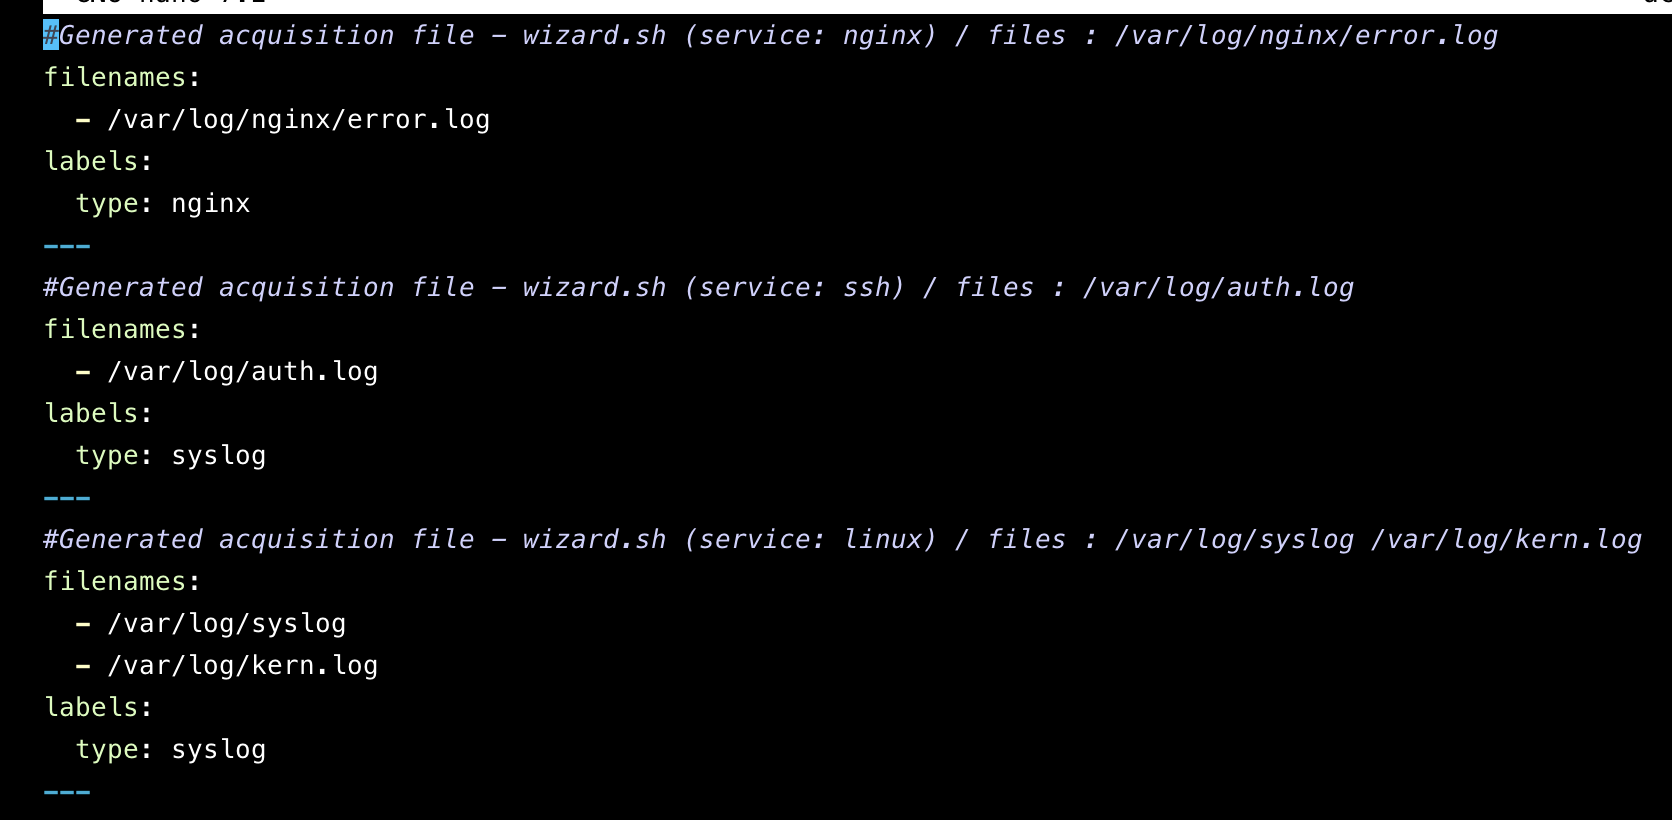
any questions on how to setup nginx and other option reply to this thread.

1 Like

Works like a charm with these instructions. Thank you.

So I have two containers installed on cloudpanel. Overseerr and Plex. I will only talk about plex the log file is located /home/mydomain-plex/logs/nginx and there are two files an access.log and a error.log.

The error log is empty but the access log isnโ€™t. The following is a snippet of the access log file. It had several ip addresses and when I checked them against crowdsecs threat intelligence they passed.

I tested this particular ip and here were my results:

So after seeing this I went to /etc/crowdsec and opened the acquis.yaml file and added the plex log here. Is this where I need to put this? or is this totally wrong and not how crowdsec works.

1 Like

looks good to me. what does the console say?

Thatโ€™s just it I donโ€™t see any alerts for that ip or the other ones.

So hereโ€™s another update. I forwarded the syslogs from the udmpro to the server. Crowdsec is already reading the syslog. However, Iโ€™m not getting any alerts on Crowdsec.

Am I misunderstanding the way Crowdsec works?

Understanding CrowdSec Alerts

  1. Alert Generation: CrowdSec generates alerts based on the behavior it detects from the logs. If there are no suspicious activities detected, no alerts will be generated. Ensure that the services you are monitoring are exposed to the internet and are generating traffic that could trigger alerts.

  2. Profile Configuration: Alerts are governed by profiles defined in the profiles.yaml file. Each profile has conditions under which it generates alerts. If your configuration is incorrect or if the conditions arenโ€™t met, alerts wonโ€™t trigger. Review your profile settings to ensure they align with your intended detection criteria.

  3. Notification Configuration: For CrowdSec to send notifications (e.g., emails), you must configure the notification settings correctly in notifications/email.yaml. This includes specifying the correct SMTP server, sender email, and recipient email addresses. Ensure that these settings are valid and that your SMTP server is reachable from the CrowdSec instance.

Troubleshooting Steps

  1. Check Logs: Review the crowdsec.log file for any errors related to alert generation or email notifications. Look for messages indicating whether alerts were triggered or if there were issues with sending emails.

  2. Validate Configuration Files:

    • Ensure that your profiles.yaml is set up correctly and that the desired profiles are enabled.
    • Confirm that your email.yaml configuration contains valid SMTP credentials and settings.
  3. Test Alert Generation: You can manually trigger an alert using commands like:

    cscli decisions add --ip <IP_ADDRESS> --duration <DURATION> --scope ip
    

    This helps verify if alerts can be generated and if notifications work as expected.

  4. Service Status: Check if all relevant CrowdSec services are running properly, including the API and bouncer services. You can do this by checking their statuses and logs for any errors or warnings.

  5. Network Configuration: Ensure that there are no firewall rules or network issues preventing CrowdSec from sending out emails or communicating with external services.

1 Like

Ok I havenโ€™t made any changes to the profile.yaml file. Here is what it looks like.

I understand I didnโ€™t set up any notifications, but was I supposed to specify an โ€œIPโ€ or โ€œRangeโ€?

I ran the cscli and was able to set the ban for 10 minutes and did a cscli decisions list and that showed me this.

Here is what it looks like on the website.

I suppose the question that I have is shouldnโ€™t it be seeing the udmpro IPS Alerts from the syslog and adding those ips?

How are your parsing metrics looking,

acquis.yaml:

filenames:

/logs/syslog/auth.log
/logs/syslog/syslog
/logs/syslog/kern.log
/logs/syslog/mail.log
labels:
type: syslog
filenames:

/logs/traefik/*.log
labels:
type: traefik

Here is my metrics, ran with sudo cscli metrics


I donโ€™t have a bucket Metrics

acquis.yaml file

got fresh logs on this??

Sure here are part of the log file:

root@orochimaru:/var/log/udmpro# tail -f udmproipsa.log
2024-11-02T17:15:47-04:00 UDMPRO CEF: 1|Ubiquiti|UniFi Network|8.5.6|security_detections-67265e439be3511159c45cae|IPS Alert 2: Misc Attack. Signature ET DROP Dshield Block Listed Source group 1. From: 193.163.125.105:50655, to: 10.180.8.66:80, protocol: TCP|Medium|signature_type=ET signature_id=2402000
2024-11-02T17:20:47-04:00 UDMPRO CEF: 1|Ubiquiti|UniFi Network|8.5.6|security_detections-67265f6f9be3511159c45cf9|IPS Alert 2: Misc Attack. Signature ET DROP Dshield Block Listed Source group 1. From: 92.255.85.30:54406, to: 10.180.8.66:443, protocol: TCP|Medium|signature_type=ET signature_id=2402000
2024-11-02T17:25:48-04:00 UDMPRO CEF: 1|Ubiquiti|UniFi Network|8.5.6|security_detections-6726609c9be3511159c45d78|IPS Alert 2: Attempted Information Leak. Signature ET WEB_SPECIFIC_APPS Microhard Systems 3G/4G Cellular Ethernet and Serial Gateway - Default Credentials. From: 193.68.89.23:50010, to: 10.180.8.66:80, protocol: TCP|Medium|signature_type=ET signature_id=2025855

I also got on the crowdsec discord channel and was told this.

Here are the links from the pic.

and

This is the parser file I created.

---
name: "crowdsecurity/udmpro-ips"
description: "Parse UDM Pro IPS logs"
stage: "s01-parse"filter: "evt.Line.Labels.type == 'IPS Alert'"  # Adjust as necessary
onsuccess: next_stage
nodes:
  - grok:
      pattern: >-
        %{TIMESTAMP_ISO8601:timestamp} %{WORD:device_name}
        CEF: %{DATA}%{DATA:vendor} %{DATA:product} %{DATA:version}
        %{DATA:alert_id} %{DATA:alert_message} From: %{IP:source_ip}:
        %{NUMBER:source_port}, to: %{IP:destination_ip}:
        %{NUMBER:destination_port}, protocol: %{WORD:protocol}\|
        %{WORD:severity}\|signature_type=%{WORD:signature_type}
        signature_id=%{NUMBER:signature_id}
      apply_on: "message"
      statics:
        - meta: log_type
          value: "udmpro-ips"
        - target: evt.StrTime
          expression: evt.Parsed.timestamp
statics:
  - meta: service
    value: "udmpro-ips"
  - meta: timestamp
    expression: "evt.Parsed.timestamp"
  - meta: source_ip
    expression: "evt.Parsed.source_ip"
  - meta: source_port
    expression: "evt.Parsed.source_port"
  - meta: destination_ip
    expression: "evt.Parsed.destination_ip"
  - meta: destination_port
    expression: "evt.Parsed.destination_port"
  - meta: protocol
    expression: "evt.Parsed.protocol"
  - meta: severity
    expression: "evt.Parsed.severity"
  - meta: signature_type
    expression: "evt.Parsed.signature_type"
  - meta: signature_id
    expression: "evt.Parsed.signature_id"

i will see what i can do.

1 Like