Integrating Pushover with Fail2Ban for Notification Management
This guide outlines the process of integrating Pushover with Fail2Ban to receive notifications when IP addresses are banned or unbanned. The implementation is straightforward and enhances the security monitoring of your server.
Setting Up Pushover
-
Create an Account: Visit Pushover and register for a user account. Add the devices you wish to receive notifications on; for example, the iOS app is highly effective and offers a 7-day trial period.
-
Obtain User Key: Once logged in, locate your user key on the user page. This key is essential for configuring notifications.
-
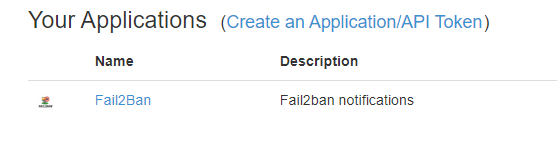
Create a Fail2Ban Application: At the bottom of your user page, add a new application for Fail2Ban. After creating it, note the API token provided, as it will be used in the configuration.
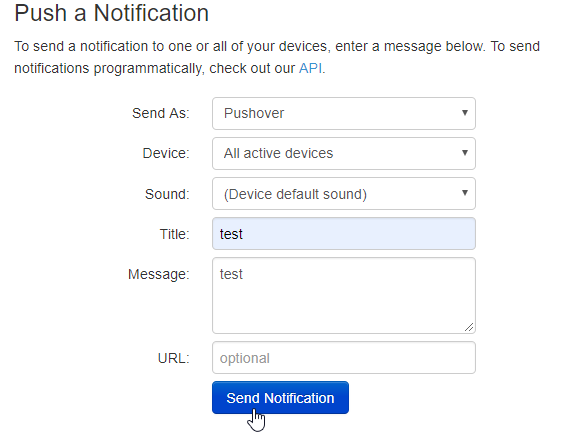
- Test Notifications: You can send a test notification from your user page to ensure that everything is set up correctly.
Configuring Fail2Ban Actions
-
Create Action File: Navigate to the
action.ddirectory of your Fail2Ban installation and create a file namedpushover.local. -
Edit Configuration: Insert the following configuration into
pushover.local:# Fail2Ban Pushover configuration file [Definition] # Notify on Startup actionstart = /usr/bin/curl -s -F "token=<token>" -F "user=<user>" -F "title=[Fail2Ban] <name>" -F "message=Jail <name> has been started successfully." https://api.pushover.net/1/messages # Notify on Shutdown actionstop = /usr/bin/curl -s -F "token=<token>" -F "user=<user>" -F "title=[Fail2Ban] <name>" -F "message=Jail <name> has been stopped." https://api.pushover.net/1/messages # Notify on Banned actionban = /usr/bin/curl -s -F "token=<token>" -F "user=<user>" -F "title=[Fail2Ban] <name>" -F "message=Banned IP: <ip> Lines containing IP: `grep '<ip>' <logpath>`" https://api.pushover.net/1/messages # Notify on Unbanned actionunban = /usr/bin/curl -s -F "token=<token>" -F "user=<user>" -F "title=[Fail2Ban] <name>" -F "message=Unbanned IP: <ip> Lines containing IP: `grep '<ip>' <logpath>`" https://api.pushover.net/1/messages [Init] # Name of the jail in your jail.local file name = default # Application token key token = YOUR-APPLICATION-TOKEN # User API key user = YOUR-USER-KEY -
Optional Notification Control: If you prefer not to receive notifications for startup, shutdown, or unbanning events, comment out those lines by prefixing them with
#.
#actionstart = /usr/bin/curl -s -F "token=<token>" -F "user=<user>" -F "title=[Fail2Ban] <name>" -F "message=Jail <name> has been started successfully." https://api.pushover.net/1/messages
Updating jail.local
-
Edit Configuration File: Open your
jail.localfile and add the Pushover action to each jail where you want notifications. You can also add it under the[DEFAULT]section for global application.Example configuration:
[nginx-http-auth] enabled = true filter = nginx-http-auth action = cloudflare-apiv4 pushover iptables-allports port = http,https logpath = /config/log/nginx/error.log ignoreip = 192.168.1.0/24 -
Action Compatibility: Ensure that if you only include the Pushover action, you also add an additional action like
iptables-allportsto maintain functionality in banning IPs.
Final Steps
-
Restart Fail2Ban: After configuring all necessary jails, restart Fail2Ban to apply changes. If using Docker, this may involve restarting the relevant container.
-
Monitoring Bans: Upon successful bans, you should see log entries similar to:
2019-03-03 16:57:09,608 fail2ban.filter         [329]: INFO    [nginx-http-auth-technicalramblings] Found 23.92.127.82
2019-03-03 16:57:12,900 fail2ban.actions        [329]: NOTICE  [nginx-http-auth-technicalramblings] Ban 23.92.127.82
By following these steps, you will have successfully integrated Pushover with Fail2Ban for effective intrusion protection notifications.