Summary
This guide walks you through the process of adding an SSD to your Proxmox environment, formatting it with the ext4 filesystem, and mounting it for use in Proxmox. It also includes instructions for setting up a weekly TRIM operation to optimize SSD performance.
This guide wouldn’t be possible without the help from hhf. He provided me with the commands and I am just put it all together in this guide to help everyone who needs this guide.
Table of Contents
- Identify the SSD
- Partition and Format the SSD
- Create a Mount Point
- Mount the SSD
- Add the SSD as Proxmox Storage
- Run Weekly TRIM on the SSD
1. Identify the SSD
First, verify that the SSD is recognized by the Proxmox host.
- Run the following command to list all block devices and confirm that your SSD appears as
/dev/sda:lsblk
(*note - I will be using this small drive just to demonstrate what the output of these commands looks like.)

2. Partition and Format the SSD
We will format the SSD as ext4 for compatibility and ease of use.
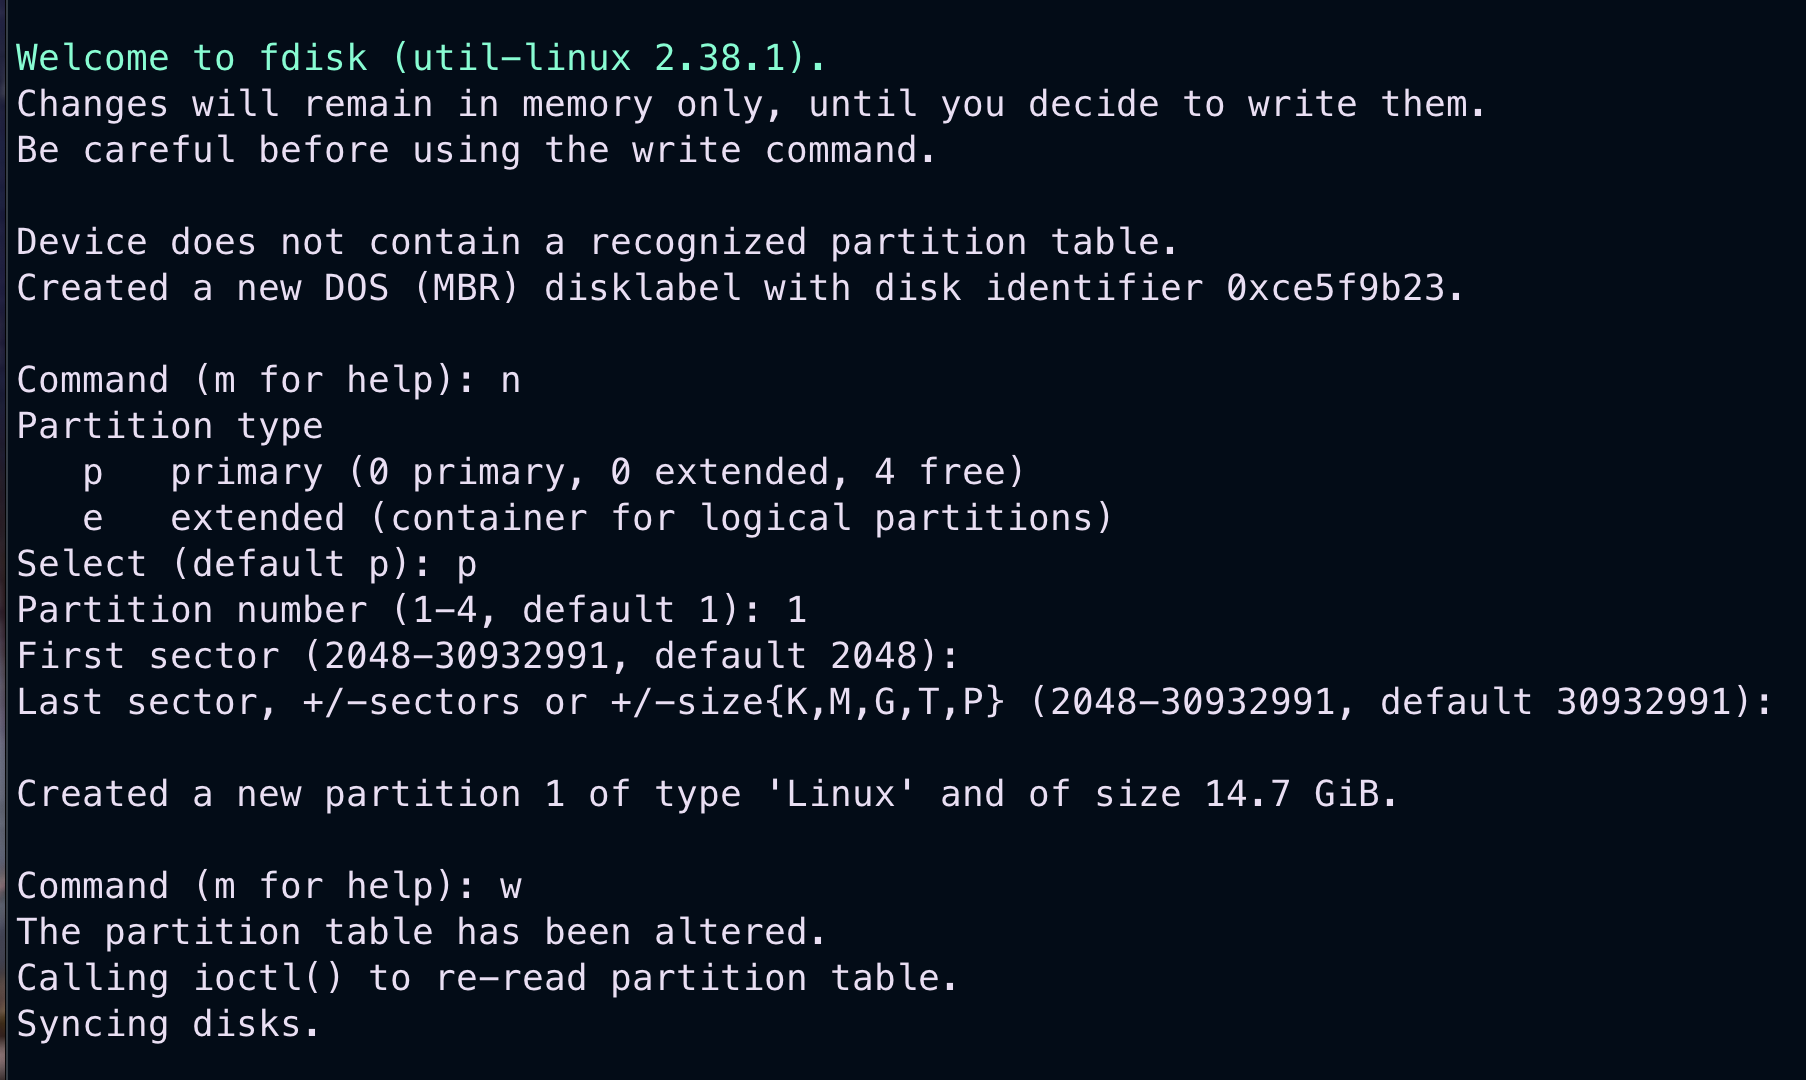
- Create a New Partition:
- Start the
fdiskutility:sudo fdisk /dev/sda - Follow these steps within
fdisk:- Type
nto create a new partition. - Press
Enterto accept default values for the partition number, first sector, and last sector (using the full disk). - Type
wto write changes and exitfdisk.
- Type
- Start the
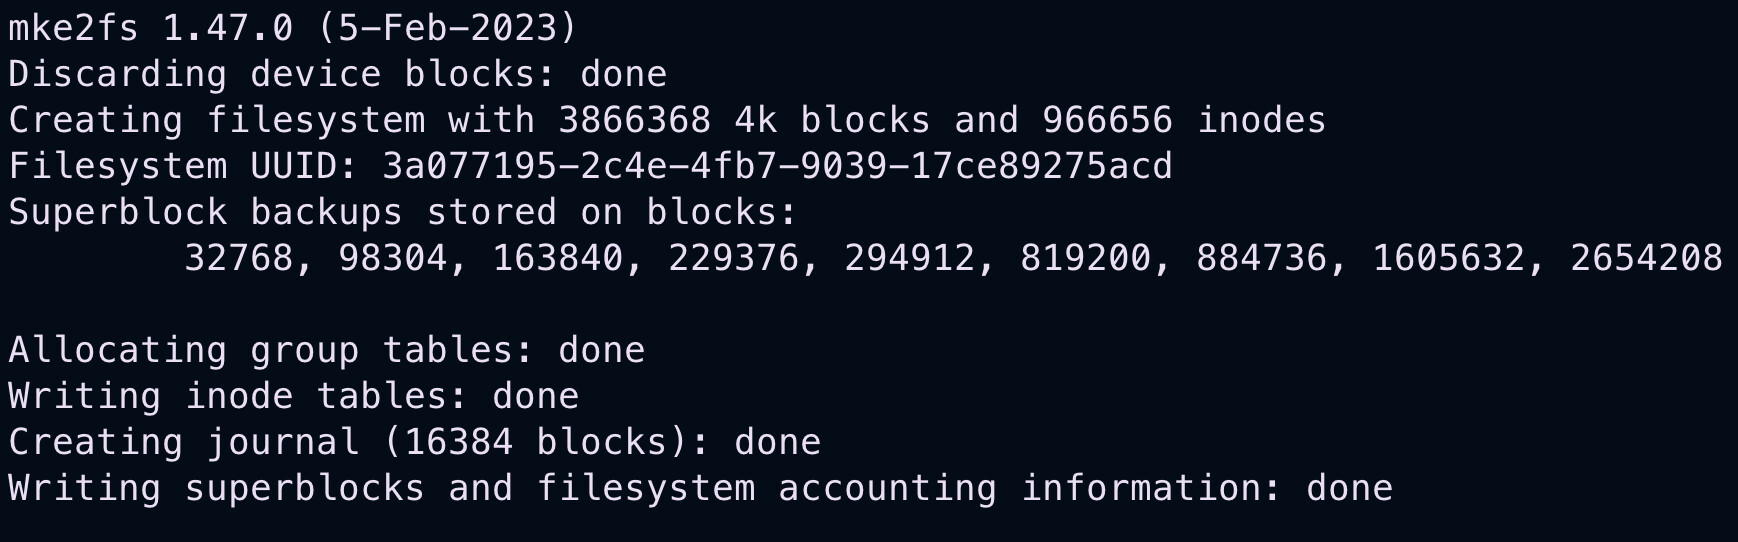
- Format the Partition:
- Format the newly created partition as ext4:
sudo mkfs.ext4 /dev/sda1
- Format the newly created partition as ext4:
Using ext4 provides excellent compatibility with Proxmox and future resizing options.
3. Create a Mount Point
Create a directory to serve as the mount point for the SSD.
sudo mkdir /mnt/ssd
This directory will act as the location for mounting the SSD in Proxmox.
4. Mount the SSD
Mount the SSD to the directory created in the previous step:
sudo mount /dev/sda1 /mnt/ssd
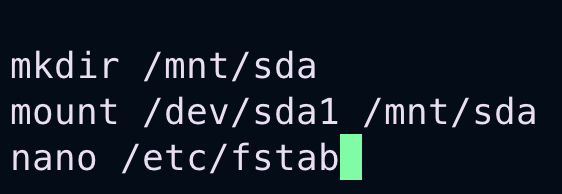
To make the mount persistent across reboots, add an entry in /etc/fstab:
- Open
/etc/fstabwith a text editor:sudo nano /etc/fstab - Add the following line at the end of the file:
/dev/sda1 /mnt/sda ext4 defaults 0 2
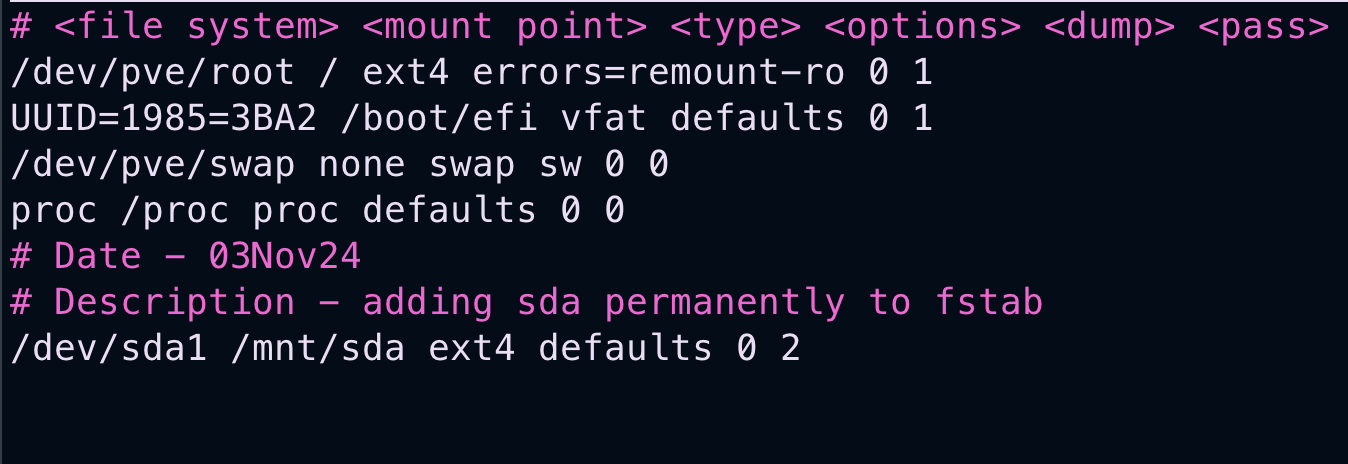
- Save and close the editor.
5. Add the SSD as Proxmox Storage
- Open the Proxmox web interface and navigate to Datacenter > Storage.
- Click Add > Directory.
- Fill in the following details:
- ID: Choose a name (e.g., “SSDStorage”).
- Directory: Enter the path
/mnt/ssd. - Content: Select Disk image and ISO image (or any other content types you need).
- Click Add to confirm and save the storage configuration.
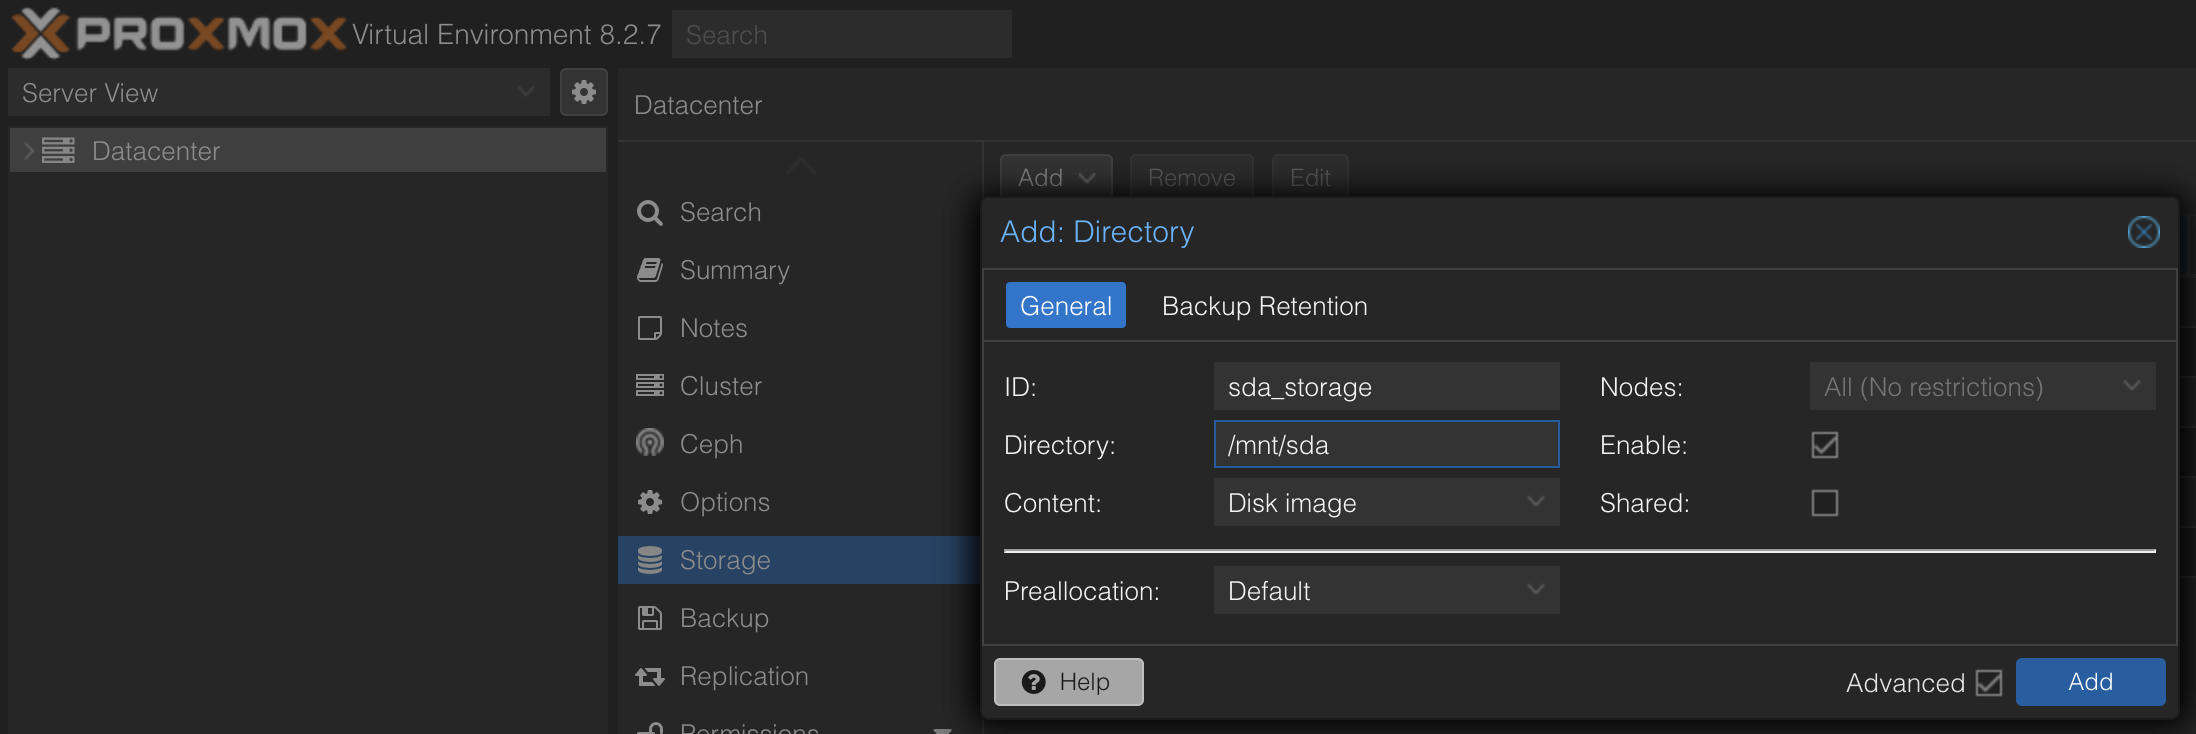
Proxmox will now recognize the SSD as an available storage option for VMs.
6. Run Weekly TRIM on the SSD
To maintain SSD performance, configure a weekly TRIM operation.
- Create a TRIM Cron Job:
- Open a new cron file in the
cron.weeklydirectory:sudo nano /etc/cron.weekly/fstrim - Add the following line to perform TRIM on all mounted filesystems that support it:
#!/bin/sh /sbin/fstrim --all || true - Save and close the file, then make it executable:
sudo chmod +x /etc/cron.weekly/fstrim
- Open a new cron file in the
This setup will run TRIM weekly, ensuring your SSD stays optimized for performance.
By following this guide, you have successfully added an SSD to Proxmox, formatted it with ext4, and configured it for use with any VM. Additionally, setting up a weekly TRIM operation will help maintain SSD performance over time.